Sell limited NFT collections on Mavis Launchpad
Overview
Mavis Launchpad is the NFT primary marketplace within Mavis Market, where game studios sell digital assets directly to players using tokens on the Ronin chain.
Creators can introduce their projects to the community with customizable landing pages and structured launch stages. Each launch includes multiple allowlist stages and a public stage, enabling eligible users to mint NFTs under specific conditions.
The stages progress sequentially, with each stage offering its own supply and rules, ensuring a fair and organized sale process.
Prerequisites
- Basic knowledge of Solidity for smart contract development.
- A deployed NFT smart contract on Ronin.
Steps
Step 1. Customize your launch
- Make a copy of the Mavis Launchpad form.
- Fill in the details of your collection and launch stages. For more information, see Launch details. Leave blank any information that doesn't apply to your collection, such as a testnet or mainnet deployment.
- Send the form to your point of contact.
Step 2. Integrate your NFT smart contract
During the minting process, the launchpad calls the mintLaunchpad(to, quantity, calldata) function in your contract to issue NFTs to the user. The following are the function parameters:
to: theaddressof the user who receives the minted NFTs.quantity: a uint256 representing the number of NFTs requested by the user.calldata: abytesparameter containing any additional data that required during the minting process. This field is typically left empty.
The launchpad also implements the ERC-165, which requires the NFT contract to provide supportsInterface(interfaceId).
For optimal integration, refer to SampleNFT721Launchpad and SampleNFT1155Launchpad.
Grant the minter role to the Launchpad
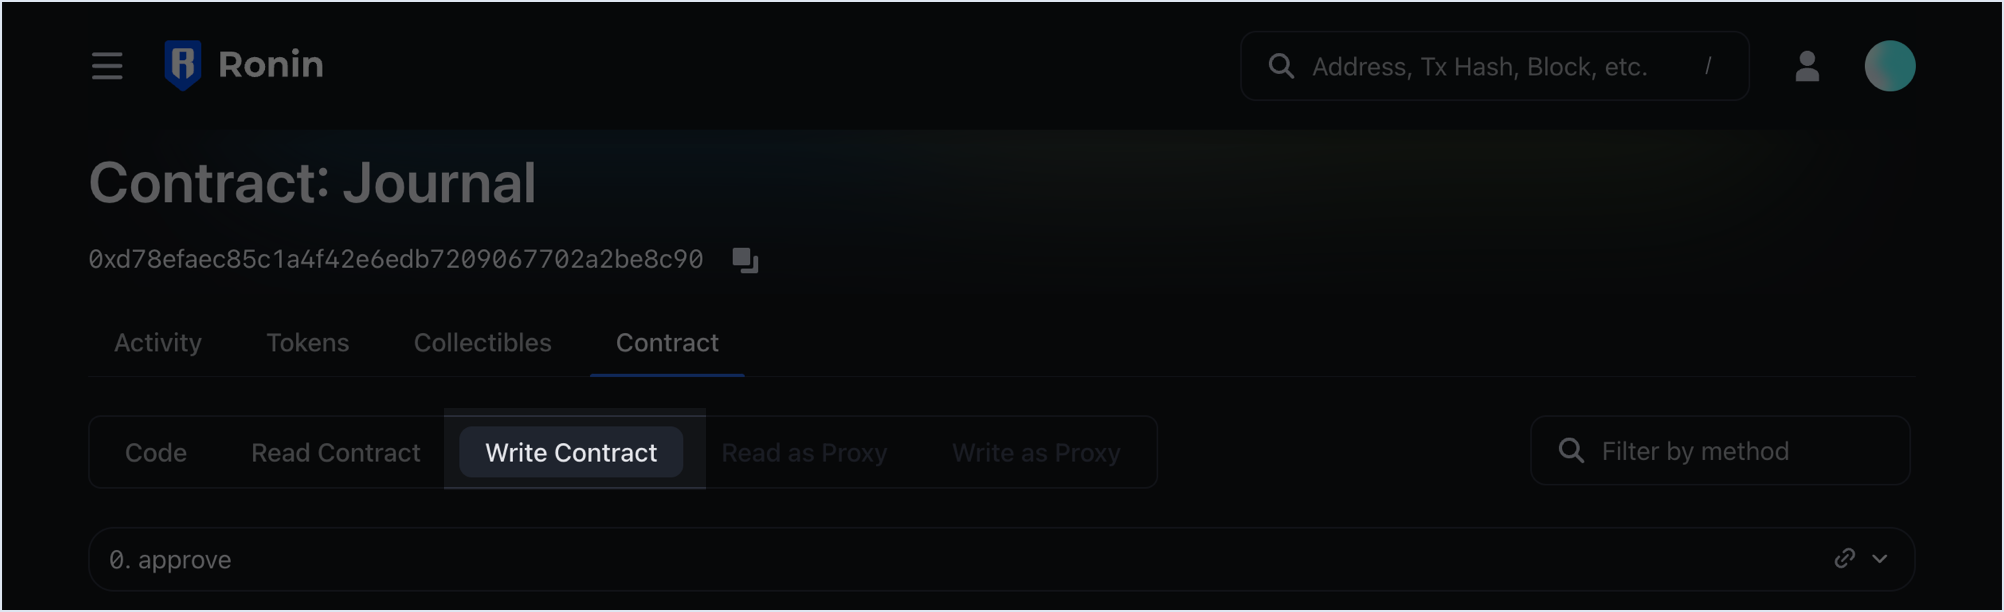
- Visit app.roninchain.com and search for your deployed NFT contract.
- On the Contract tab, click Write Contract.
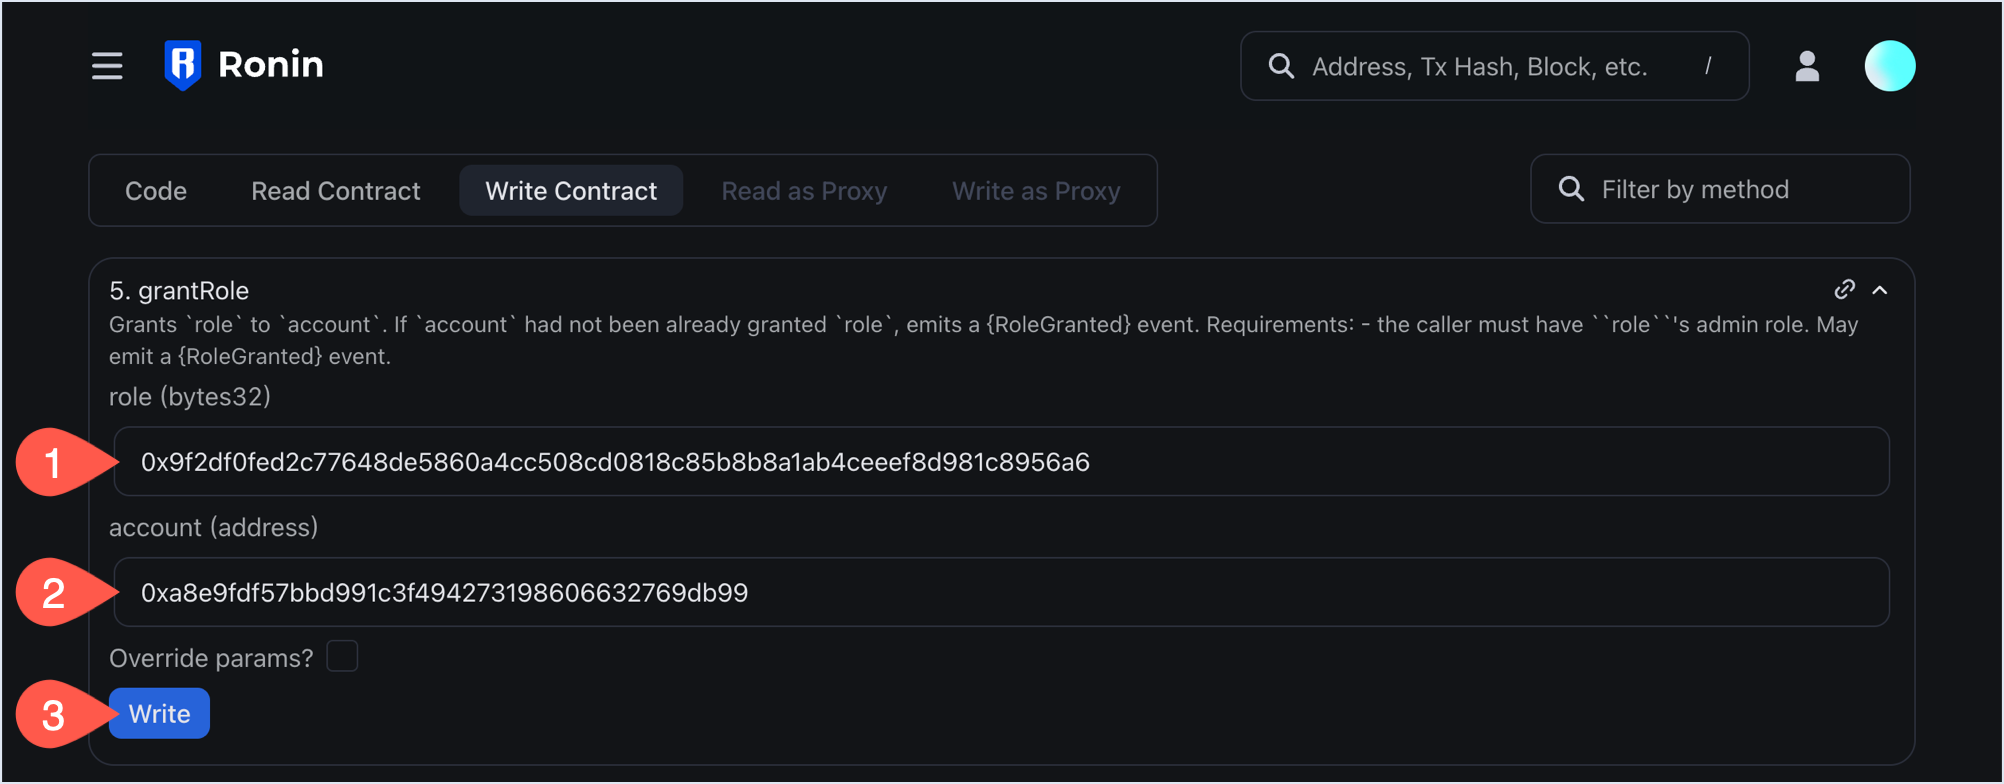
- Locate the
grantRolemethod and fill in the following parameters:
- Role: the role you want to grant. Use
0x9f2df0fed2c77648de5860a4cc508cd0818c85b8b8a1ab4ceeef8d981c8956a6(theMINTER_ROLEasbyte32). - Account: the address of Mavis Launchpad depending on the network you deploy to:
- Ronin mainnet:
0xa8e9fdf57bbd991c3f494273198606632769db99 - Saigon testnet:
0x9eaf882f8cdfef42a3c272365f9cd069a220ce7c
- Ronin mainnet:
- Connect your Ronin Wallet with the administrator account and click Write.
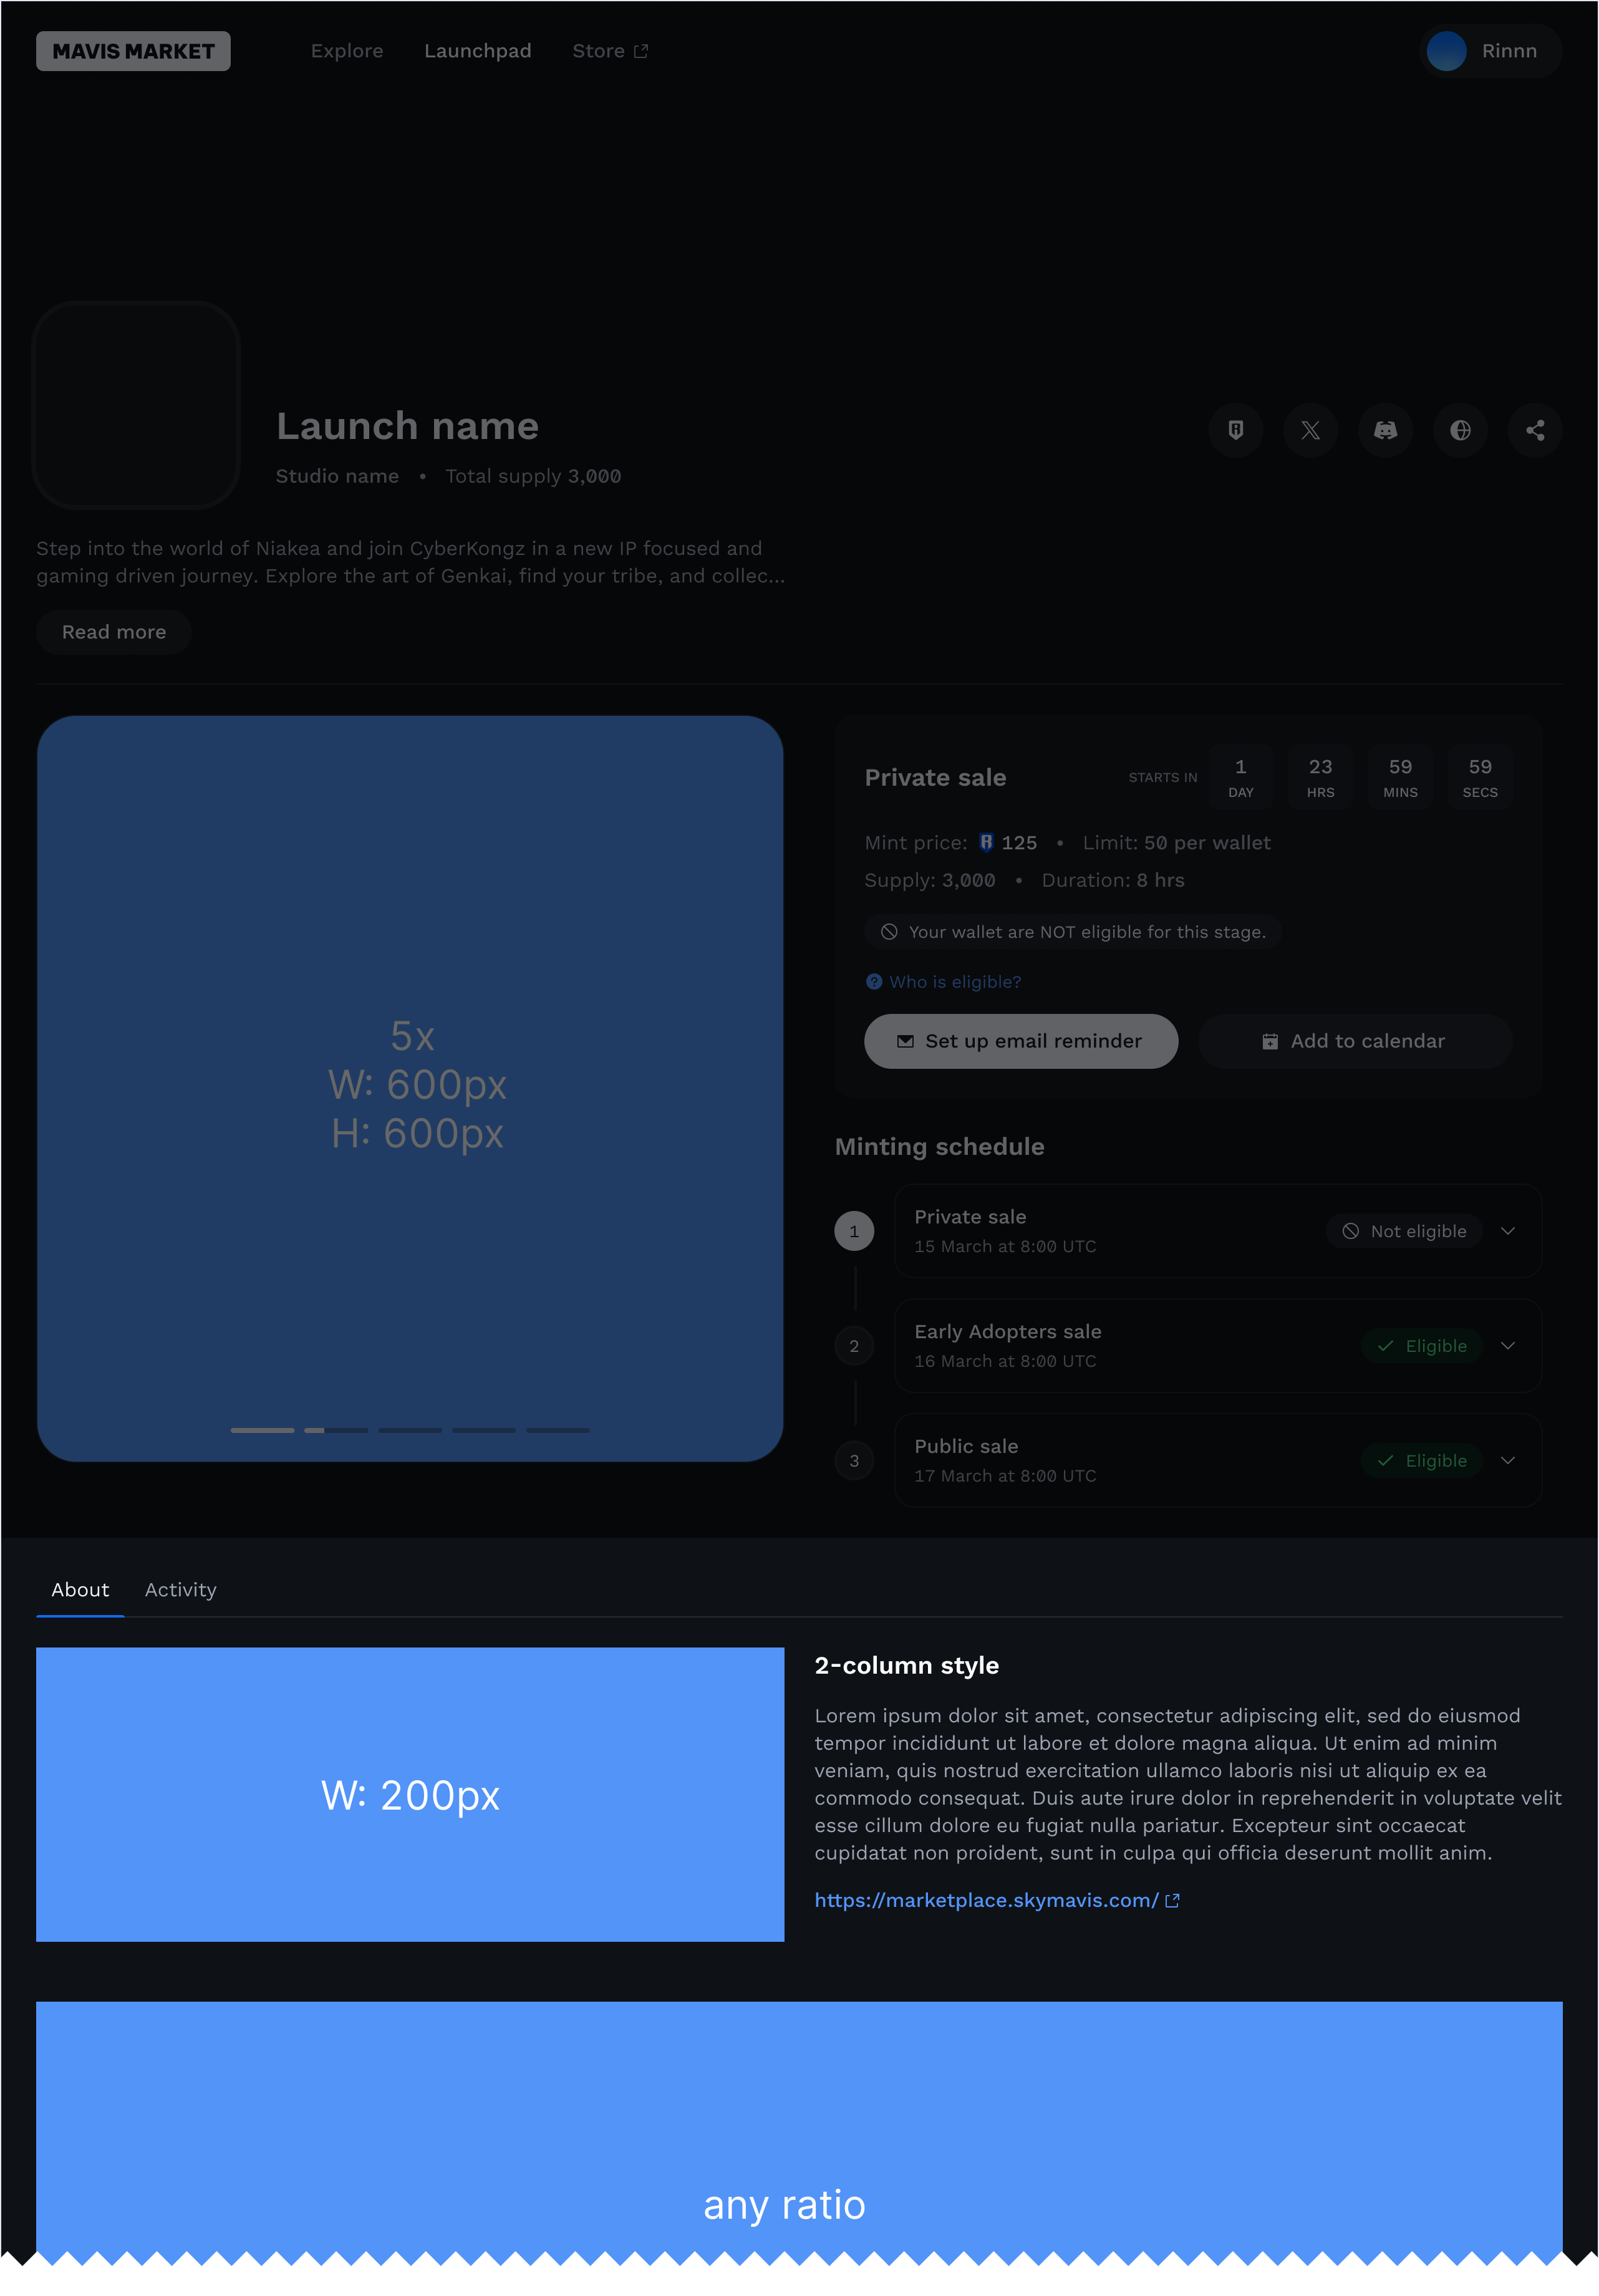
Step 3. Create a landing page
The landing page is the first thing users see when they visit your project. To make a good first impression, make sure your landing page is attractive and informative.
Mavis Launchpad offers six different types of block layouts for the About page to choose from. You can add up to 10 blocks per page.
To create your own layout, follow these steps:
- Open the Mavis Launchpad Template Figma file.
- Click an empty spot in the canvas to select any layers.
- Click the filename at the top of the page, then select Duplicate to drafts to create a copy.

- In your copy of the template, you can now add or remove the blocks to create your own layout.
- After you created the layout that fits your project, generate a shareable link to the Figma board.
- Update the 5. Collection about field in the form with the link to your Figma board, and send it to your point of contact.
Reference
Launch details
A launch includes a series of launch stages, with one stage active at a time. Each stage has the following details:
| Field | Description |
|---|---|
| Stage name | The name of the stage. |
| Start time | The time when the stage begins. |
| End time | The time when the stage ends. If not specified, the stage continues indefinitely or until the stage supply sells out. |
| Stage type | The type of the stage: Allowlist or Public. Allowlist stages have a list of specified addresses that can mint. Public stages allow any address to mint. |
| Allowlist condition | The condition for stage participants. You can set one condition for each stage. For more information, see Stage conditions. |
| Per wallet mint | The total number of tokens that one wallet can buy at this stage. |
| Stage's supply | The total supply of the stage that must be equal to or less than the total launch supply. |
| Unit price (RON) | The item price in RON. You can set it to 0 to show that the item is free of charge. |
Stage conditions
For each stage, you set one of the four conditions to determine who can mint in the stage:
| Condition | Description |
|---|---|
| No condition, or public | Anyone can take part in the stage, as long as the stage limit and the total mints per wallet permit. Public stages always occur at the end of a launch. |
| Allowlist condition | Addresses in an allowlist can mint at this stage. Prepare the list and upload it to the launchpad before the stage starts. You can also specify how many NFTs a particular address can mint. For example, 0x123,1, 0x124,2 means that the addresses 0x123 and 0x124 can mint one and two NFTs, respectively. |
| Token-gated condition | Users who hold a specific token can mint at this stage. Each required token allows the user to mint a specific number of NFTs. |
| Server-signed condition (coming soon) | A backend server determines if the user can mint in the stage. You can use this condition for any restriction type. For example, in a free mint, you can add bot protection with a CAPTCHA. |
Cumulative mint
Cumulative mints apply to allowlist and token-gated stages only.
A cumulative limit prevents individual users on the allowlist stage from over-purchasing throughout the entire allowlist period. If a user's eligible for more than one allowlist and token-gated stages, their limit accumulates from the previous stage. This means the user's limit doesn't reset or start anew in each stage. Instead, it carries over from one stage to the next.
For example, a user can mint three NFTs in the first stage, and they mint two. In the following stage, with a limit of four per user, the user can mint two more.