Daily check-in using Ronin Waypoint Web SDK
Overview
This tutorial guides you through the steps of building a simple Next.js web app that enables users to do a check in by sending a transaction to a smart contract on the Saigon testnet. The app uses the Ronin Waypoint Web SDK with the standard integration option, which allows users to interact with their keyless wallets in-game without the need to install any wallet apps or browser extensions. For more information about the standard integration option, see the Integration options.
By completing this tutorial, you'll be able to do the following:
- Authorize users with Ronin Waypoint, letting users log in using social media accounts or email addresses.
- Interact with users' keyless wallets.
- Send transactions to the blockchain to check in users.
- Interact with a smart contract on the Saigon testnet.
The source code for this tutorial is available in the GitHub repository.
Steps
Step 1. Create an app
If you don't have a web app yet, you can create a new one using the following steps:
-
Install Node.js and npm from the official website. After installation, verify the versions by running the following commands in your terminal:
node -v
npm -v -
Initialize a new web app from a template:
npx create-next-app@latest -
On installation, answer a series of questions as follows:
What is your project named? example-daily-checkin
Would you like to use TypeScript? Yes
Would you like to use ESLint? Yes
Would you like to use Tailwind CSS? Yes
Would you like to use `src/` directory? No
Would you like to use App Router? (recommended) Yes
Would you like to customize the default import alias (@/*)? Yes
What import alias would you like configured? @/* -
Start the development server by running the following command:
npm run dev -
In your browser, open your app at
http://localhost:3000:
Step 2. Install packages
The two packages you need for this tutorial:
@sky-mavis/waypoint: a package for integration with Ronin Waypoint. OffersWaypointProvider, an EIP-1193-compatible Ethereum JavaScript provider that you can use with the standard Ethereum libraries, such as Ethers.js, web3.js, or viem to interact with the blockchain.viem: our recommendation for a lightweight, composable, and type-safe Ethereum interface that supports TypeScript and offers clear documentation with examples.
To install the packages, run the following commands:
npm i @sky-mavis/waypoint
npm i viem
After that, your package.json file should look similar to this:
{
  "name": "example-daily-checkin",
  "version": "0.1.0",
  "private": true,
  "scripts": {
    "dev": "next dev",
    "build": "next build",
    "start": "next start",
    "lint": "next lint"
  },
  "dependencies": {
    "@sky-mavis/waypoint": "workspace:*",
    "next": "14.2.5",
    "react": "^18",
    "react-dom": "^18",
    "viem": "2.9.2"
  },
  "devDependencies": {
    "@types/node": "^20",
    "@types/react": "^18",
    "@types/react-dom": "^18",
    "eslint": "^8",
    "eslint-config-next": "14.2.5",
    "postcss": "^8",
    "tailwindcss": "^3.4.1",
    "typescript": "^5"
  }
}
Step 3. Get your client ID
-
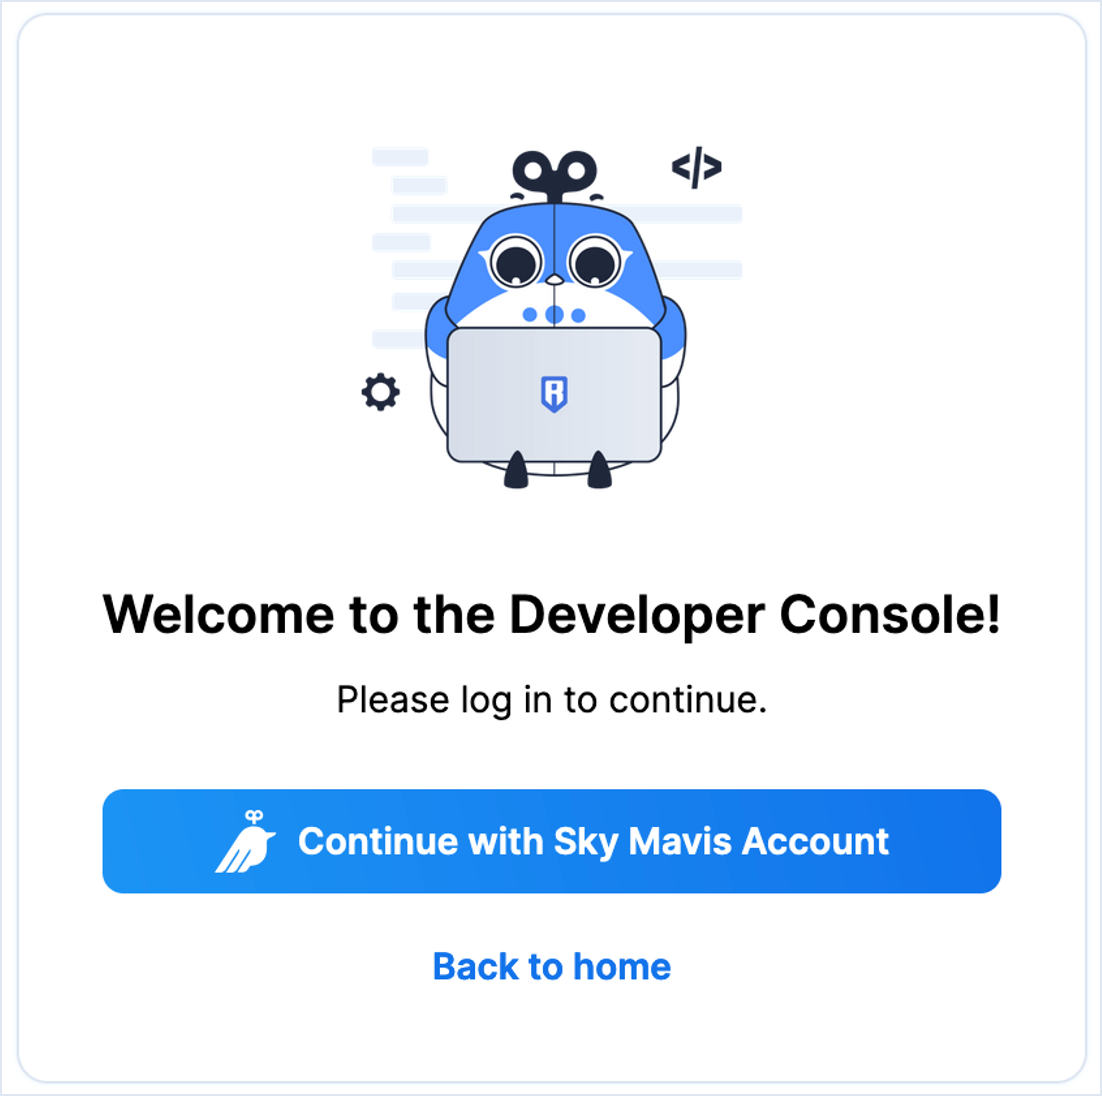
Go to the Developer Console.
-
Create your Sky Mavis Account or log in if you already have one.
-
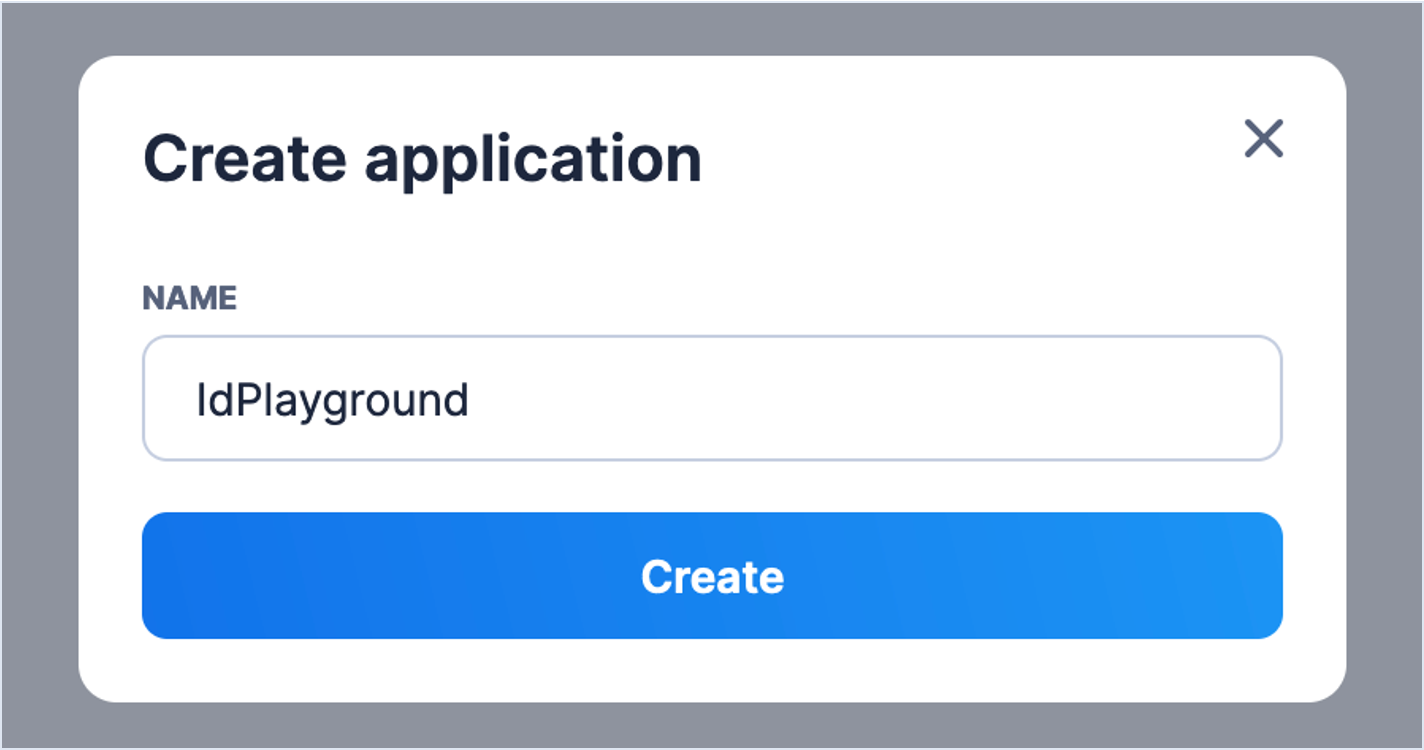
Click Create application and fill in your app's name:
-
Go to your app's details and fill in the required information:
- Website URL: the URL of your web app.
- User Terms Policy: the URL of your user terms policy.
- Description: a brief description of your app.
- App Logo: a 300x300-pixel logo for your app.
-
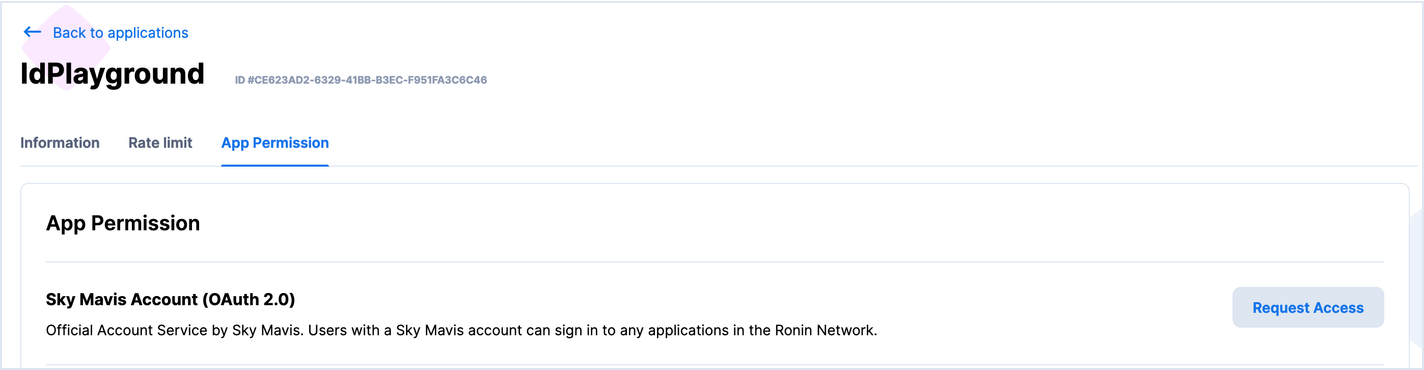
Go to the App Permission tab and request access to the Sky Mavis Account (OAuth 2.0) service.
-
Wait for approval from the Sky Mavis team.
-
Configure the general settings:
- Redirect URI: the URI to redirect the user to after logging in.
- Origin URI: the URI of your web app.

-
Copy your app's client ID.

Step 4. Set up a provider
-
In the
appdirectory, create a new file namedweb3-client.ts. -
Import
WaypointProviderfrom the SDK:web3-client.tsimport { WaypointProvider } from "@sky-mavis/waypoint" -
Create a new wallet provider with the
WaypointProvider.createmethod:web3-client.tsimport { WaypointProvider } from "@sky-mavis/waypoint"
import { saigon } from "viem/chains";
const walletProvider = WaypointProvider.create({
chainId: saigon.id,
clientId: "0e188f93-b419-4b0f-8df4-0f976da91ee6", // Replace with your client ID
}) -
Wrap
walletProviderwithviem:web3-client.tsimport { WaypointProvider } from "@sky-mavis/waypoint"
import { createPublicClient, createWalletClient, custom, http } from "viem"
import { saigon } from "viem/chains"
const walletProvider = WaypointProvider.create({
chainId: saigon.id,
clientId: "0e188f93-b419-4b0f-8df4-0f976da91ee6", // Replace with your client ID
})
export const web3WalletClient = createWalletClient({
transport: custom(walletProvider),
chain: saigon,
})
export const web3PublicClient = createPublicClient({
transport: http(),
chain: saigon,
})
In the preceding code snippet, you can see two client interfaces:
- The
PublicClientinterface reads data from the blockchain. Use this client for actions that don't require signing or the wallet. - The
WalletClientinterface interacts with the user's wallet. Use this client for actions that require signing, such as sending transactions and sign requests.
Step 5. Add button to connect wallet
-
Open the
page.tsxfile in theappdirectory. -
Remove the redundant code of the Next.js template:
page.tsxexport default function Home () {
return <main className="flex min-h-screen flex-col items-start gap-4 p-24"></main>
} -
Create a button for users to log in and connect a wallet:
page.tsx<button
className="px-4 py-3 font-bold text-white bg-blue-600 hover:bg-blue-700 rounded-xl"
onClick={handleConnectWallet}
>
Login by Ronin Waypoint
</button> -
Add states to manage the user's account and any login errors:
page.tsxconst [account, setAccount] = useState<Address>()
const [error, setError] = useState<string>() -
Add a function to manage the wallet connection:
page.tsxconst handleConnectWallet = async () => {
try {
// This function retrieves the wallet address from a user's account, so we use WalletClient.
// The requestAddresses method helps us get connected addresses from Ronin Waypoint.
const newAccounts = await web3WalletClient.requestAddresses()
// Ronin Waypoint always returns an array with one element: the user's address.
if (newAccounts.length) {
setAccount(newAccounts[0])
setError(undefined)
return
}
setError("Could not get account from wallet. Check your console for further details.")
} catch (error) {
console.log(error)
setAccount(undefined)
setError("User rejected wallet connection. Check your console for further details.")
}
} -
Add a UI component to display the user's address and login error:
page.tsxreturn (
<main className="flex min-h-screen flex-col items-start gap-4 p-24">
<button
    className="px-4 py-3 font-bold text-white bg-blue-600 hover:bg-blue-700 rounded-xl"
    onClick={handleConnectWallet}
  >
    Login by Ronin Waypoint
  </button>
{account && (
<div>
<div className="mt-2 text-lg font-semibold text-gray-800">Welcome back!</div>
<div className="mt-1 text-sm font-semibold tracking-tight text-gray-600">
Login as: {account}
</div>
</div>
)}
{error && <p className="text-red-600">{error}</p>}
</main>
)
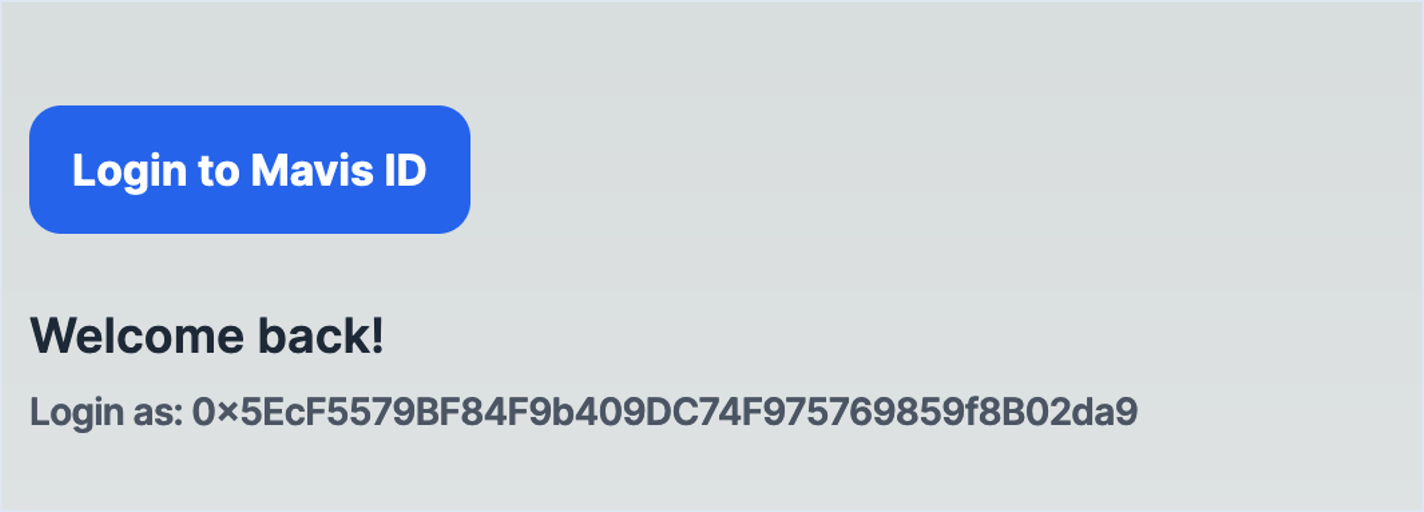
By the end of this step, you built the flow for connecting a wallet to your app. The UI should look similar to this:
Step 6. Reconnect wallet on page refresh
While your app can connect to a wallet, the connection doesn't persist after a page refresh. To handle this, you need to silently reconnect the wallet when the page mounts or loads.
-
Open the
page.tsxfile in theappdirectory. -
Add a
useEffecthook to handle the wallet connection when the page mounts:page.tsxuseEffect(() => {
const reconnectWallet = async () => {
}
reconnectWallet()
}, []) -
Use
getAddressesto get connected addresses from Ronin Waypoint without opening a popup:page.tsxuseEffect(() => {
const reconnectWallet = async () => {
try {
const connectedAccounts = await web3WalletClient.getAddresses()
if (connectedAccounts.length) {
setAccount(connectedAccounts[0])
setError(undefined)
return
}
} catch (error) {
/* empty */
}
}
reconnectWallet()
}, [])
The eth_requestAccounts method is different from eth_accounts. The former is an EIP-1102 method that returns a promise, while the latter is an EIP-1193 method that returns an array of addresses. For more information, see the MetaMask documentation.
Step 7. Gather smart contract information
In this tutorial, we interact with a smart contract for a daily check-in on the Saigon testnet. You can find the contract deployed at the address 0x9cbc47af3d33aaafbb442cb951dd737a488d693a.
To interact with a smart contract, you need the following information:
- The address of the contract.
- The ABI (Application Binary Interface) of the contract, which is a JSON file that describes the functions, events, and errors of the contract.
This tutorial uses two functions:
-
isMissedCheckIn: checks if the user has missed a check-in. The function takes the user's address as input and returns a boolean. The ABI for this function is as follows:ABI for isMissedCheckIn{
inputs: [
{
internalType: "address",
name: "user",
type: "address",
},
],
name: "isMissedCheckIn",
outputs: [
{
internalType: "bool",
name: "",
type: "bool",
},
],
stateMutability: "view",
type: "function",
} -
checkIn: checks in the user. The function takes the user's address as input and doesn't return anything. The ABI for this function is as follows:ABI for checkIn{
inputs: [
{
internalType: "address",
name: "to",
type: "address",
},
],
name: "checkIn",
outputs: [],
stateMutability: "nonpayable",
type: "function",
}
-
In the
appdirectory, create a new directory namedcheck-in. -
Inside
check-in, create a file namedcommon.tswith the following code:common.tsimport { getAddress } from "viem"
export const CHECK_IN_ADDRESS = getAddress("0x9CBC47AF3d33aaAFBb442cB951DD737a488D693A")
export const CHECK_IN_ABI = [
{
  inputs: [
    {
      internalType: "address",
      name: "user",
      type: "address",
    },
  ],
  name: "isMissedCheckIn",
  outputs: [
    {
      internalType: "bool",
      name: "",
      type: "bool",
    },
  ],
  stateMutability: "view",
  type: "function",
},
{
  inputs: [
    {
      internalType: "address",
      name: "to",
      type: "address",
    },
  ],
  name: "checkIn",
  outputs: [],
  stateMutability: "nonpayable",
  type: "function",
},
] as const -
In the same directory, create a
check-in.tsxfile to contain the check-in UI:check-in.tsximport { FC, useState } from "react"
import { Address } from "viem"
type Props = {
account: Address
}
export const CheckIn: FC<Props> = ({ account }) => {
return (
<div>
Placeholder
</div>
)
} -
Also there, create a file
use-is-checked-in.tsto contain a hook for getting the check-in status of an address:use-is-checked-in.tsimport { useState } from "react"
import { Address } from "viem"
export const useIsCheckedIn = (currentAddress: Address) => {
const [missed, setMissed] = useState<boolean | undefined>()
const [loading, setLoading] = useState<boolean>(false)
return {
data: !missed,
loading,
}
}
Step 8. Get check-in status
-
In the
check-indirectory, open theuse-is-checked-in.tsfile:use-is-checked-in.tsconst fetchIsCheckedIn = async () => {
setLoading(true)
setMissed(undefined)
try {
// The isMissed function reads data from the blockchain, so we use PublicClient.
// We just need to pass the function name and the user's address to get the check-in status.
const isMissed = await web3PublicClient.readContract({
address: CHECK_IN_ADDRESS,
abi: CHECK_IN_ABI,
functionName: "isMissedCheckIn",
args: [currentAddress],
})
// Remember to use `setMissed` for data update and `setLoading` for loading state.
setMissed(isMissed)
setLoading(false)
return
} catch (error) {
/* empty */
}
setMissed(undefined)
setLoading(false)
} -
Call
fetchIsCheckedInin theuseEffecthook, returningfetchIsCheckedInfor refetching the status after a check-in:use-is-checked-in.tsuseEffect(() => {
fetchIsCheckedIn()
// eslint-disable-next-line react-hooks/exhaustive-deps
}, [currentAddress])
return {
data: !missed,
loading,
refetch: fetchIsCheckedIn,
}
Step 9. Create UI for check-in status
-
In the
check-indirectory, open thecheck-in.tsxfile. -
To get the check-in status, consume the
useIsCheckedInhook:check-in.tsxconst { data: isCheckedIn, loading, refetch: refetchCheckedIn } = useIsCheckedIn(account) -
Display the status in the UI:
check-in.tsxreturn (
<div>
<div className="mt-8 font-semibold tracking-wider">
{loading ? (
<div className="text-yellow-600">Loading...</div>
) : (
<>
{isCheckedIn ? (
<div className="text-green-600">You are already checked in for today.</div>
) : (
<div className="text-yellow-600">Please check in now!</div>
)}
</>
)}
</div>
</div>
) -
In the
appdirectory, open thepage.tsxfile. -
Render the
CheckIncomponent if the account is available:page.tsxreturn (
<main className="flex flex-col items-start min-h-screen gap-4 p-24">
{/* EXISTING CODE */}
{account && <CheckIn account={account} />}
</main>
)
By the end of this step, you built the flow for getting the check-in status of a user. Your app's UI should look similar to this:
Step 10. Add check-in button
-
In the
check-indirectory, open thecheck-in.tsxfile. -
Add states to manage the check-in transaction:
check-in.tsxconst [txHash, setTxHash] = useState<string>()
const [isWaitTx, setIsWaitTx] = useState<boolean>(false)
const [error, setError] = useState<string>()
// txHash: to store the transaction hash received after sending the check-in transaction.
// isWaitTx: to show a loading indicator when the user sends their check-in transaction.
// error: to display any errors that occur during the transaction. -
Add a button for checking in, and keep it turned off while loading and waiting for a transaction to process. Use
handleCheckInfor theonClicklistener.check-in.tsxreturn (
<div>
{/* EXISTING CODE */}
<button
className="bg-blue-600 hover:bg-blue-700 text-white font-bold py-3 px-4 rounded-xl mt-2 disabled:opacity-50"
disabled={isCheckedIn || loading || isWaitTx}
onClick={handleCheckIn}
>
{isWaitTx ? "Wait for transaction" : "Check In"}
</button>
</div>
)
Step 11. Send check-in transaction
-
In the
check-indirectory, open thecheck-in.tsxfile. -
Change the loading status to
truewhen the user clicks the Check In button:check-in.tsxconst handleCheckIn = async () => {
setTxHash(undefined)
setIsWaitTx(true)
} -
Before sending the transaction, we need to simulate it:
- Does the user have enough RON to execute the transaction? The wallet handles gas estimation using the
eth_estimategasmethod. eth_estimateGasjust reads data from the blockchain, so we usePublicClient.- For more information on
eth_estimategas, see MetaMask documentation.
check-in.tsxconst handleCheckIn = async () => {
setTxHash(undefined)
setIsWaitTx(true)
// Wrap the simulation in a try-catch block to handle errors.
try {
const { txRequest } = await web3PublicClient.simulateContract({
account,
address: CHECK_IN_ADDRESS,
abi: CHECK_IN_ABI,
// Call the checkIn function of the smart contract to simulate a check-in transaction.
functionName: "checkIn",
// Pass the user's address as an argument.
args: [account],
})
} catch (error) {
console.log(error)
setError("Could not send transaction. Check your console for further details.")
setTxHash(undefined)
setIsWaitTx(false)
}
}The simulation returns a
txRequestobject that contains all the information needed to send the transaction to the blockchain. - Does the user have enough RON to execute the transaction? The wallet handles gas estimation using the
-
After simulating, send the transaction to the blockchain and receive the transaction hash:
check-in.tsx// Pass the txRequest object received from the simulation
// to the writeContract function to send the transaction.
// We need the user to sign the transaction, so we use WalletClient.
const txHash = await web3WalletClient.writeContract(txRequest)
// Store the transaction hash
setTxHash(txHash) -
Display the transaction hash or error to the user:
check-in.tsxreturn (
<div>
{/* PREVIOUS CODE */}
<div className="flex flex-col gap-2 mt-8">
<button
className="bg-blue-600 hover:bg-blue-700 text-white font-bold py-3 px-4 rounded-xl mt-2 disabled:opacity-50"
disabled={isCheckedIn || loading || isWaitTx}
onClick={handleCheckIn}
>
{isWaitTx ? "Wait for transaction" : "Check In"}
</button>
{txHash && (
<>
<p className="font-semibold text-green-600">Send successfully!</p>
<a
className="text-blue-700 hover:text-blue-800"
href={`https://saigon-app.roninchain.com/tx/${txHash}`}
>
Check your transaction here
</a>
</>
)}
{error && <p className="text-red-600">{error}</p>}
</div>
</div>
)
Step 12. Refresh check-in status
At the previous step, you sent the check-in transaction to the blockchain, but the user still sees the "Please check in now!" message. Why?
- The user just sent the transaction, but the blockchain hasn't processed it yet.
- Transactions on Ronin often take 3-4 seconds to process.
To handle this, you need to wait for the blockchain to process the transaction and then refresh the check-in status.
-
In the
check-indirectory, open thecheck-in.tsxfile. -
After sending the transaction in the
handleCheckInfunction, use thewaitForTransactionReceiptfunction onPublicClientto get the transaction receipt:check-in.tsxconst receipt = await web3PublicClient.waitForTransactionReceipt({
hash: txHash,
}) -
If the transaction is successful, refetch the check-in status and finish the check-in flow:
check-in.tsxif (receipt.status === "success") {
refetchCheckedIn()
setError(undefined)
setIsWaitTx(false)
return
}
throw "Transaction reverted!"
By the end of this step, you built the flow for sending a check-in transaction to the blockchain. Your app's UI should look similar to this:
Conclusion
In this tutorial, you learned the following:
- How to register an app in the Developer Console.
- How to consume
@sky-mavis/waypoint. This package is an EIP-1193 provider that you can use with any Ethereum JavaScript client. - The difference between the
Public ClientandWallet Clientinterfaces. - How to get data from the blockchain.
- How to sign a transaction using
Wallet Client. - How to wait for a transaction's processing and then refresh the UI.
Further challenges
Try to build the following features:
- Get the check-in streak of a user.
- Estimate the next time a user can check in.
- Use another wallet, such as Ronin Wallet or MetaMask.