About user journey
Overview
This page describes the complete journey of a Ronin Waypoint user, which includes the following sections:
- New user onboarding when a new user signs up for an account using Ronin Waypoint and creates a keyless wallet.
- Sign in when an existing user signs in to their existing account.
- Wallet interactions when a user funds their in-game wallet with RON, then sends transactions and signs messages.
The examples on this page use the Ronin Waypoint playground. The account and wallet you create are functional and can be used elsewhere in the Ronin ecosystem.
New user onboarding
This section describes the onboarding process for new users.
A new user is someone who doesn't have an existing keyless wallet.
Video walkthrough
Steps
-
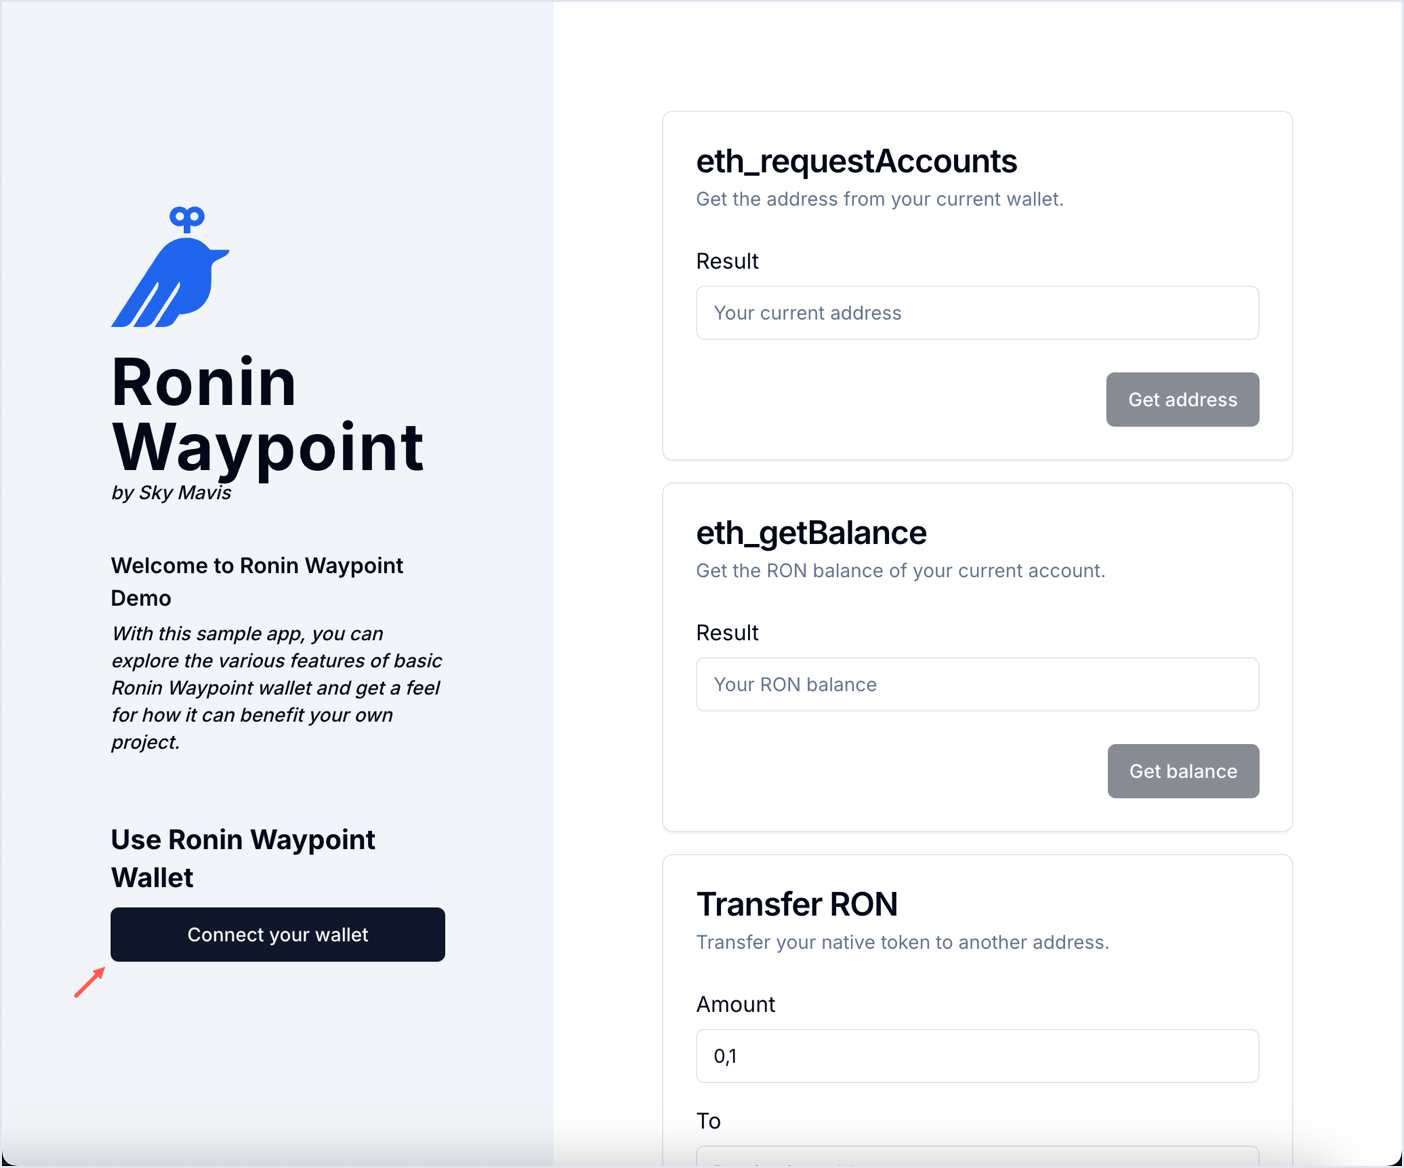
Visit the Ronin Waypoint playground.
-
Click Connect your wallet.
-
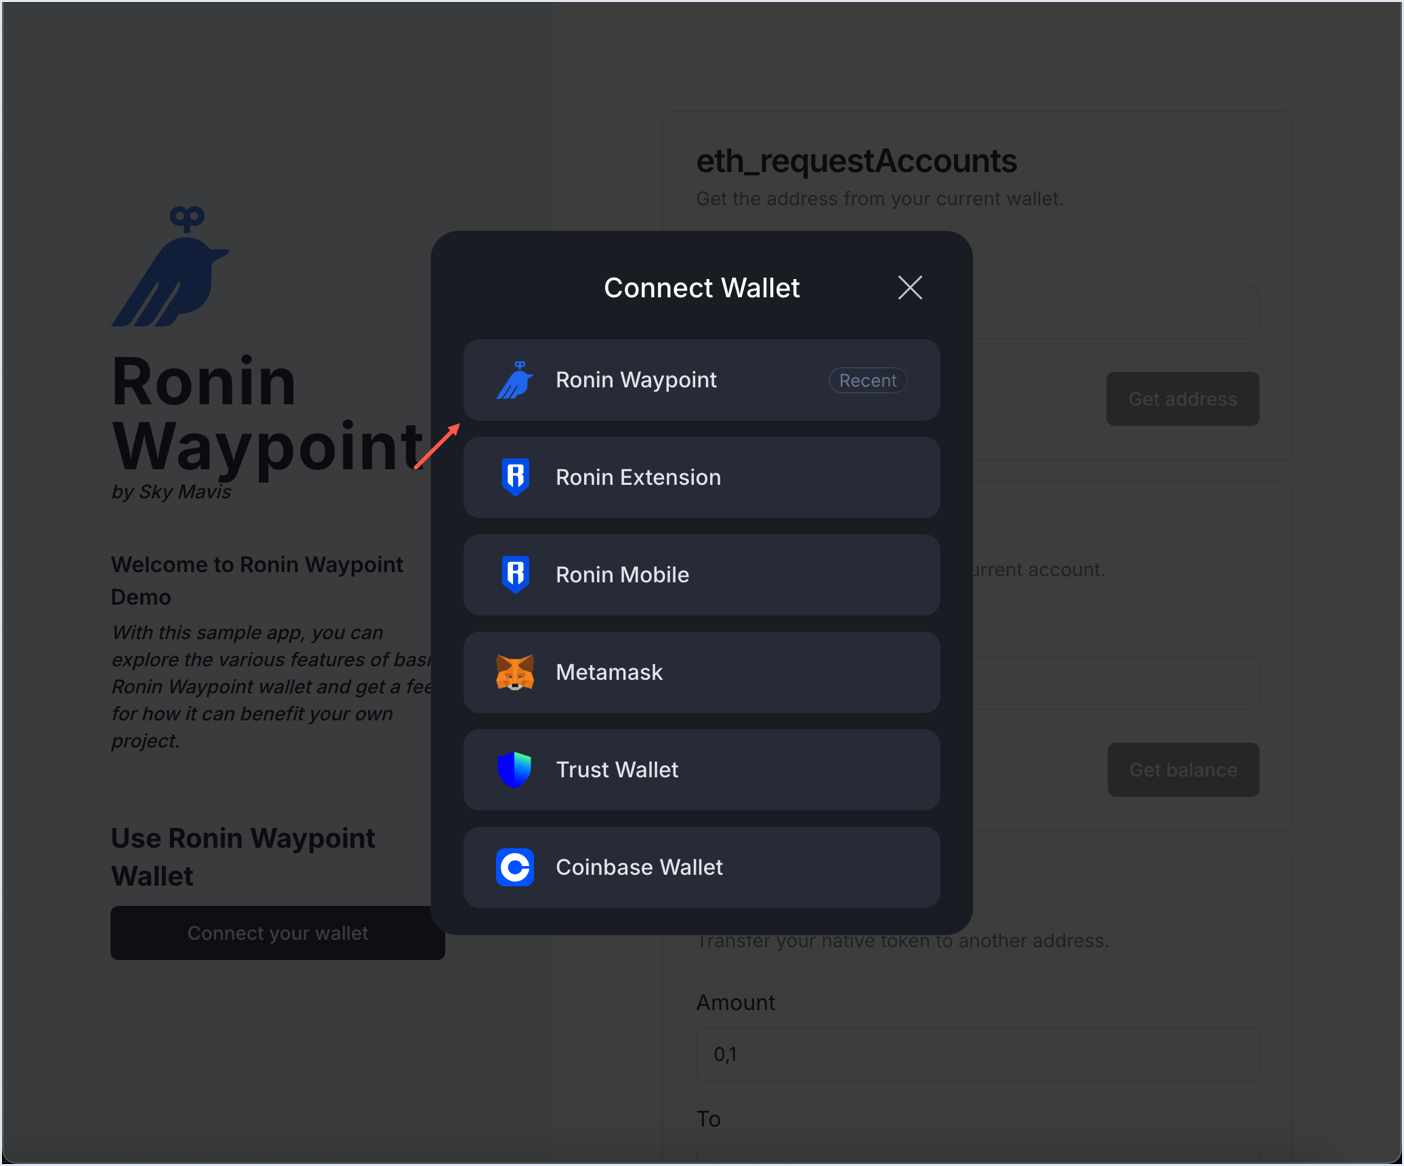
In the list of options, select Ronin Waypoint.
-
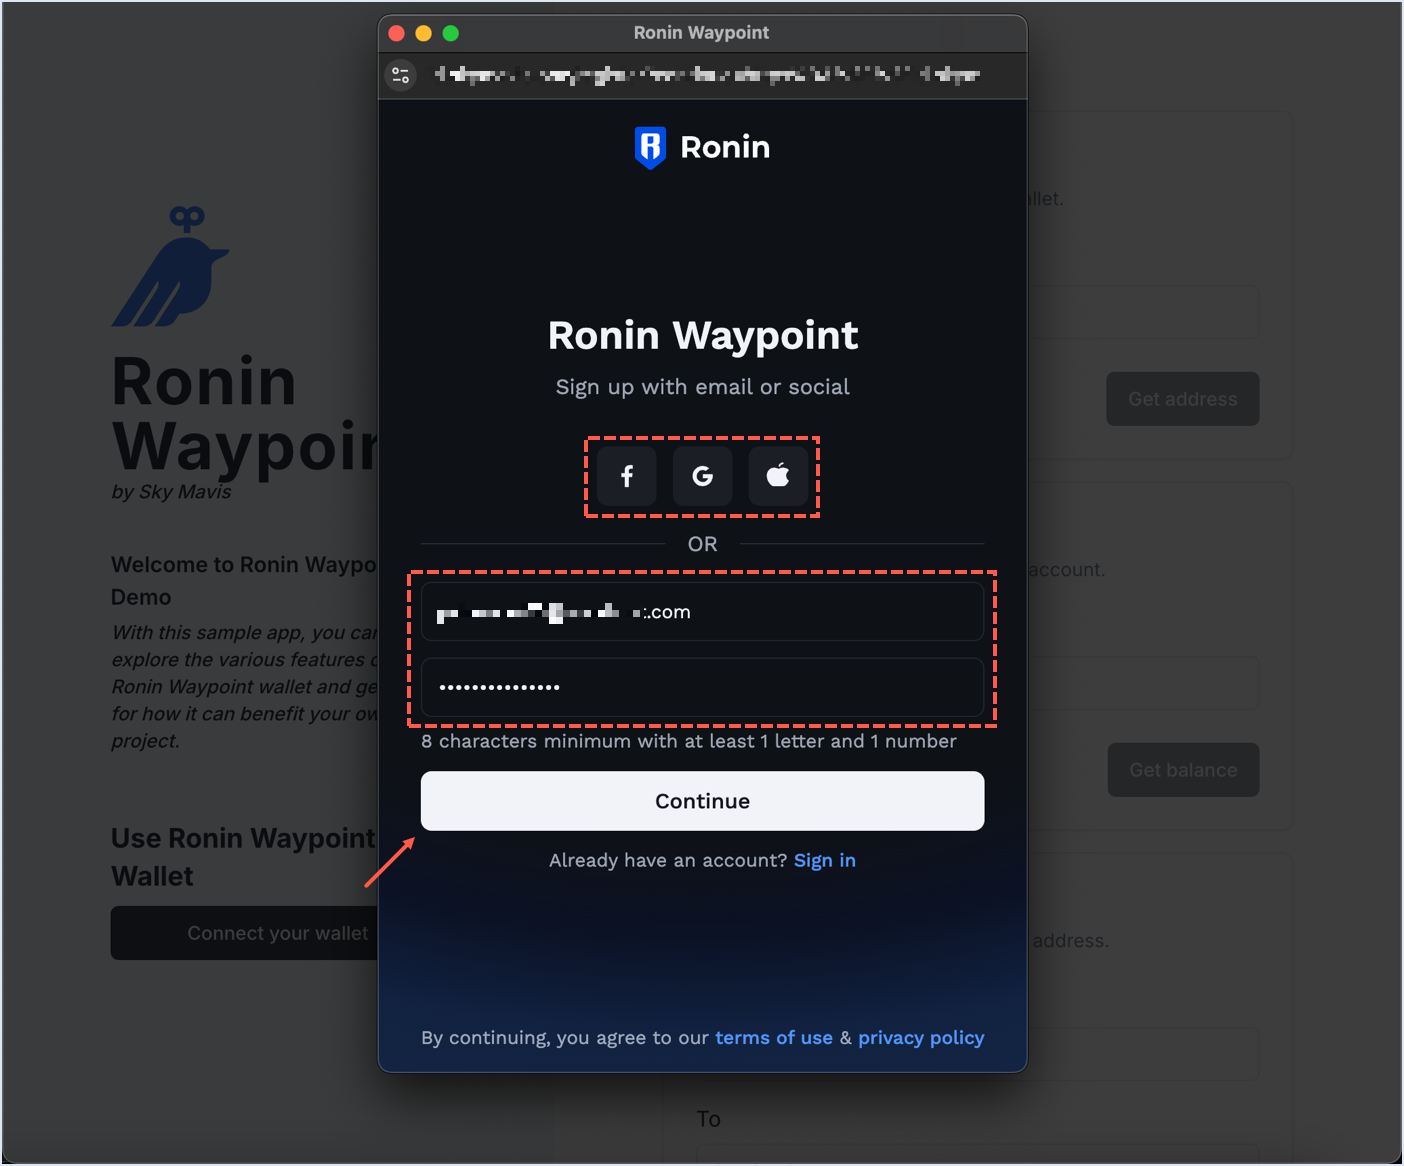
Click Sign up at the bottom of the screen, then create an account using a social login or email and password. In this example, we use email and password.
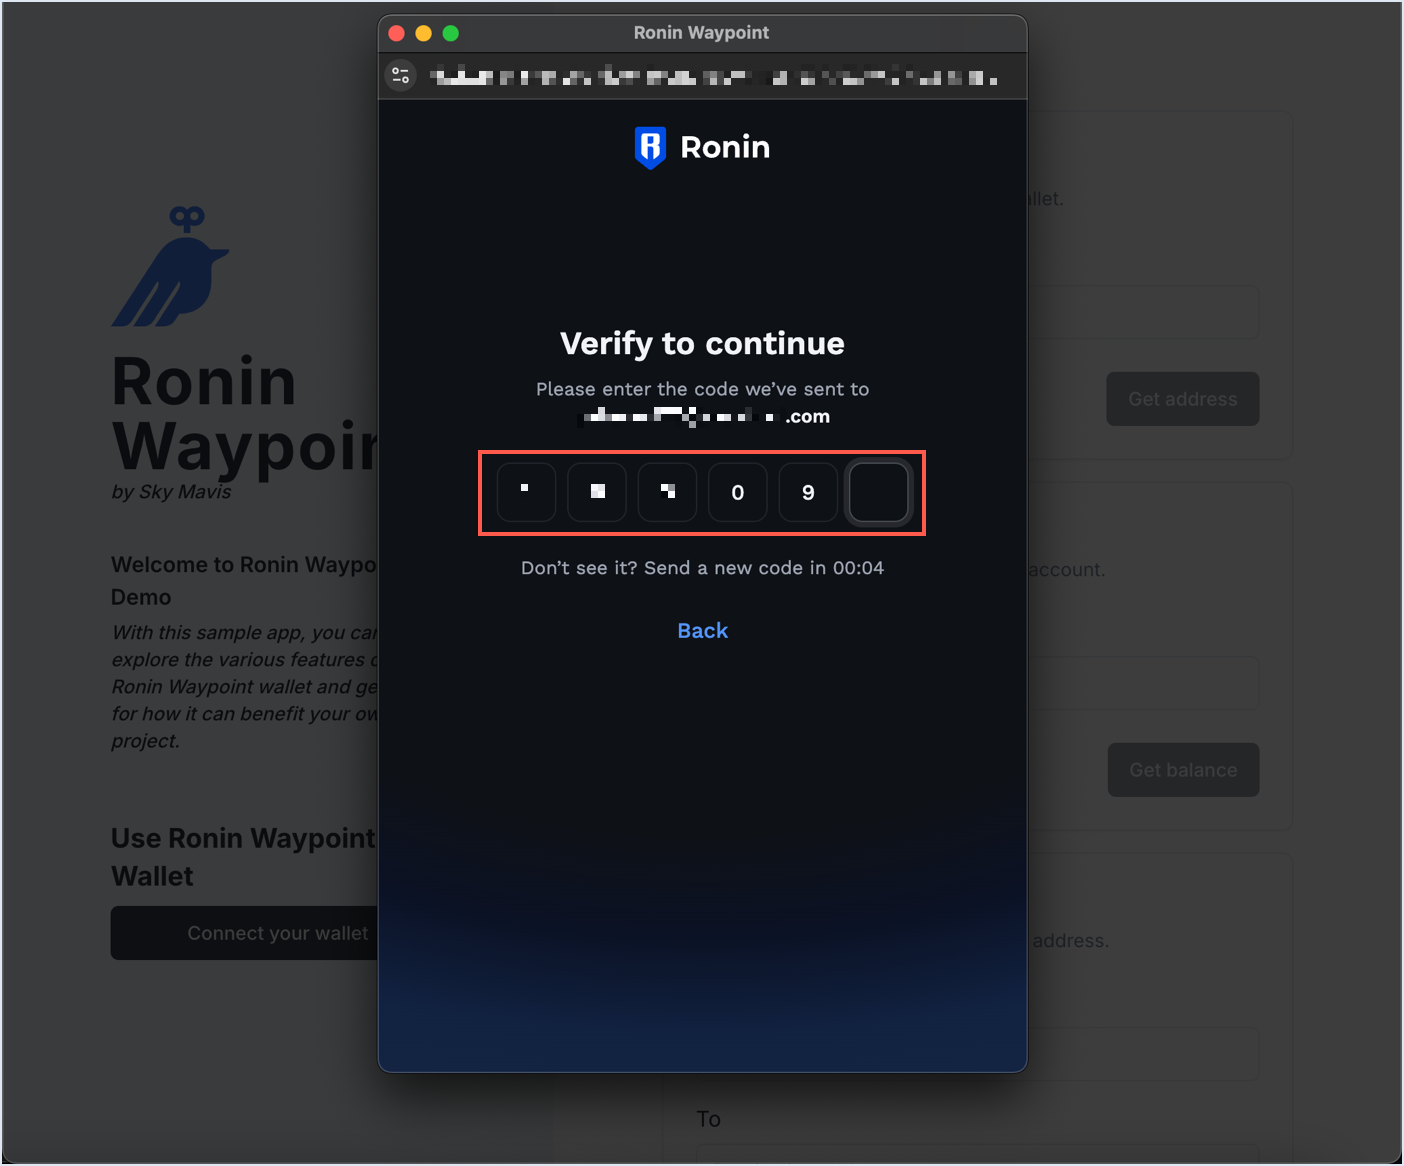
Enter the verification code sent to the email address.
-
To set a recovery password for the embedded wallet, click Set recovery password.
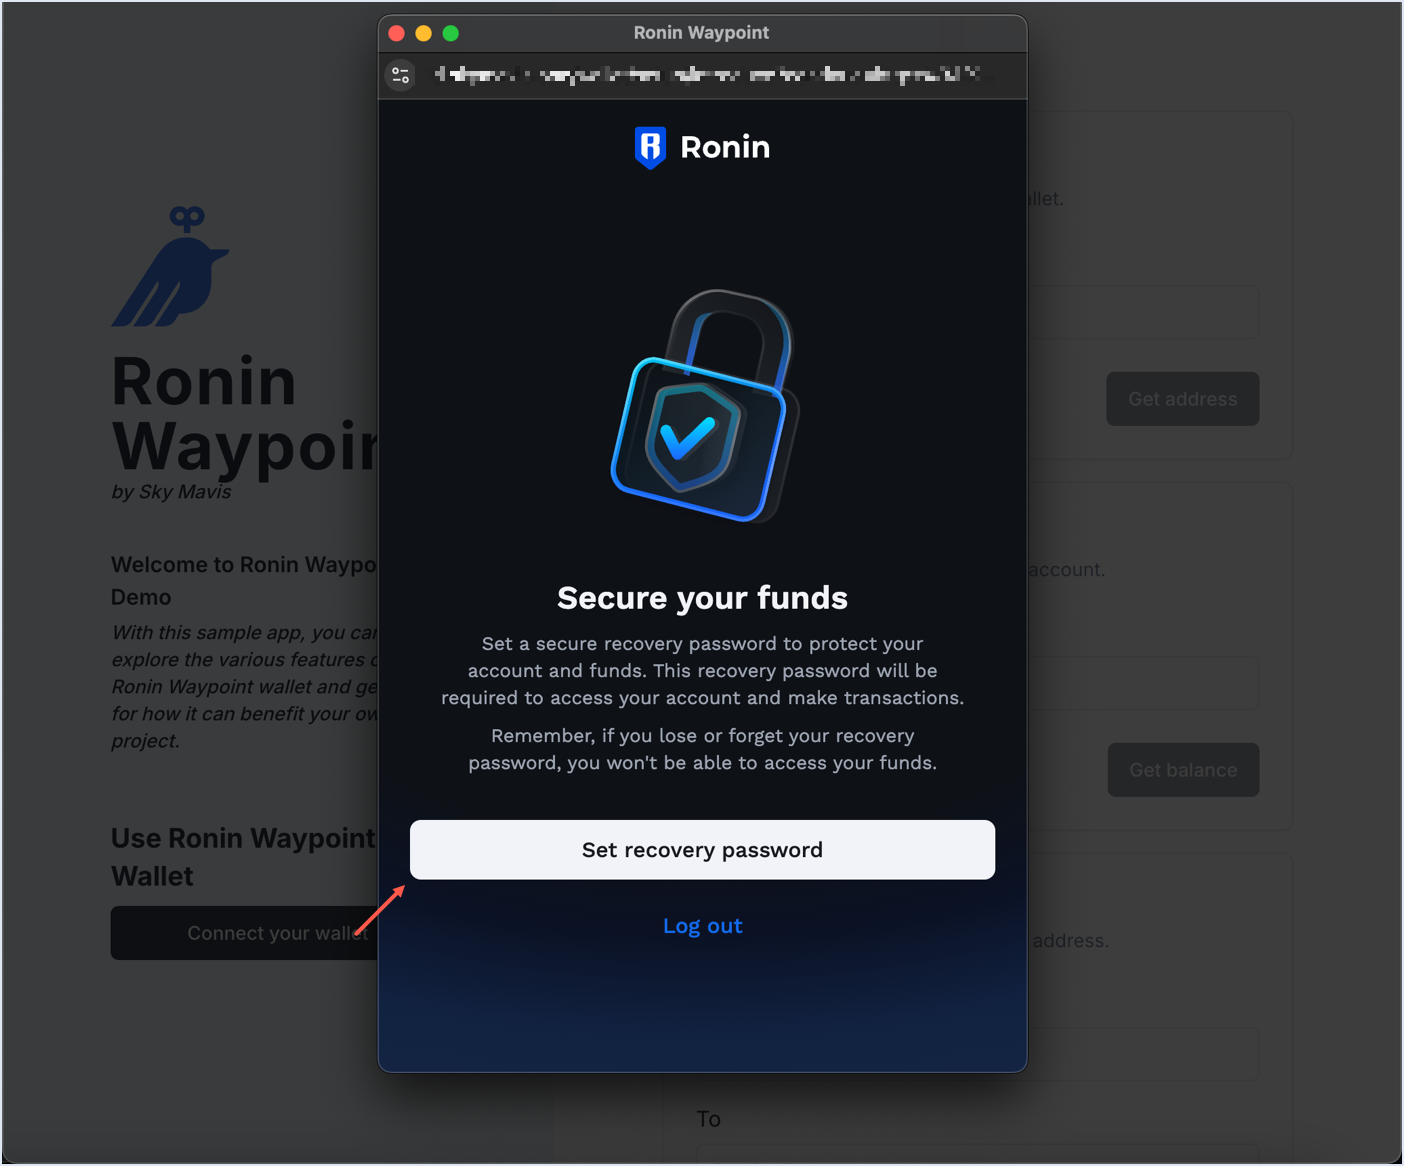 What is the recovery password?
- Unique password that lets users synchronize their wallet across different apps and devices.
- Required whenever users access the wallet on a different device or app, such as a game, keyless Ronin Wallet, or Mavis Market.
- Should never be shared with anyone and should be stored securely.
-
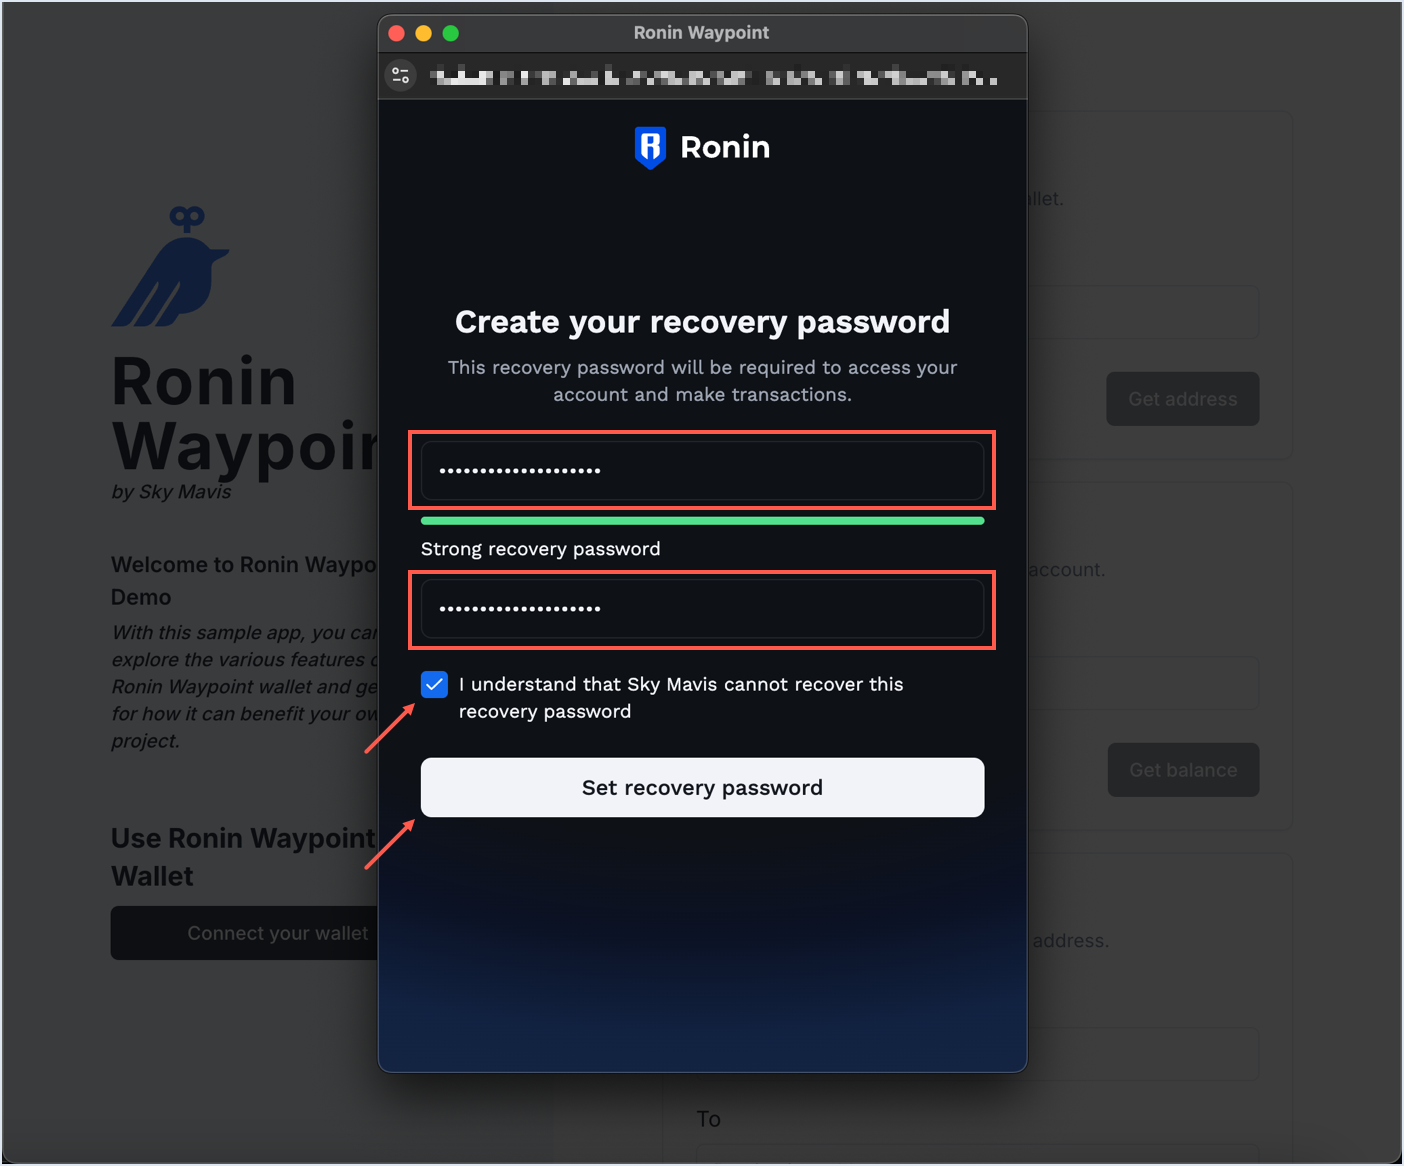
Enter the recovery password, confirm it, and then click Set recovery password.
-
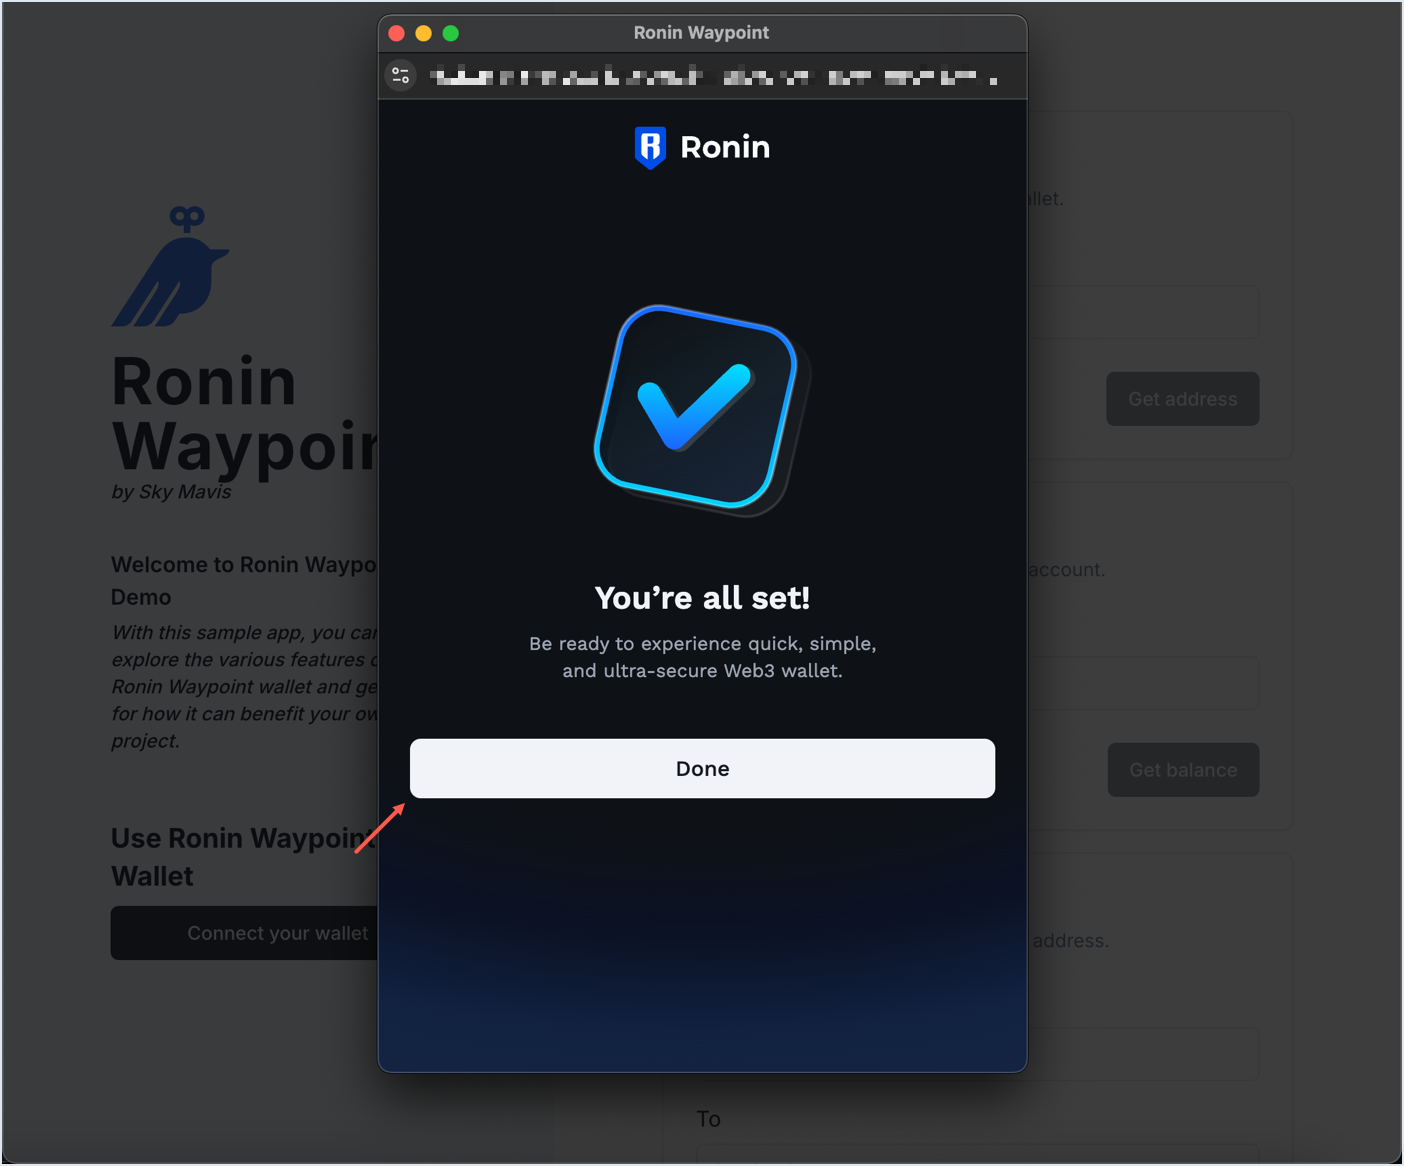
Your wallet is created. To complete onboarding, click Done.
-
To connect your wallet to the playground, click Confirm.
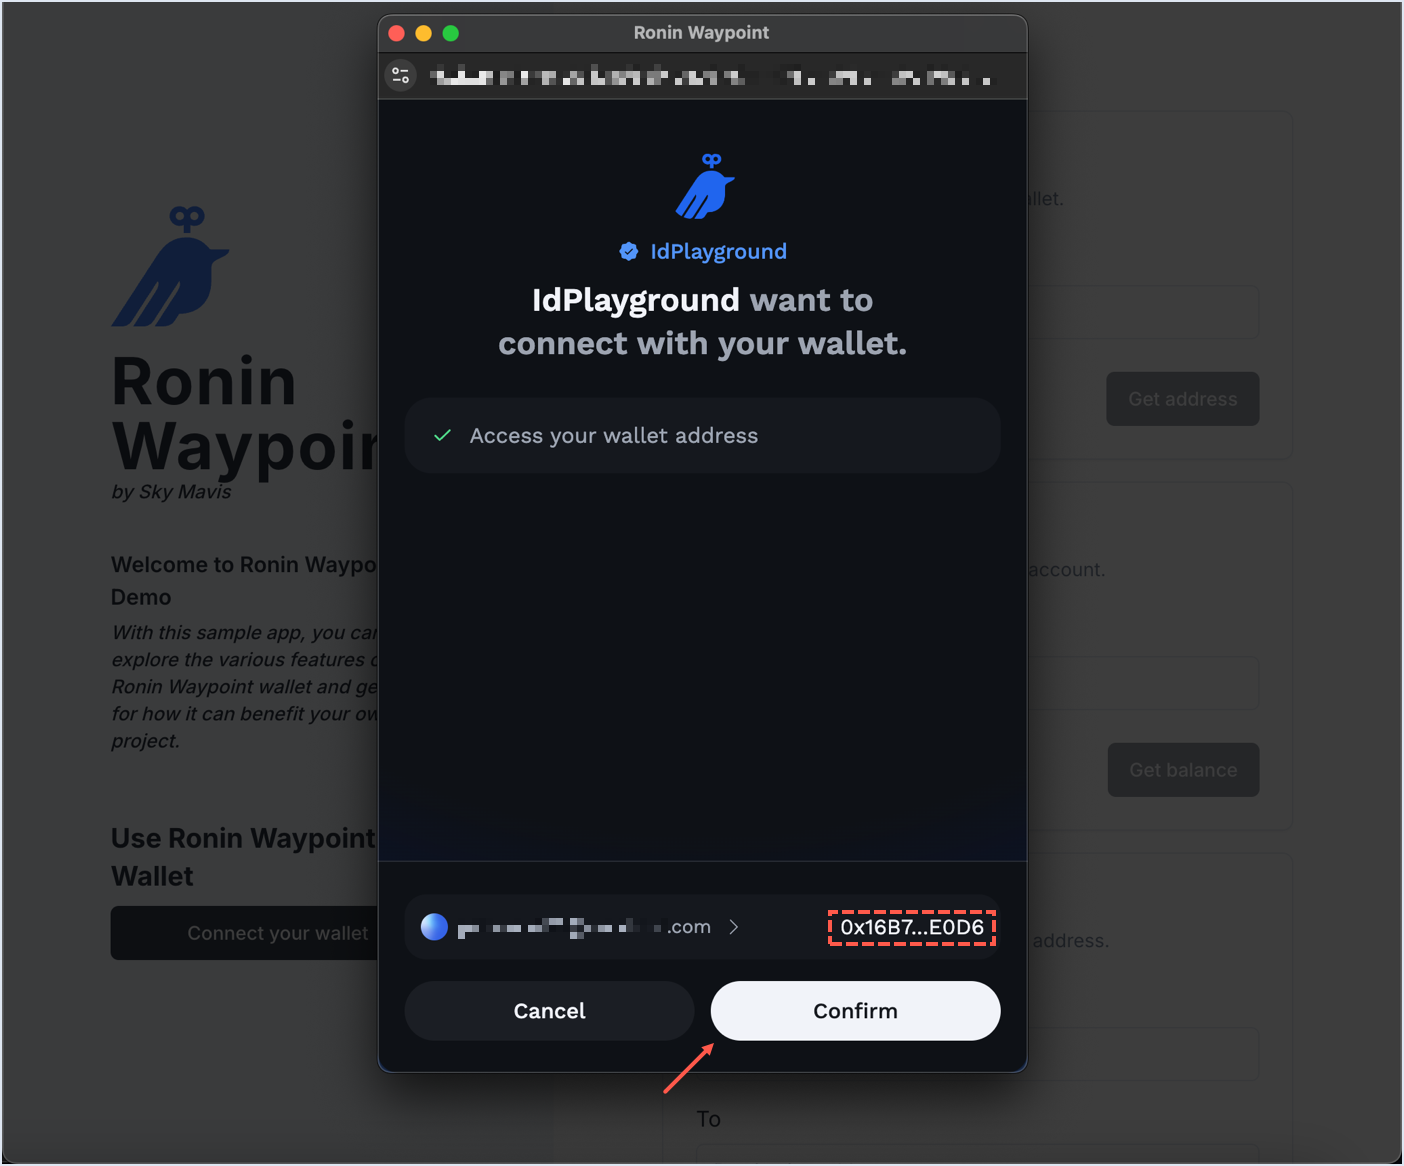
You're now connected to the playground. Your wallet address is displayed.
You can now use your wallet to send transactions and sign in to supported dApps in the Ronin ecosystem, such as Ronin App or Mavis Hub.
Existing user sign-in
This section describes the sign-in process for existing users.
An existing user is someone who already has a keyless wallet. They can set up a keyless wallet in one of the following ways:
- As described in the New user onboarding section.
- By going through the onboarding process in a game or dApp that supports Ronin Waypoint. For example, Axie Classic or the Ronin Wallet mobile app or browser extension. For more information on using the Ronin Wallet, see Creating Wallet with Email Address or Social Account.
Video walkthrough
Steps
-
Click Connect your wallet.
-
In the list of options, select Ronin Waypoint.
-
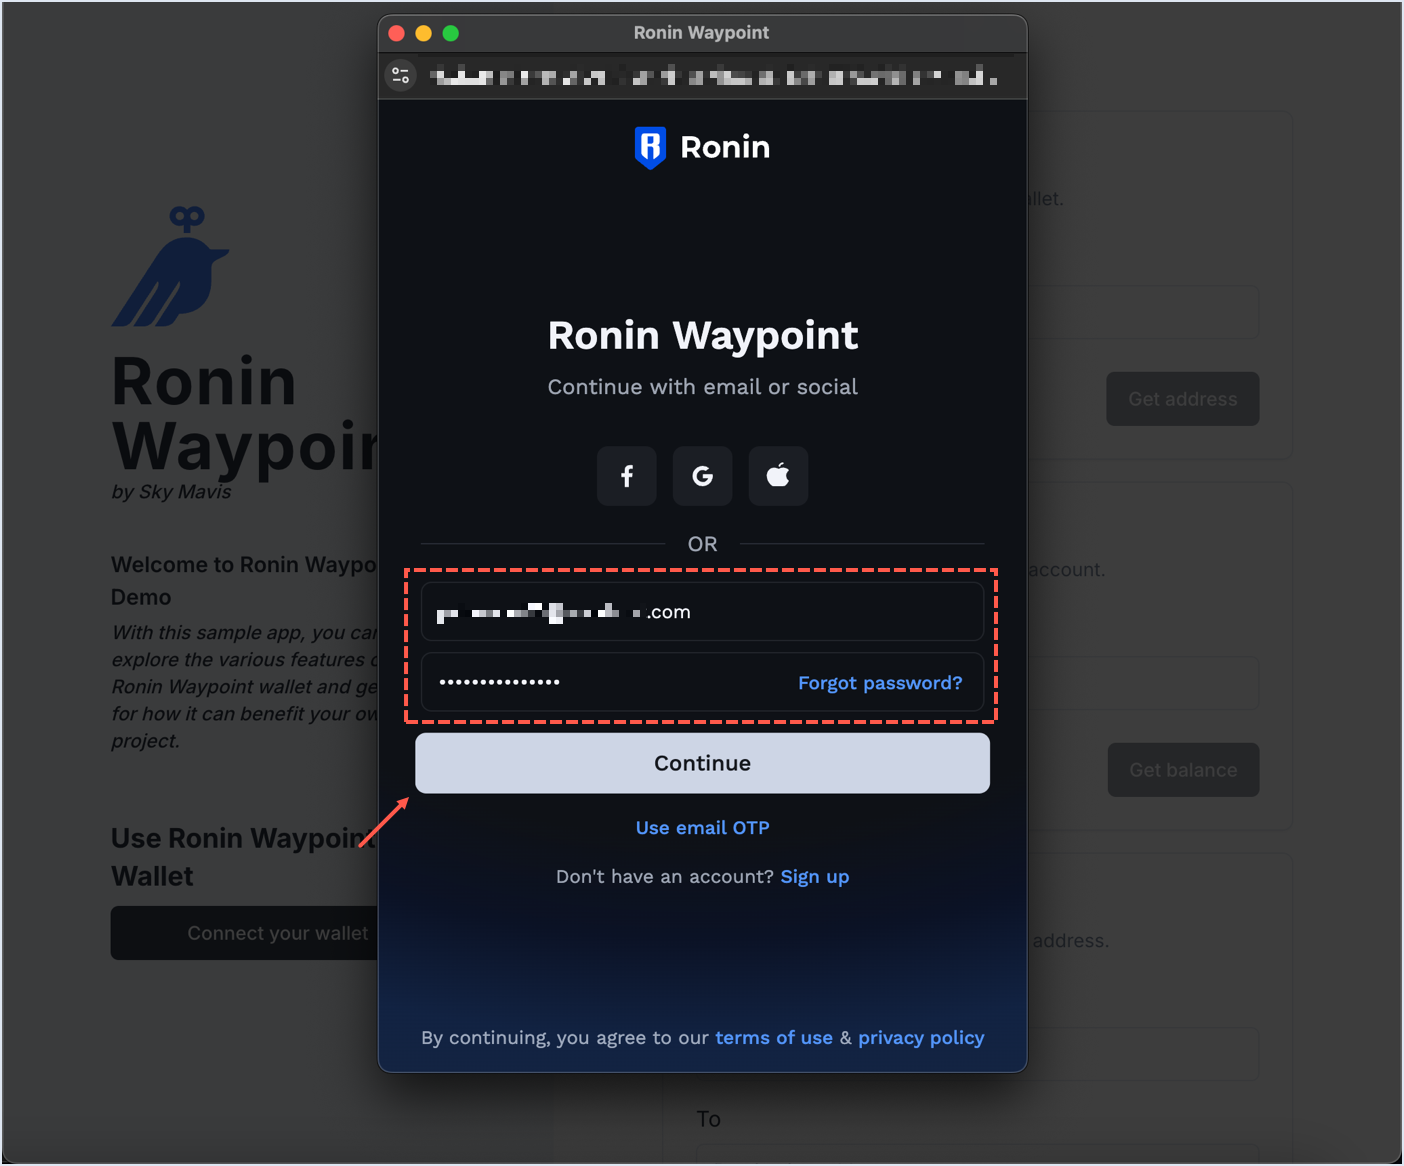
Sign in using the same method you used to create the account. For example, if they created the account with an email and password, log in with the same email and password.
-
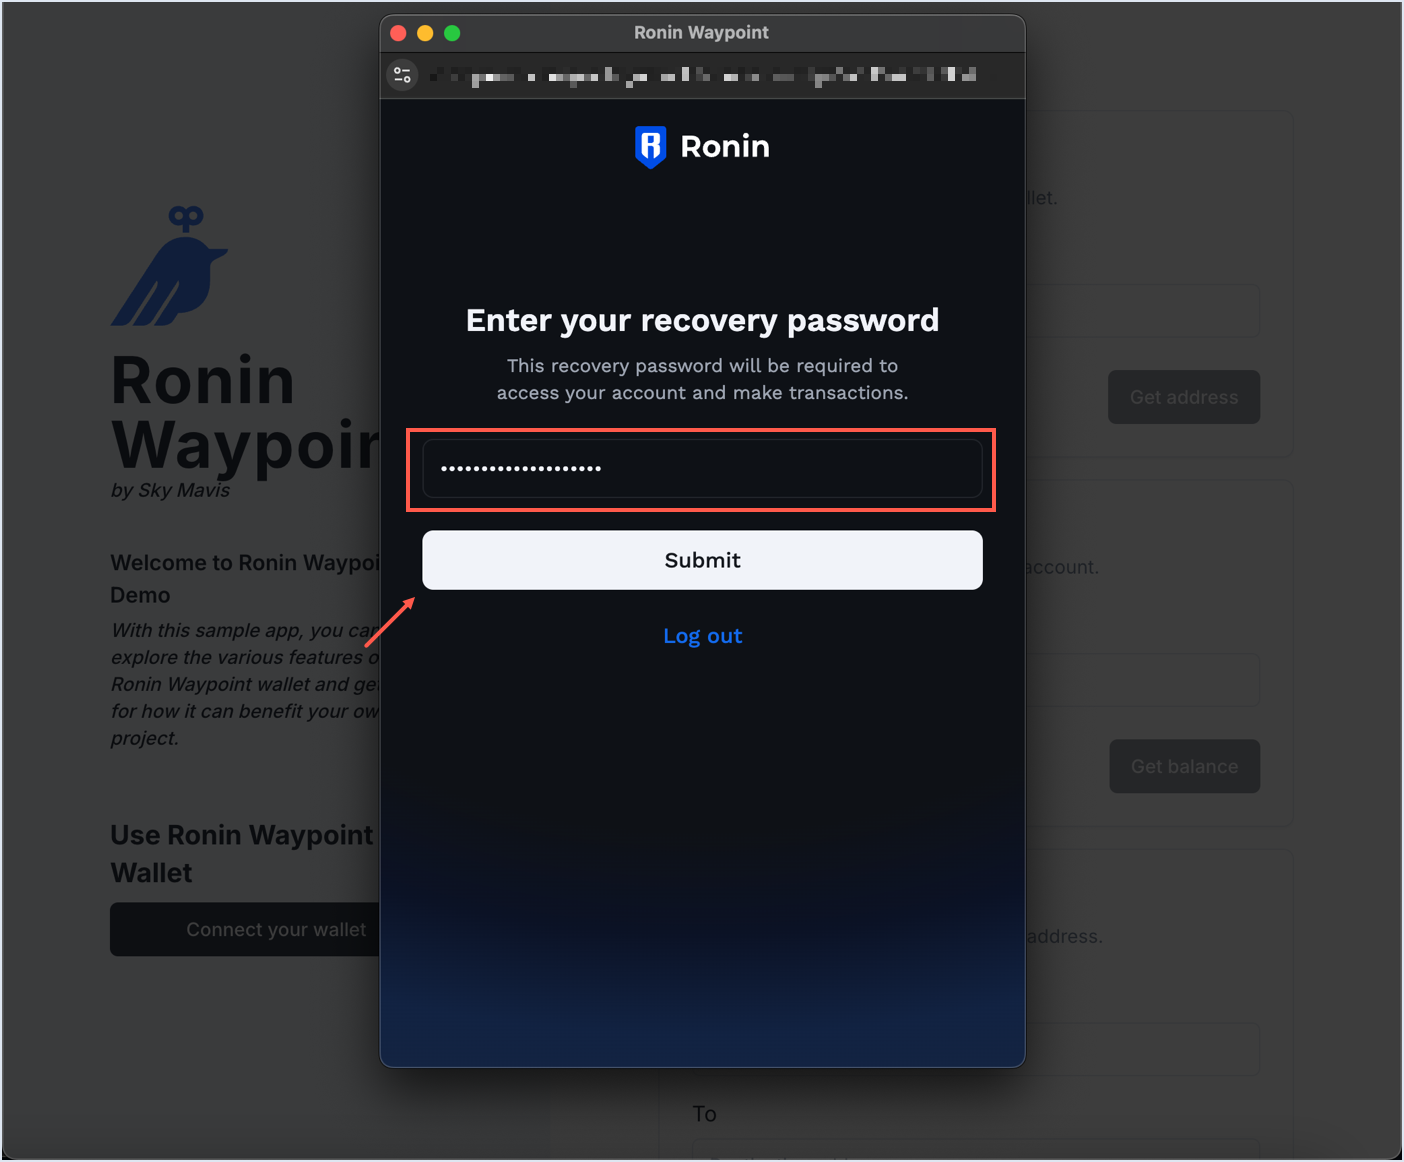
Enter your recovery password. This synchronizes your keyless Ronin Wallet with the game or app you're signing in to. In this example, we use the recovery password set in the previous section.
-
To connect your wallet to the playground, click Confirm.
-
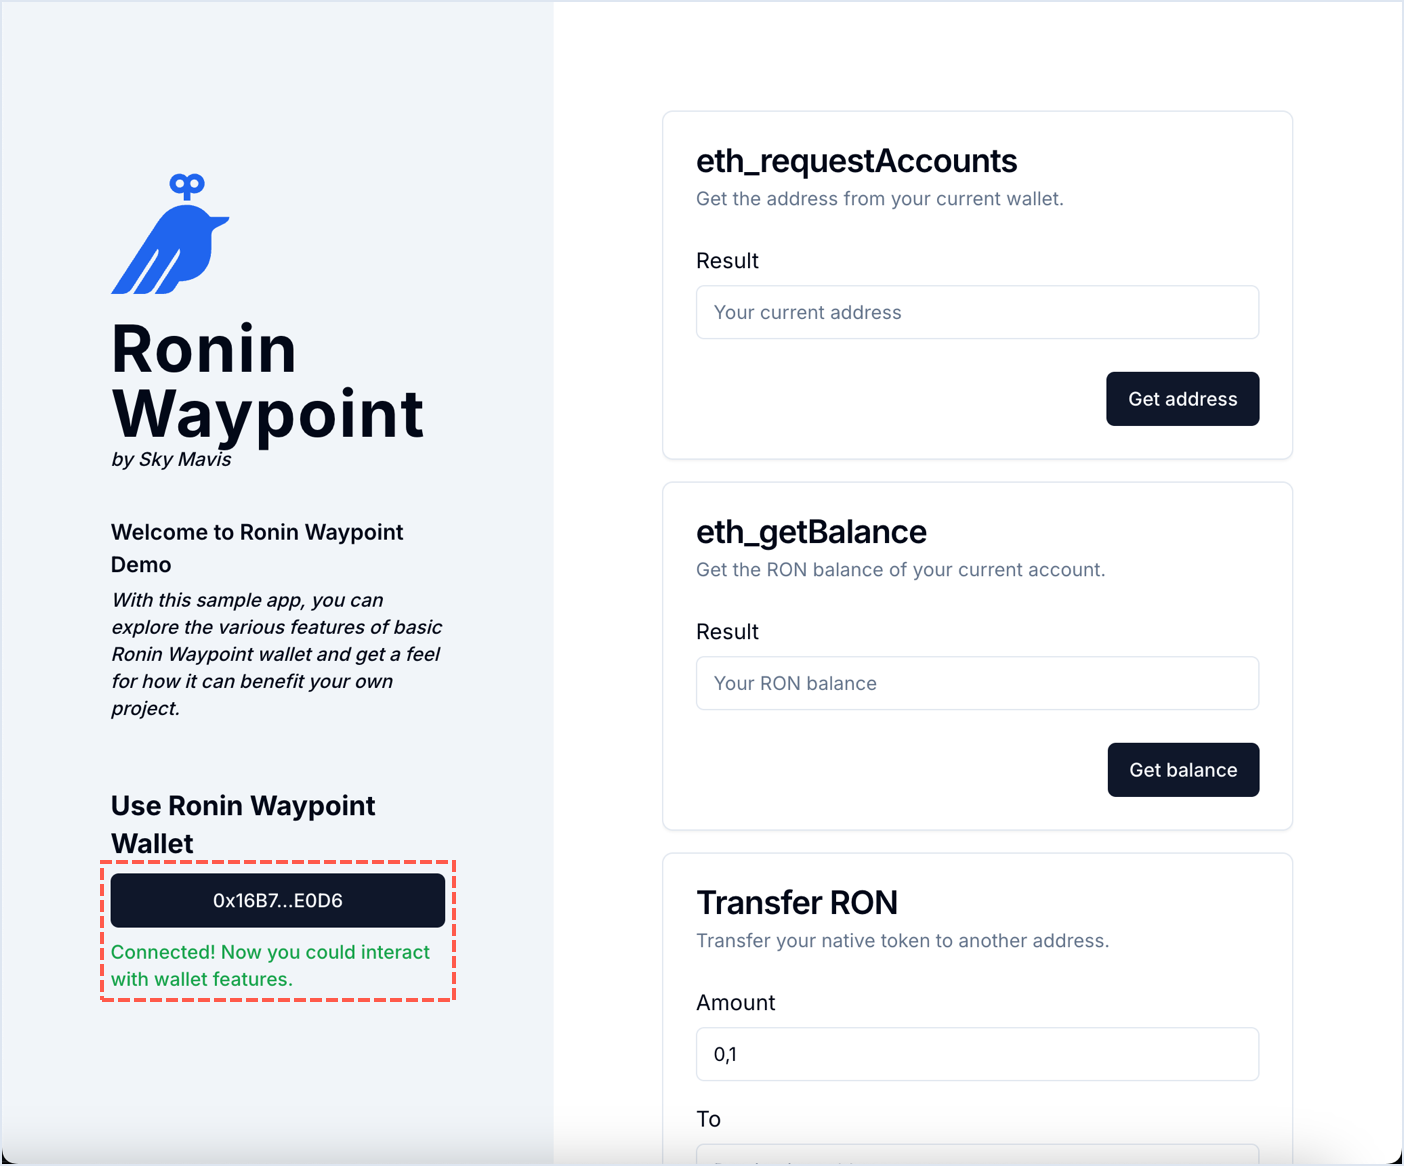
You're now connected to the playground. Your wallet address is displayed.
Now that you've connected your wallet, you can use it to send transactions and sign messages and typed data in the playground.
Account recovery
If you forget your account password, you can reset it by following these steps:
- Visit the password reset page.
- Enter your email address and click Send reset link.
- Check your email for a password reset link.
- Click the link to reset your password.
- Sign in to your account with the new password.
Wallet interactions
In this section, we'll explore how to use the Ronin Waypoint in-game wallet in the playground. The examples include topping up the wallet with testnet RON tokens, sending transactions, and signing messages.
Top up
The newly created wallet has a balance of 0 RON tokens. Top up the wallet with testnet RON tokens to perform transactions by following these steps:
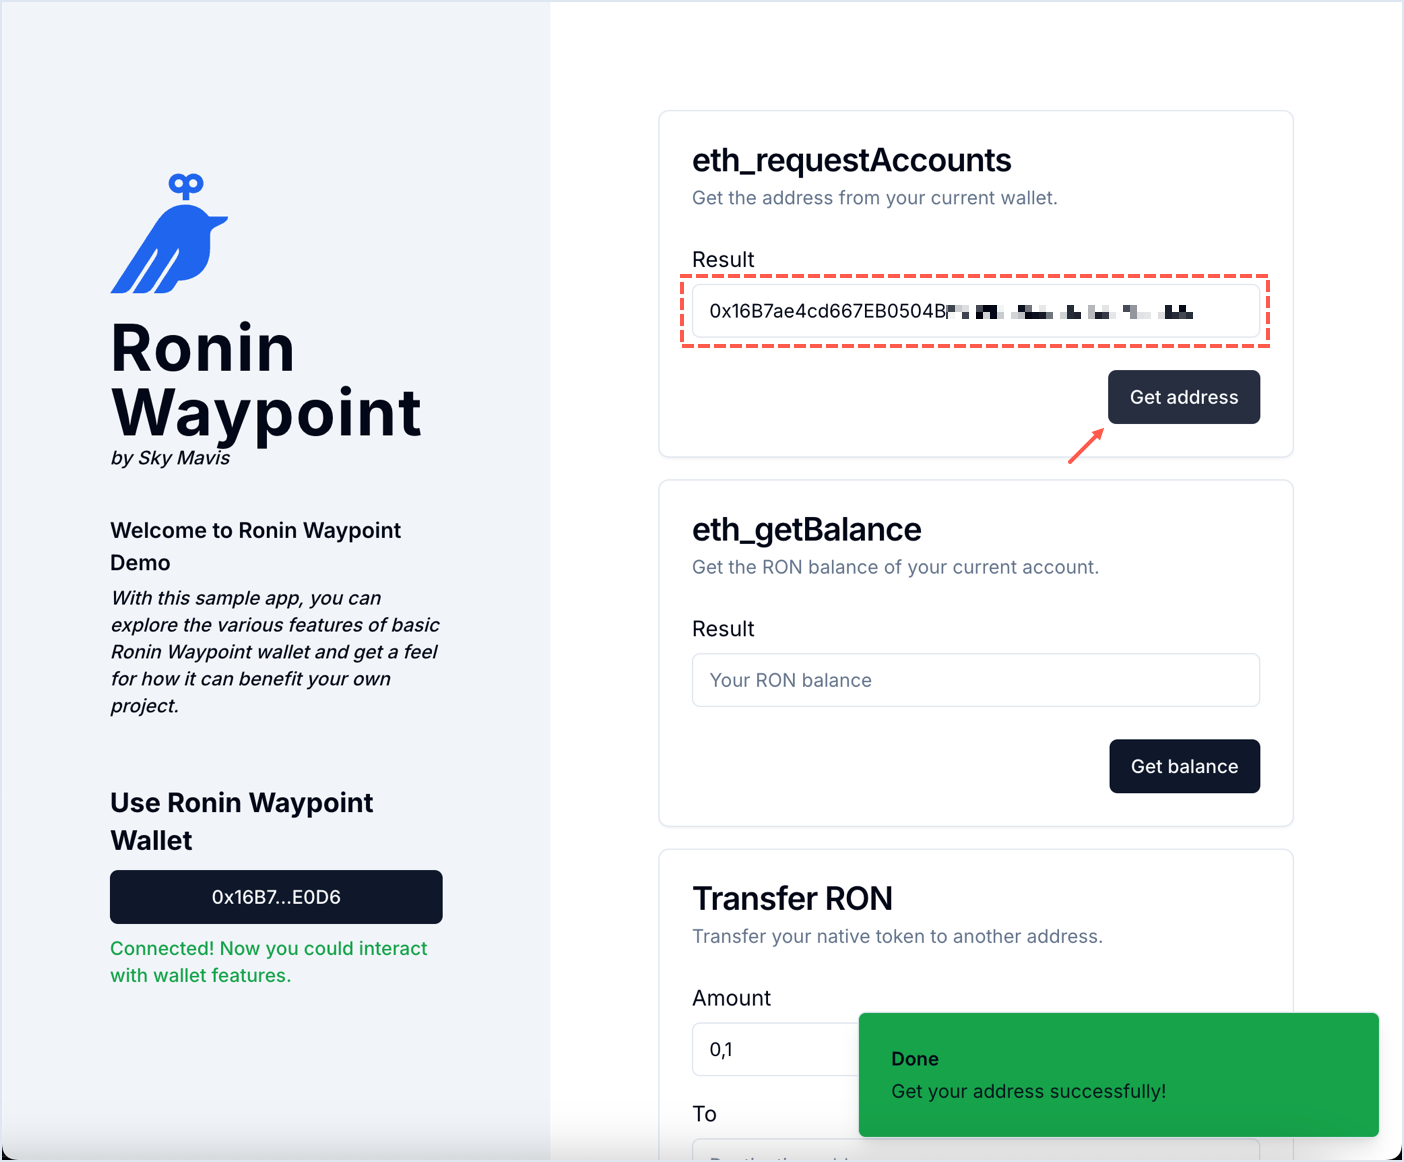
-
Click Get address to view the wallet address, then copy it to the clipboard.
-
Visit Ronin Faucet, paste your wallet address into the Ronin Address field, then select the token, and and then click Send request

-
Return to the playground and click Get balance to retrieve the RON balance in the wallet. The number should increase by 1 RON.

Video walkthrough:
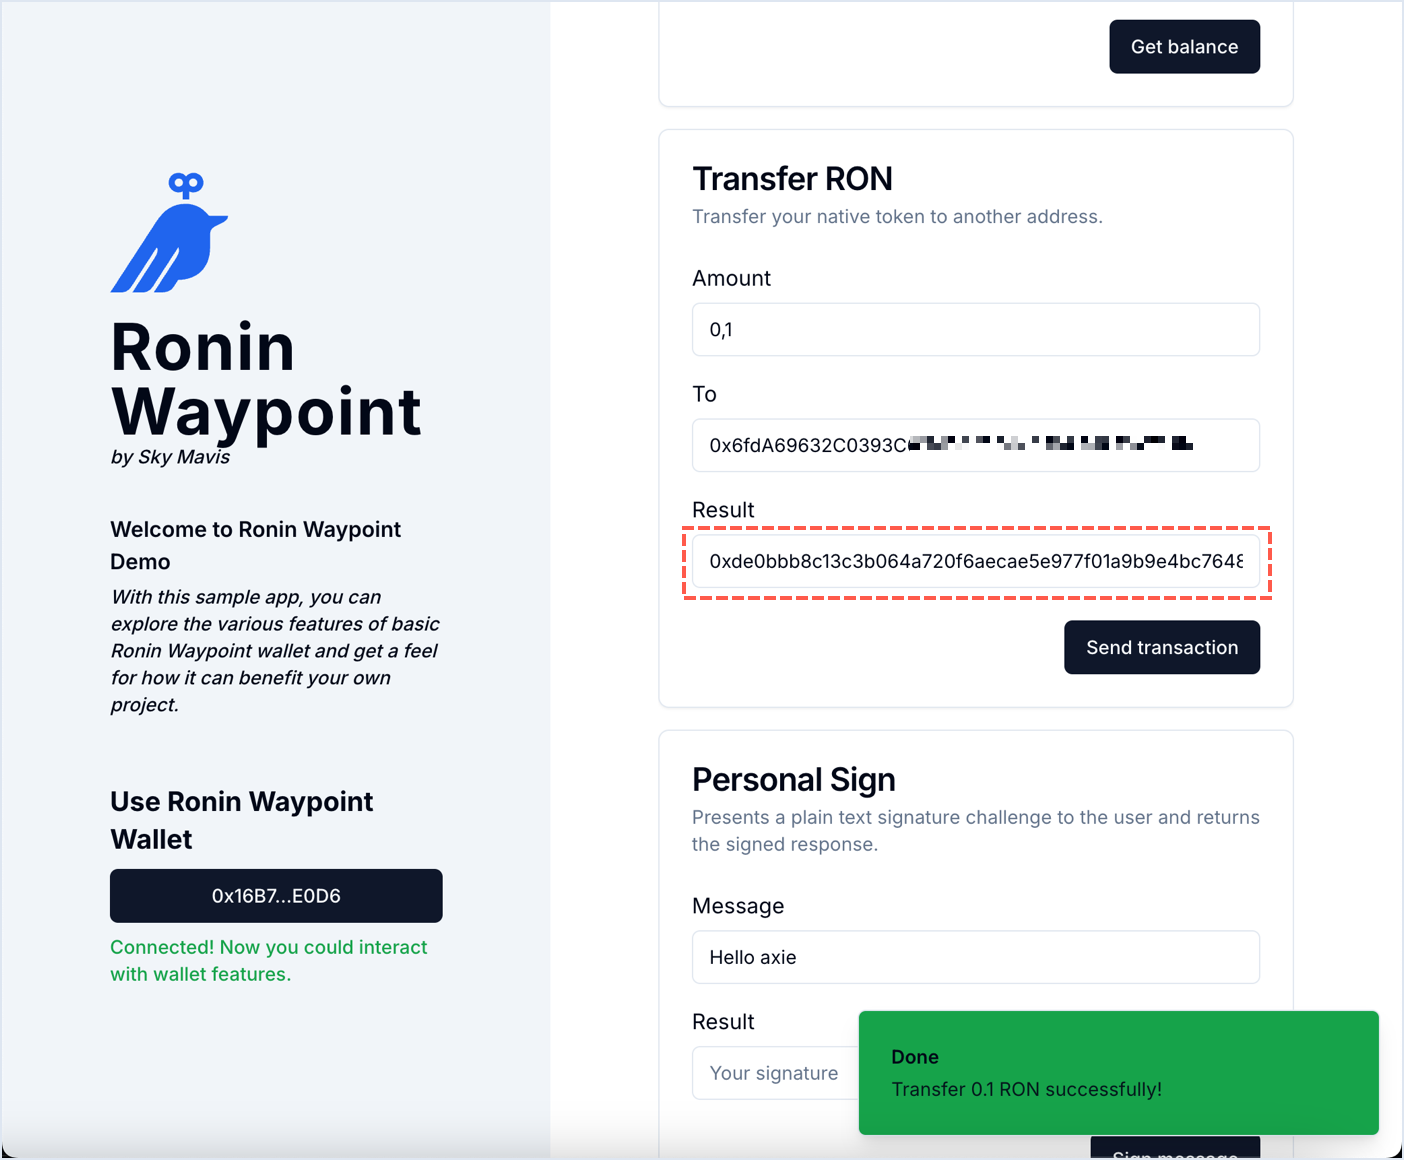
Send transactions
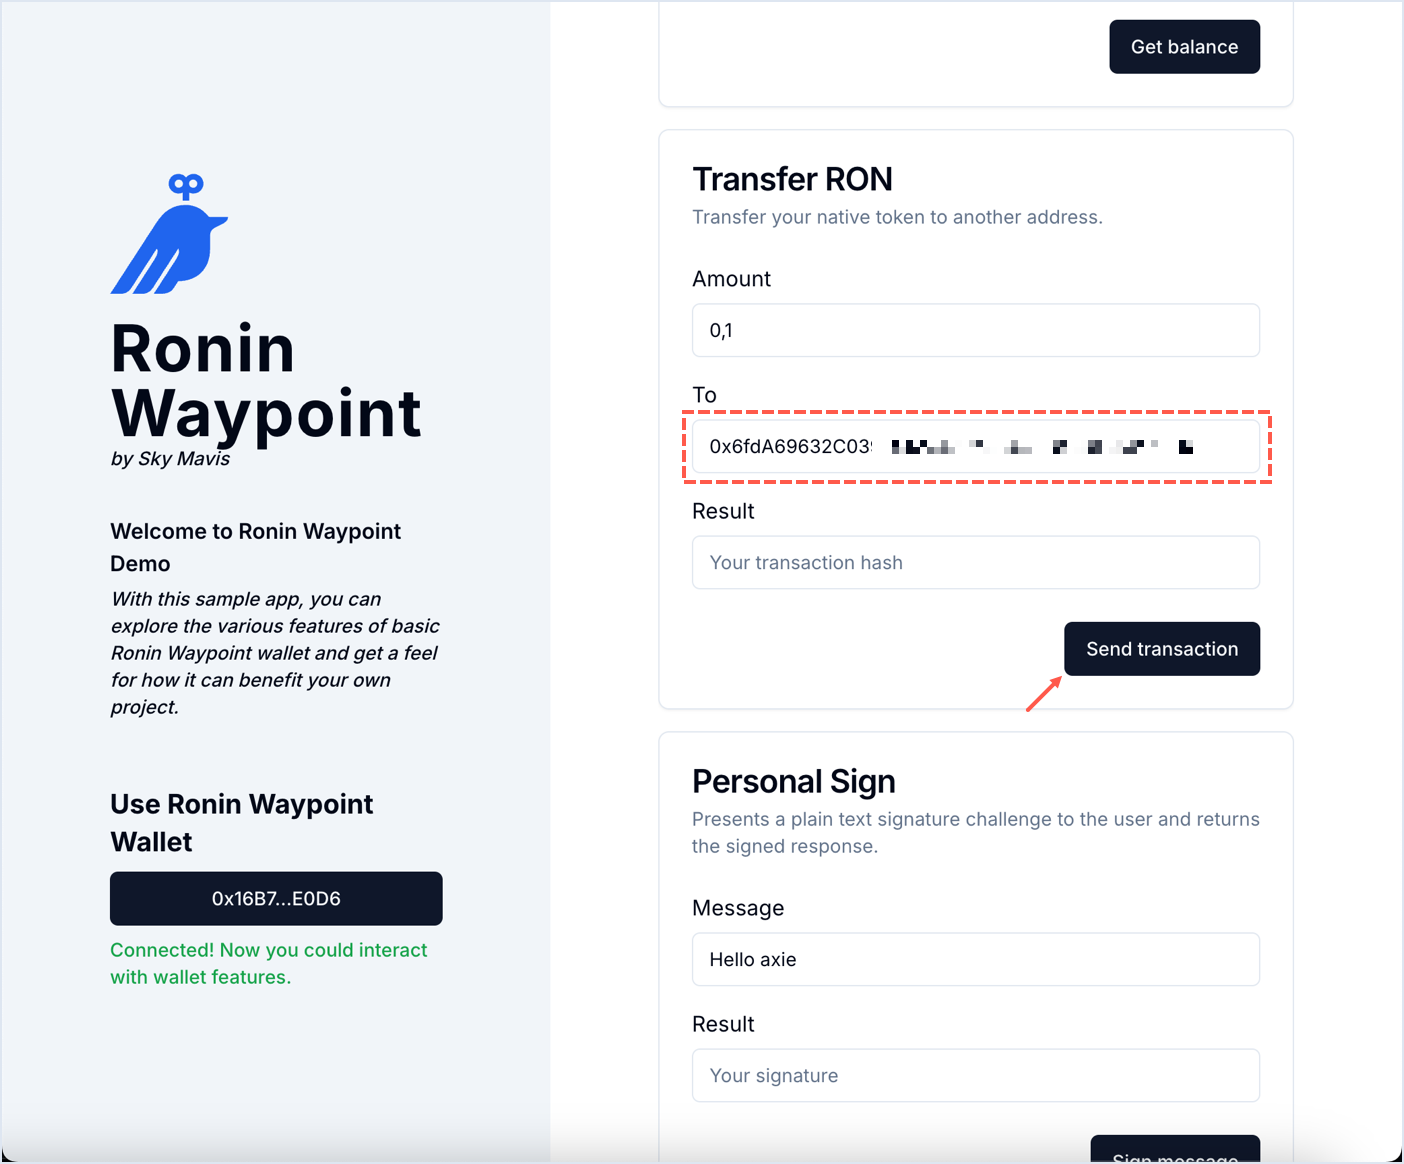
Let's send a transaction using the Ronin Waypoint in-game wallet. In this transaction, we'll send a small amount of RON tokens to another address on the Saigon testnet.
-
In the Transfer RON section, click Send transaction.
-
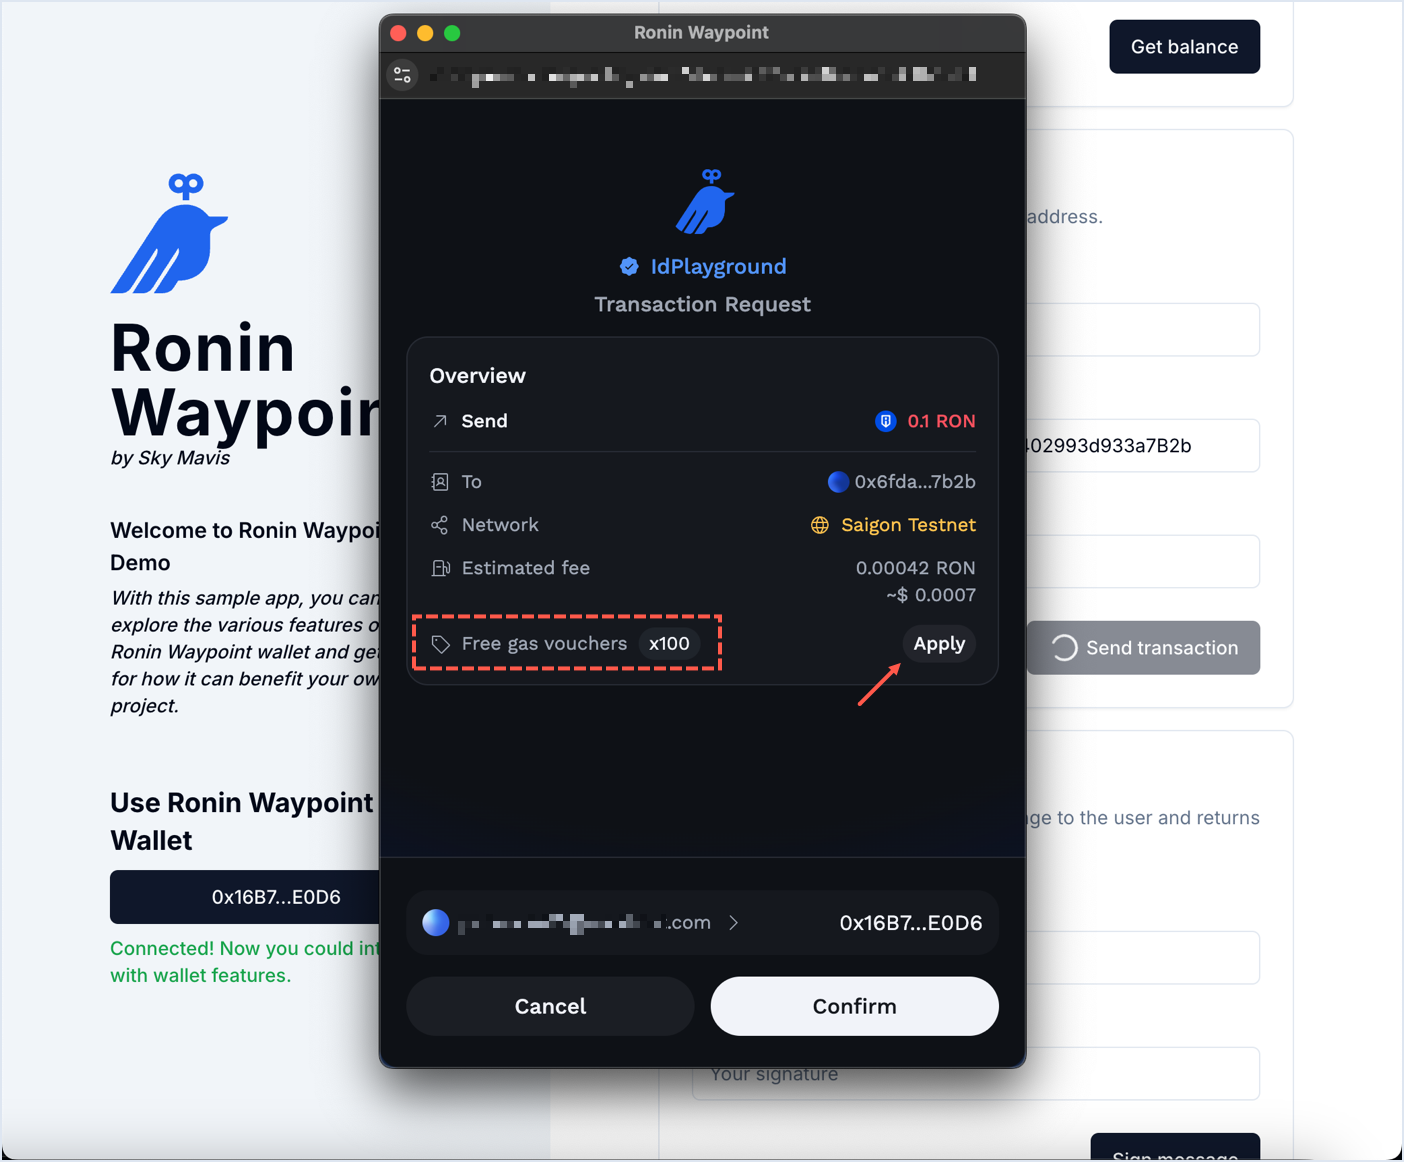
The screen shows transaction details:
- Send: token amount and type.
- Network: testnet, mainnet, or multichain.
- Estimated fee: the amount of gas required to process the transaction.
- Free gas vouchers: the feature of Ronin Waypoint that allows users to send transactions without paying gas fees:
- Users who just created wallets get free gas.
- Users who have play games and interact with specific in-game contracts or functions get free gas.
- Depending on game studio's implementation, they will cover the gas fees for users.
-
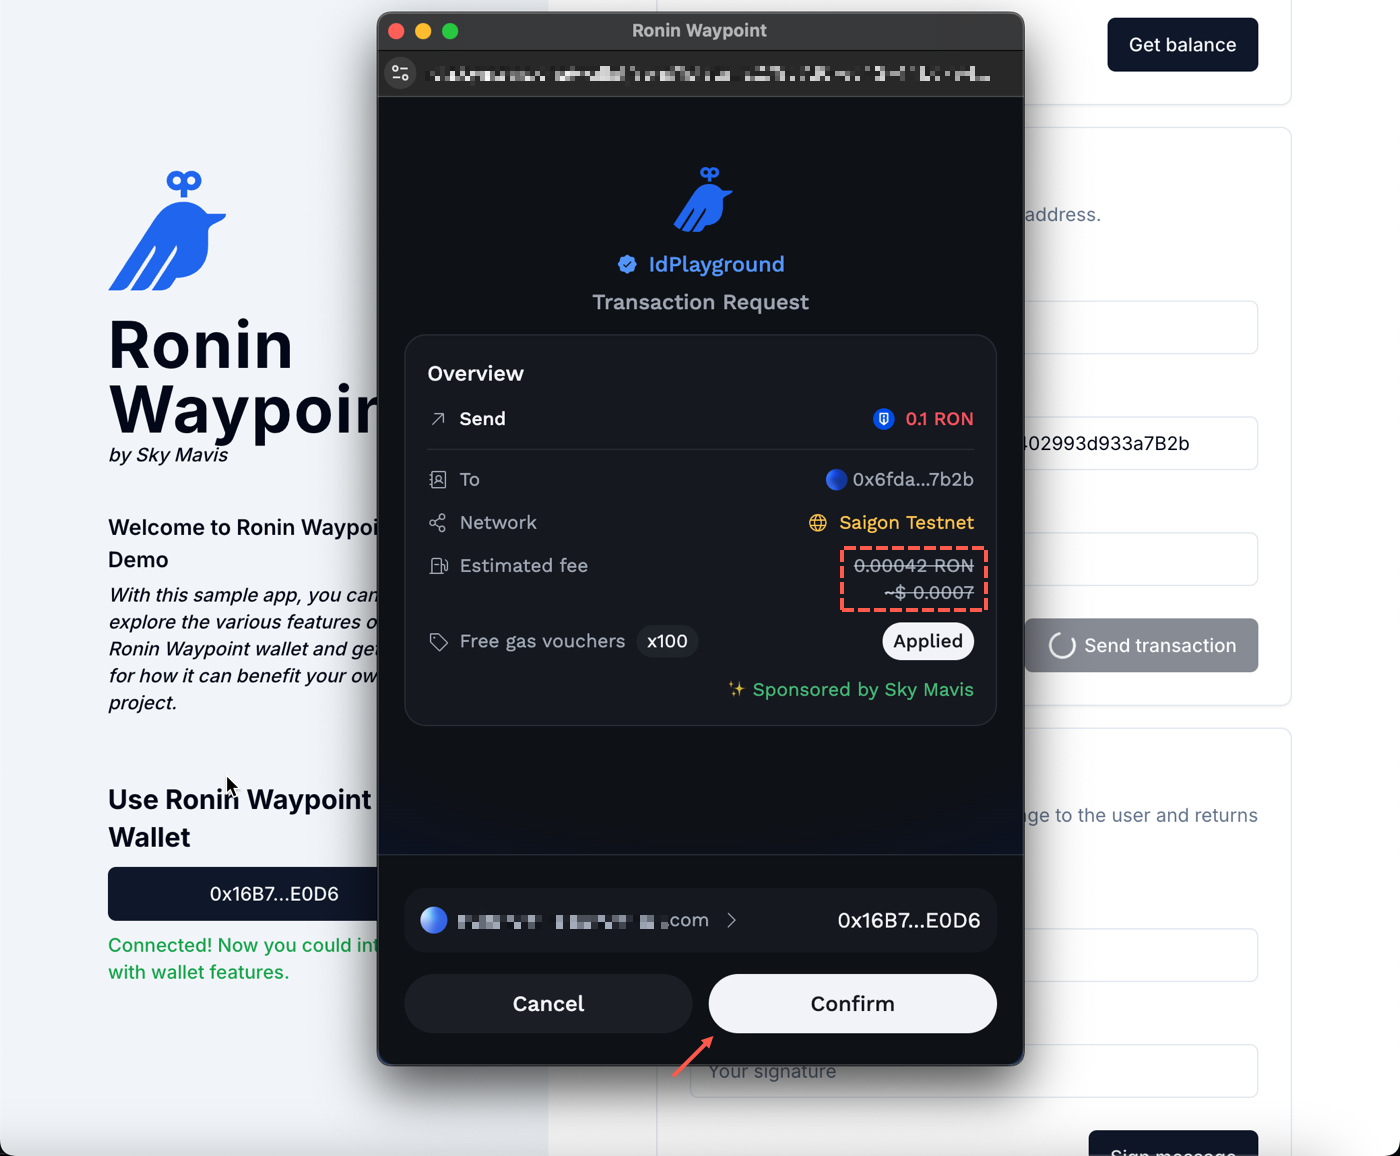
To use your free gas voucher, click Apply.
-
Sign the transaction.
-
Receive a confirmation message that the transaction is complete.
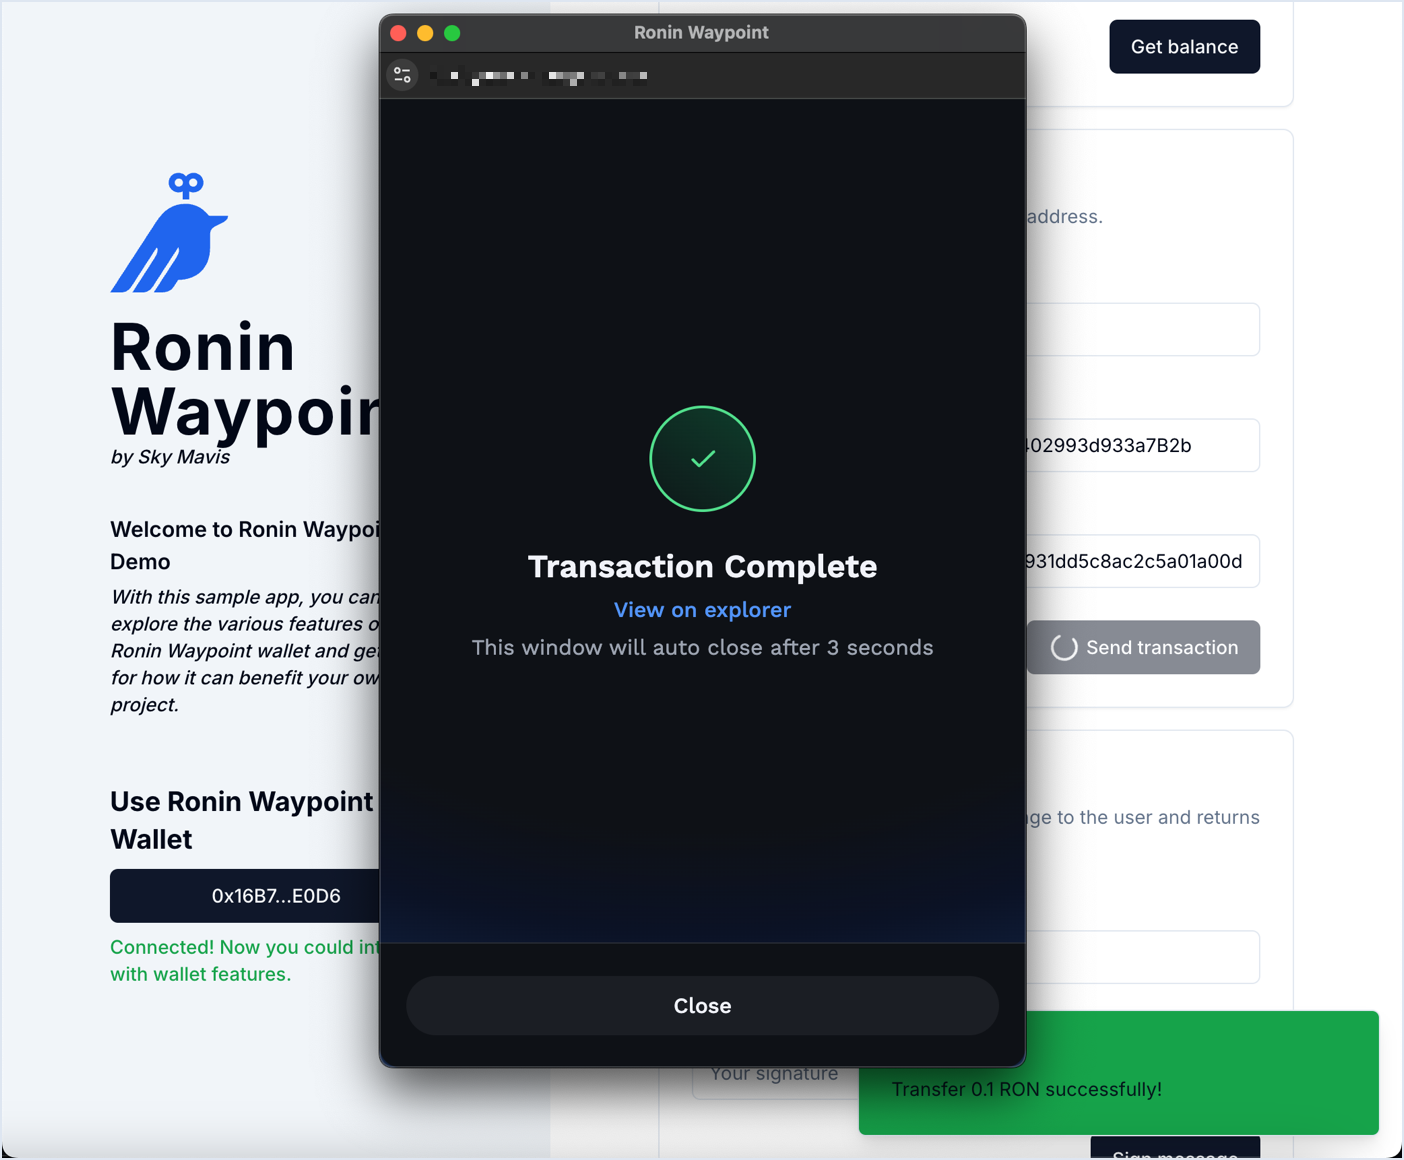
-
See the hash of the transaction in the Result field.
Video walkthrough:
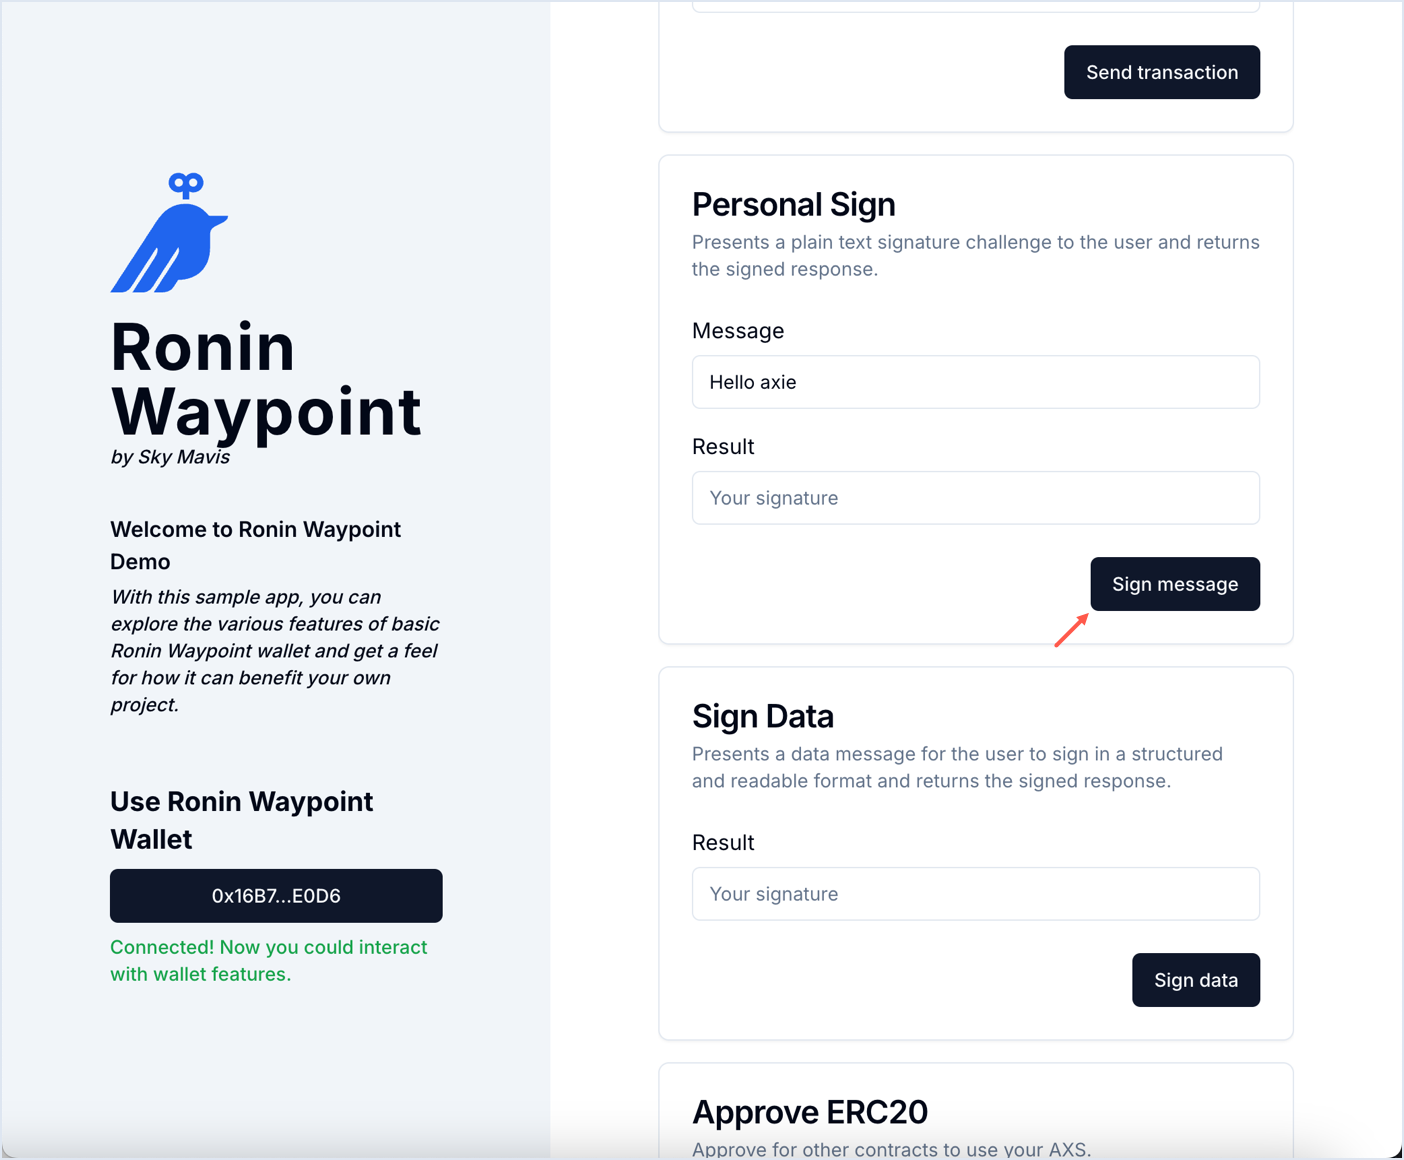
Sign messages
Let's sign a message using the Ronin Waypoint in-game wallet. We'll use the Personal Sign feature to sign a "Hello axie" message. Game studios can use this feature to verify the user's identity to, for example, and let players to accept terms and conditions, or sign in to dApps securely.
-
In the Personal Sign section, click Sign message.
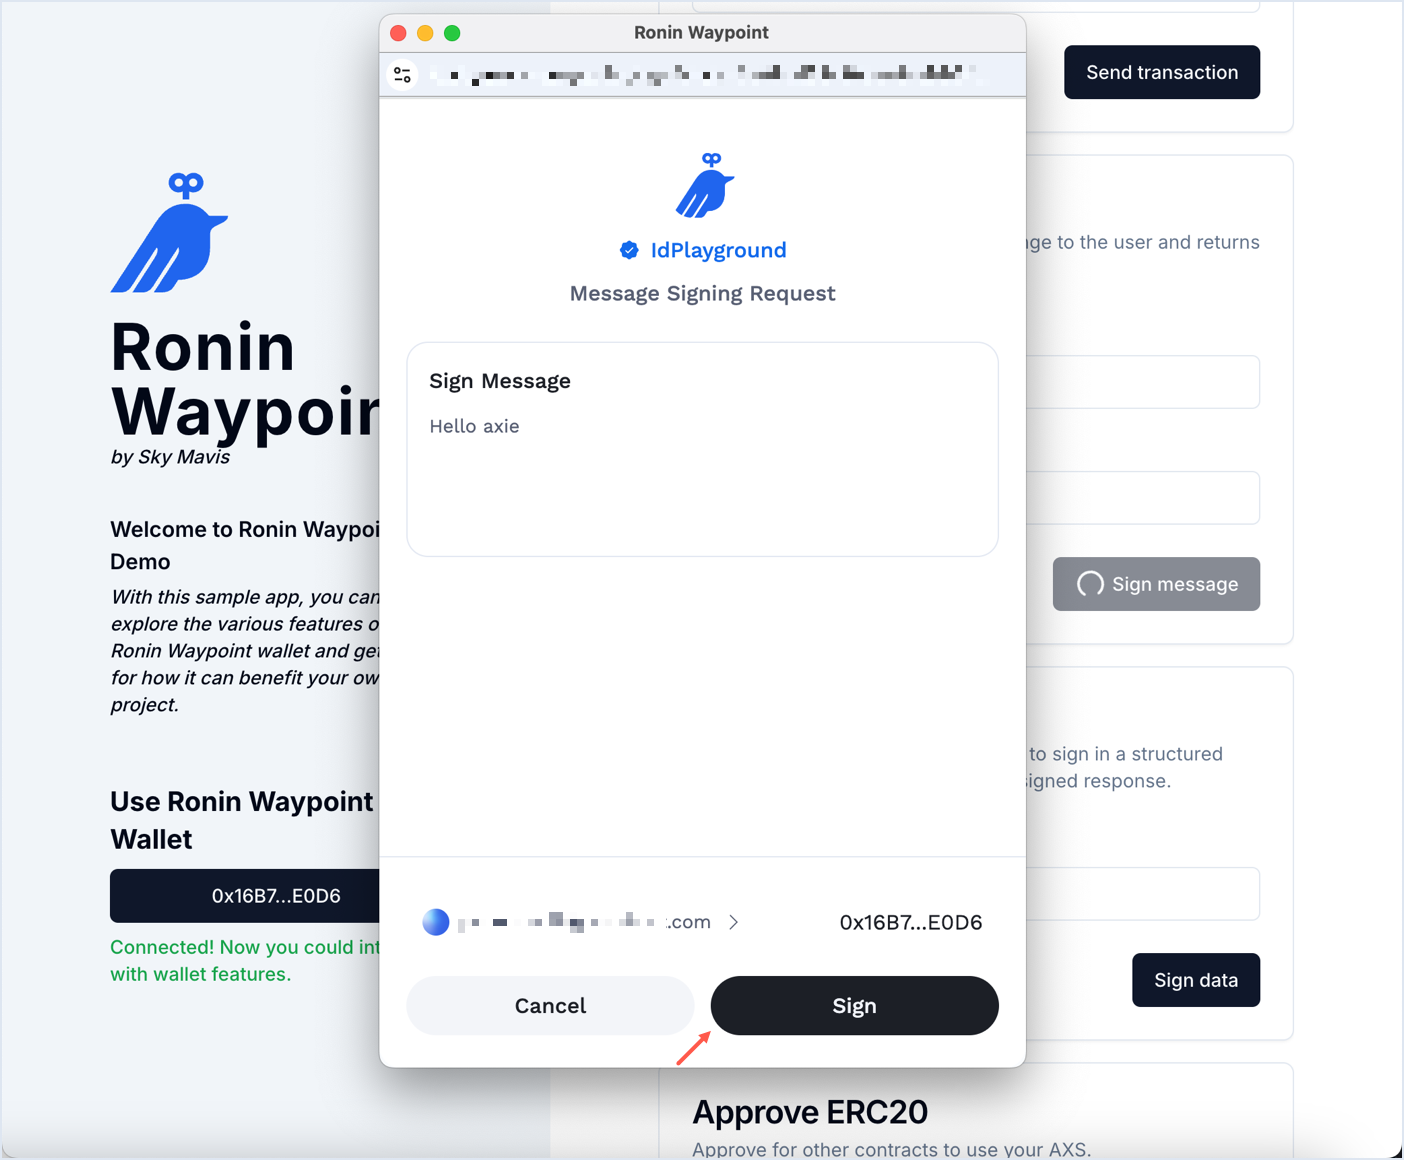
-
Sign the message.
-
Receive a confirmation message that the signing is complete.
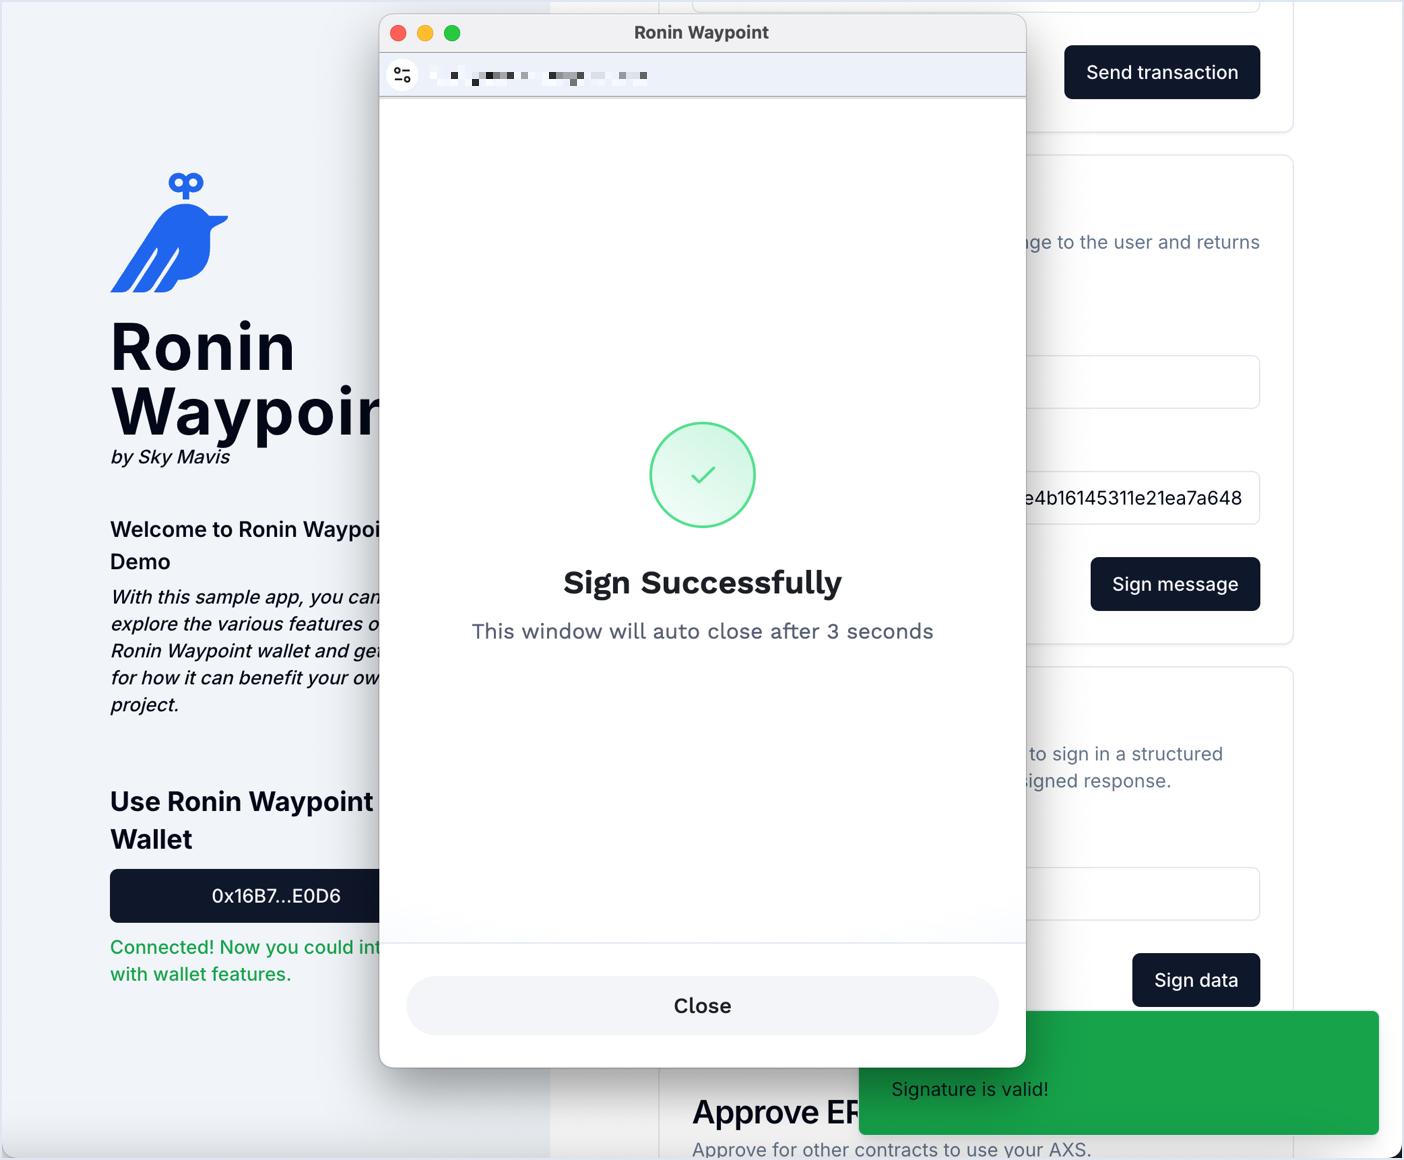
-
See the hash of the signed message in the Result field.

Video walkthrough:
Other use cases
Find more wallet use cases in the Ronin Waypoint playground, such as approving transactions, swapping tokens, and signing typed data.