Configure webhooks
The Webhooks service is in beta testing and is accessible to select community projects and Sky Mavis partners.
Overview
This guide explains how you can configure webhook notifications using the Webhooks service in the Developer Console.
Prerequisites
- An API key for request authentication. To get an API key, create and set up an app in the Developer Console.
- Access to the Webhooks service. For more information, see Request access.
- An HTTPS URL to receive webhooks.
Create a webhook
- To create a webhook, go to Developer Console > Webhooks. If you're not seeing it, make sure that you requested access to the service.
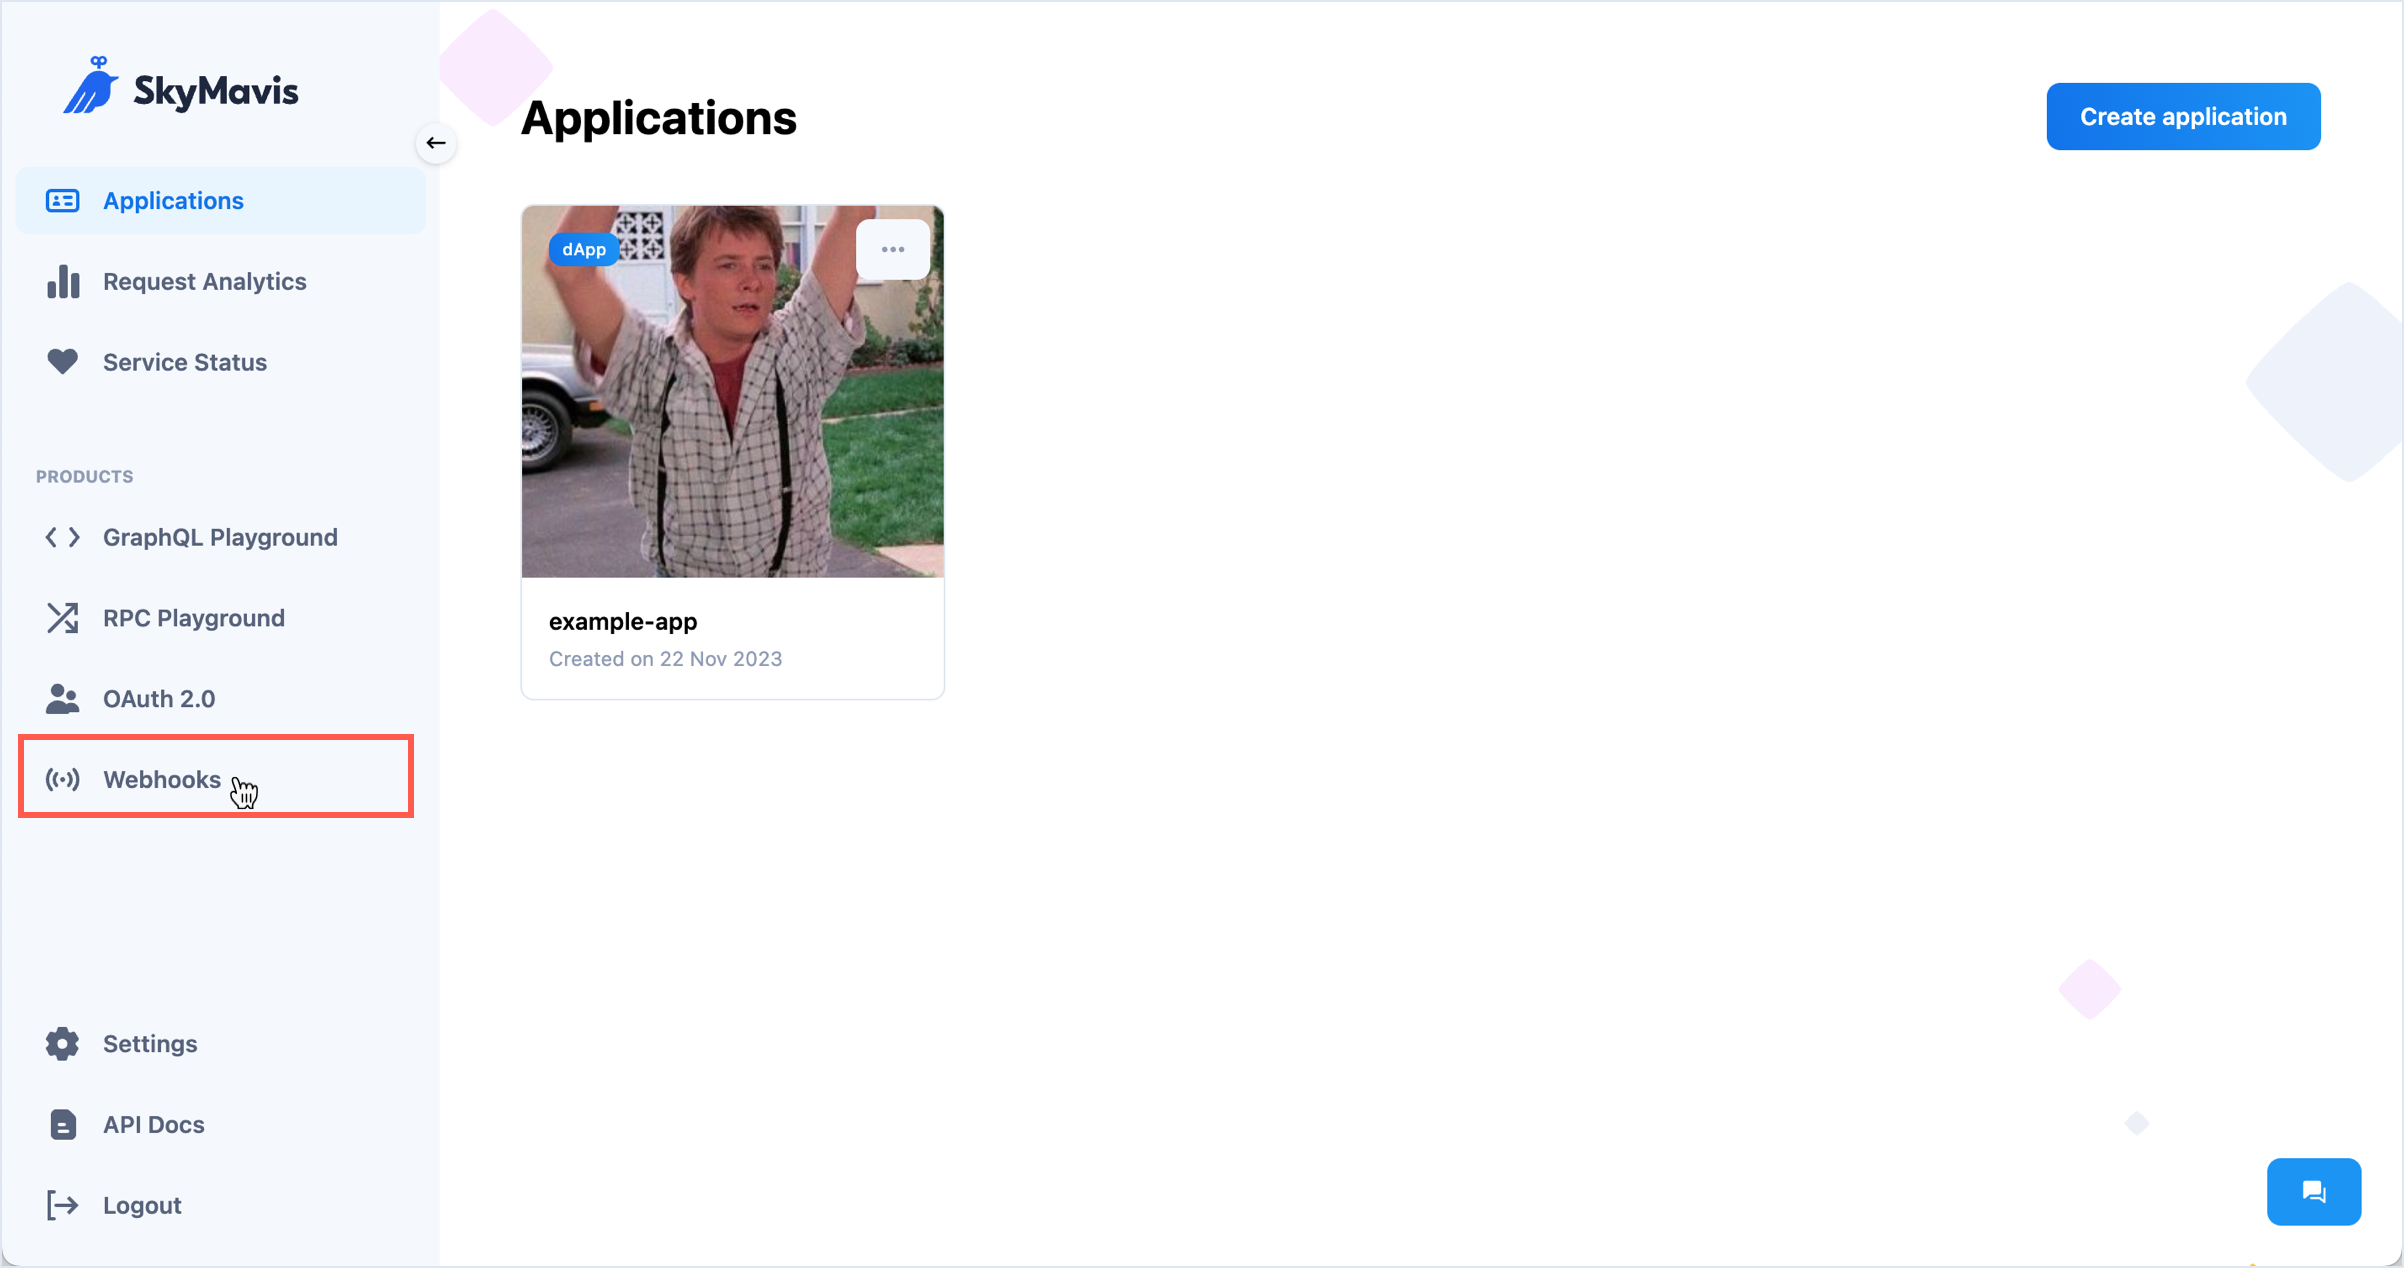
- Click Add a webhook next to the event that you want to subscribe to: Address activity, Token transfer, or RON transfer.

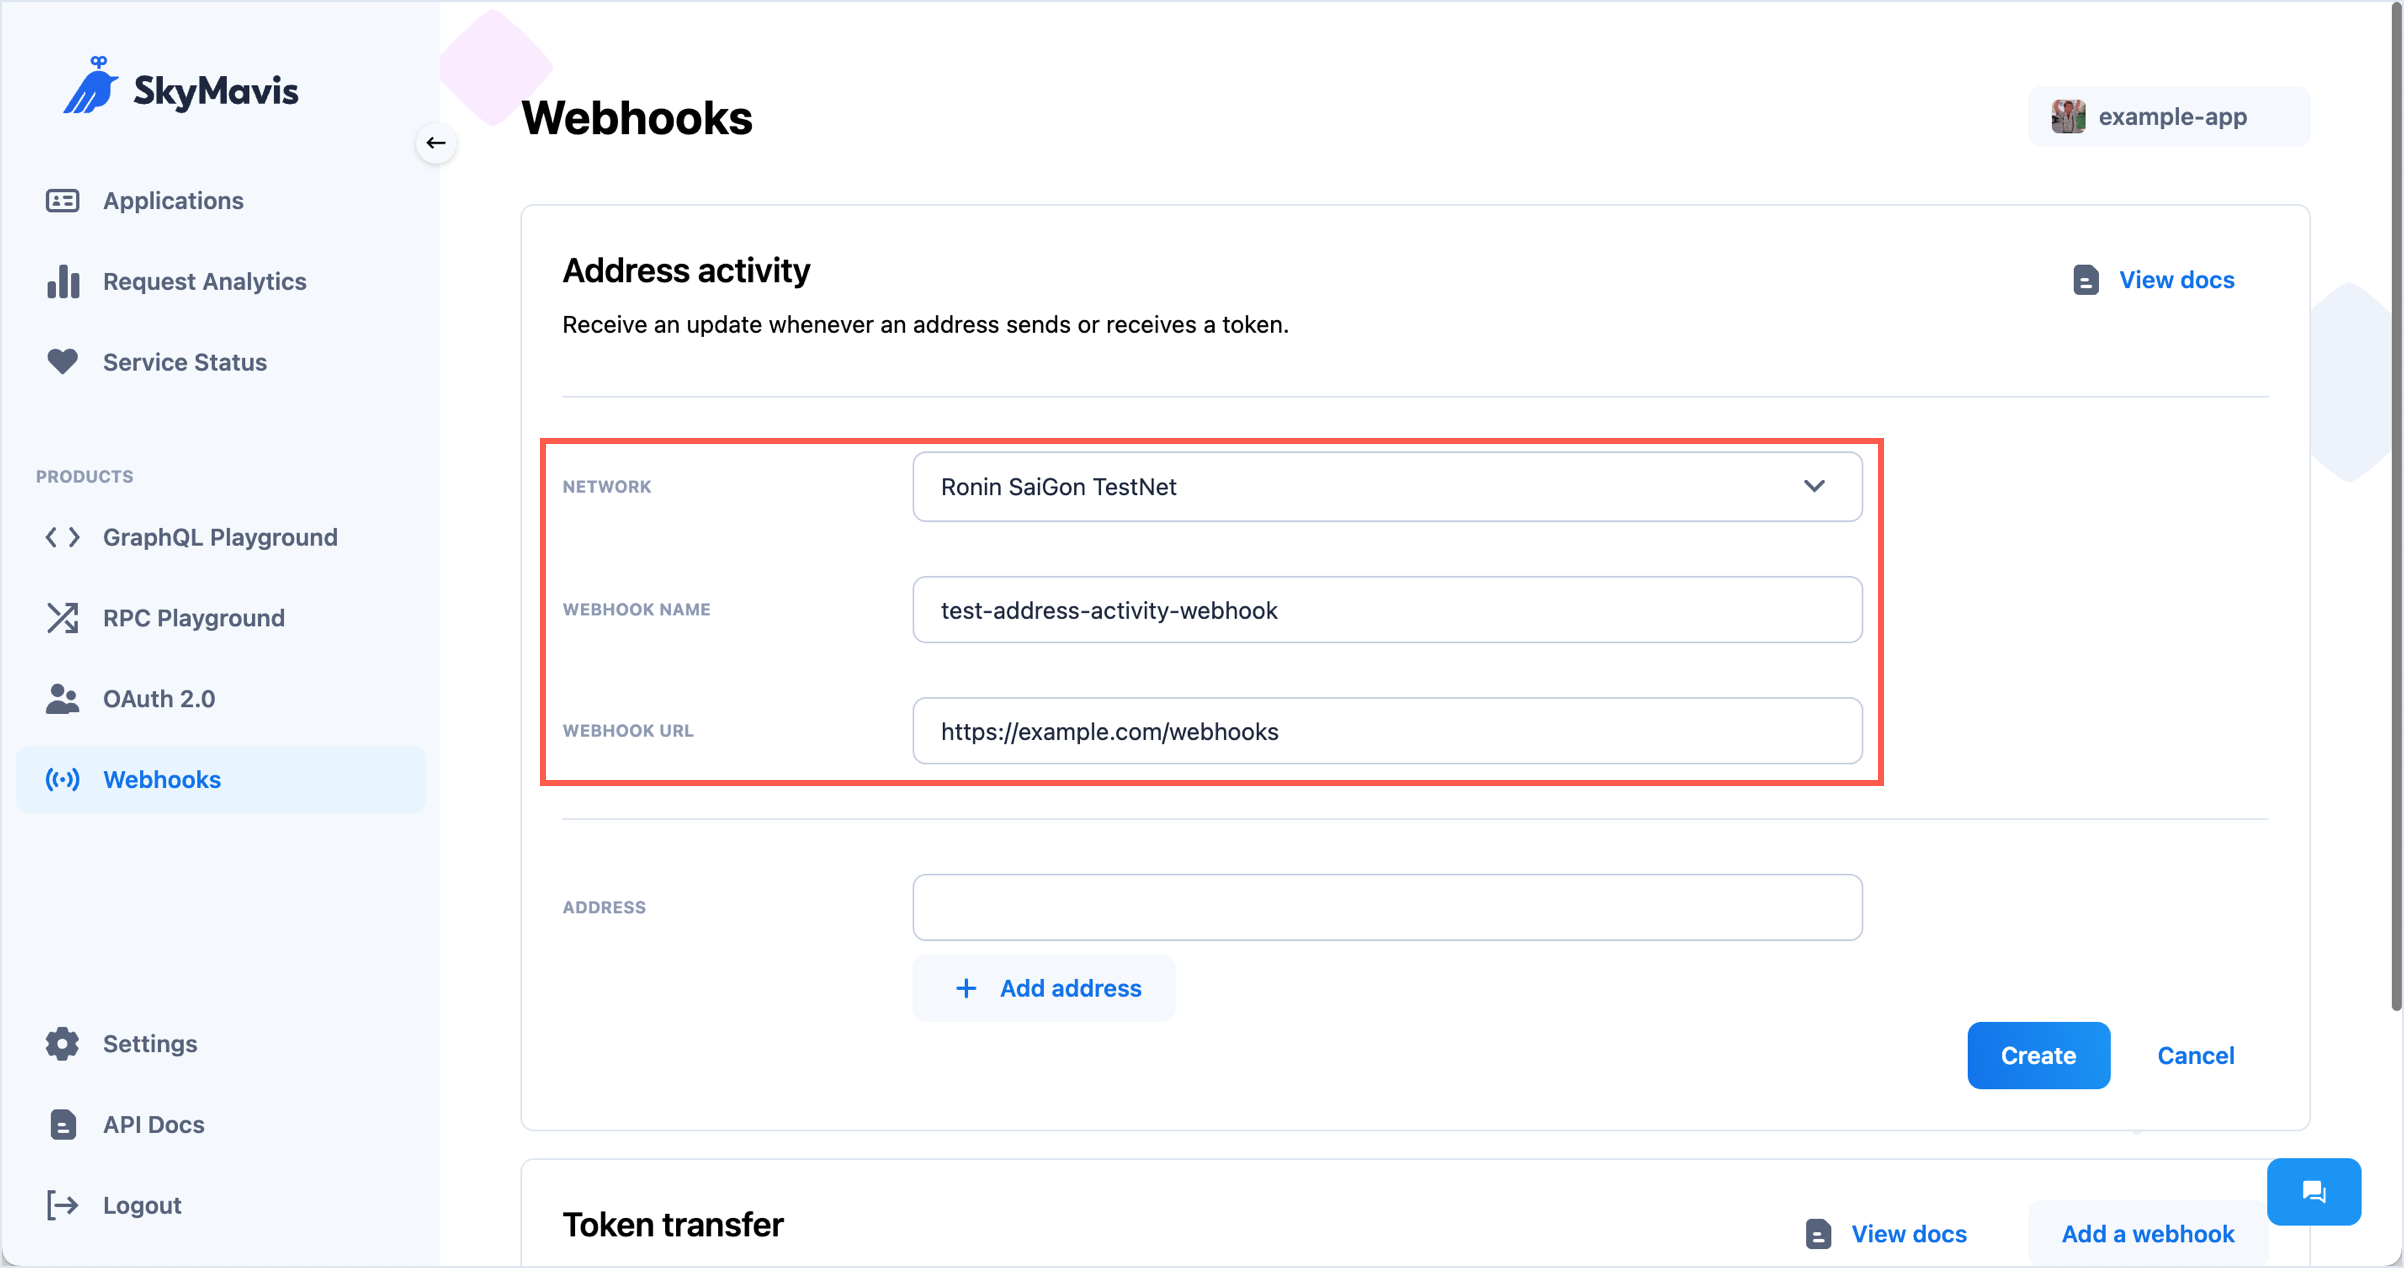
- Fill in the necessary information:
- Network: The blockchain network to receive updates from.
- Webhook name: The distinctive name of your webhook.
- Webhook URL: The URL in your app where the Webhook service sends messages when the event occurs.
- Configure additional filters for the event you're subscribing to. For example, add multiple addresses from which to receive activity updates, or specify the minimum amount for transactions to trigger a token transfer webhook.
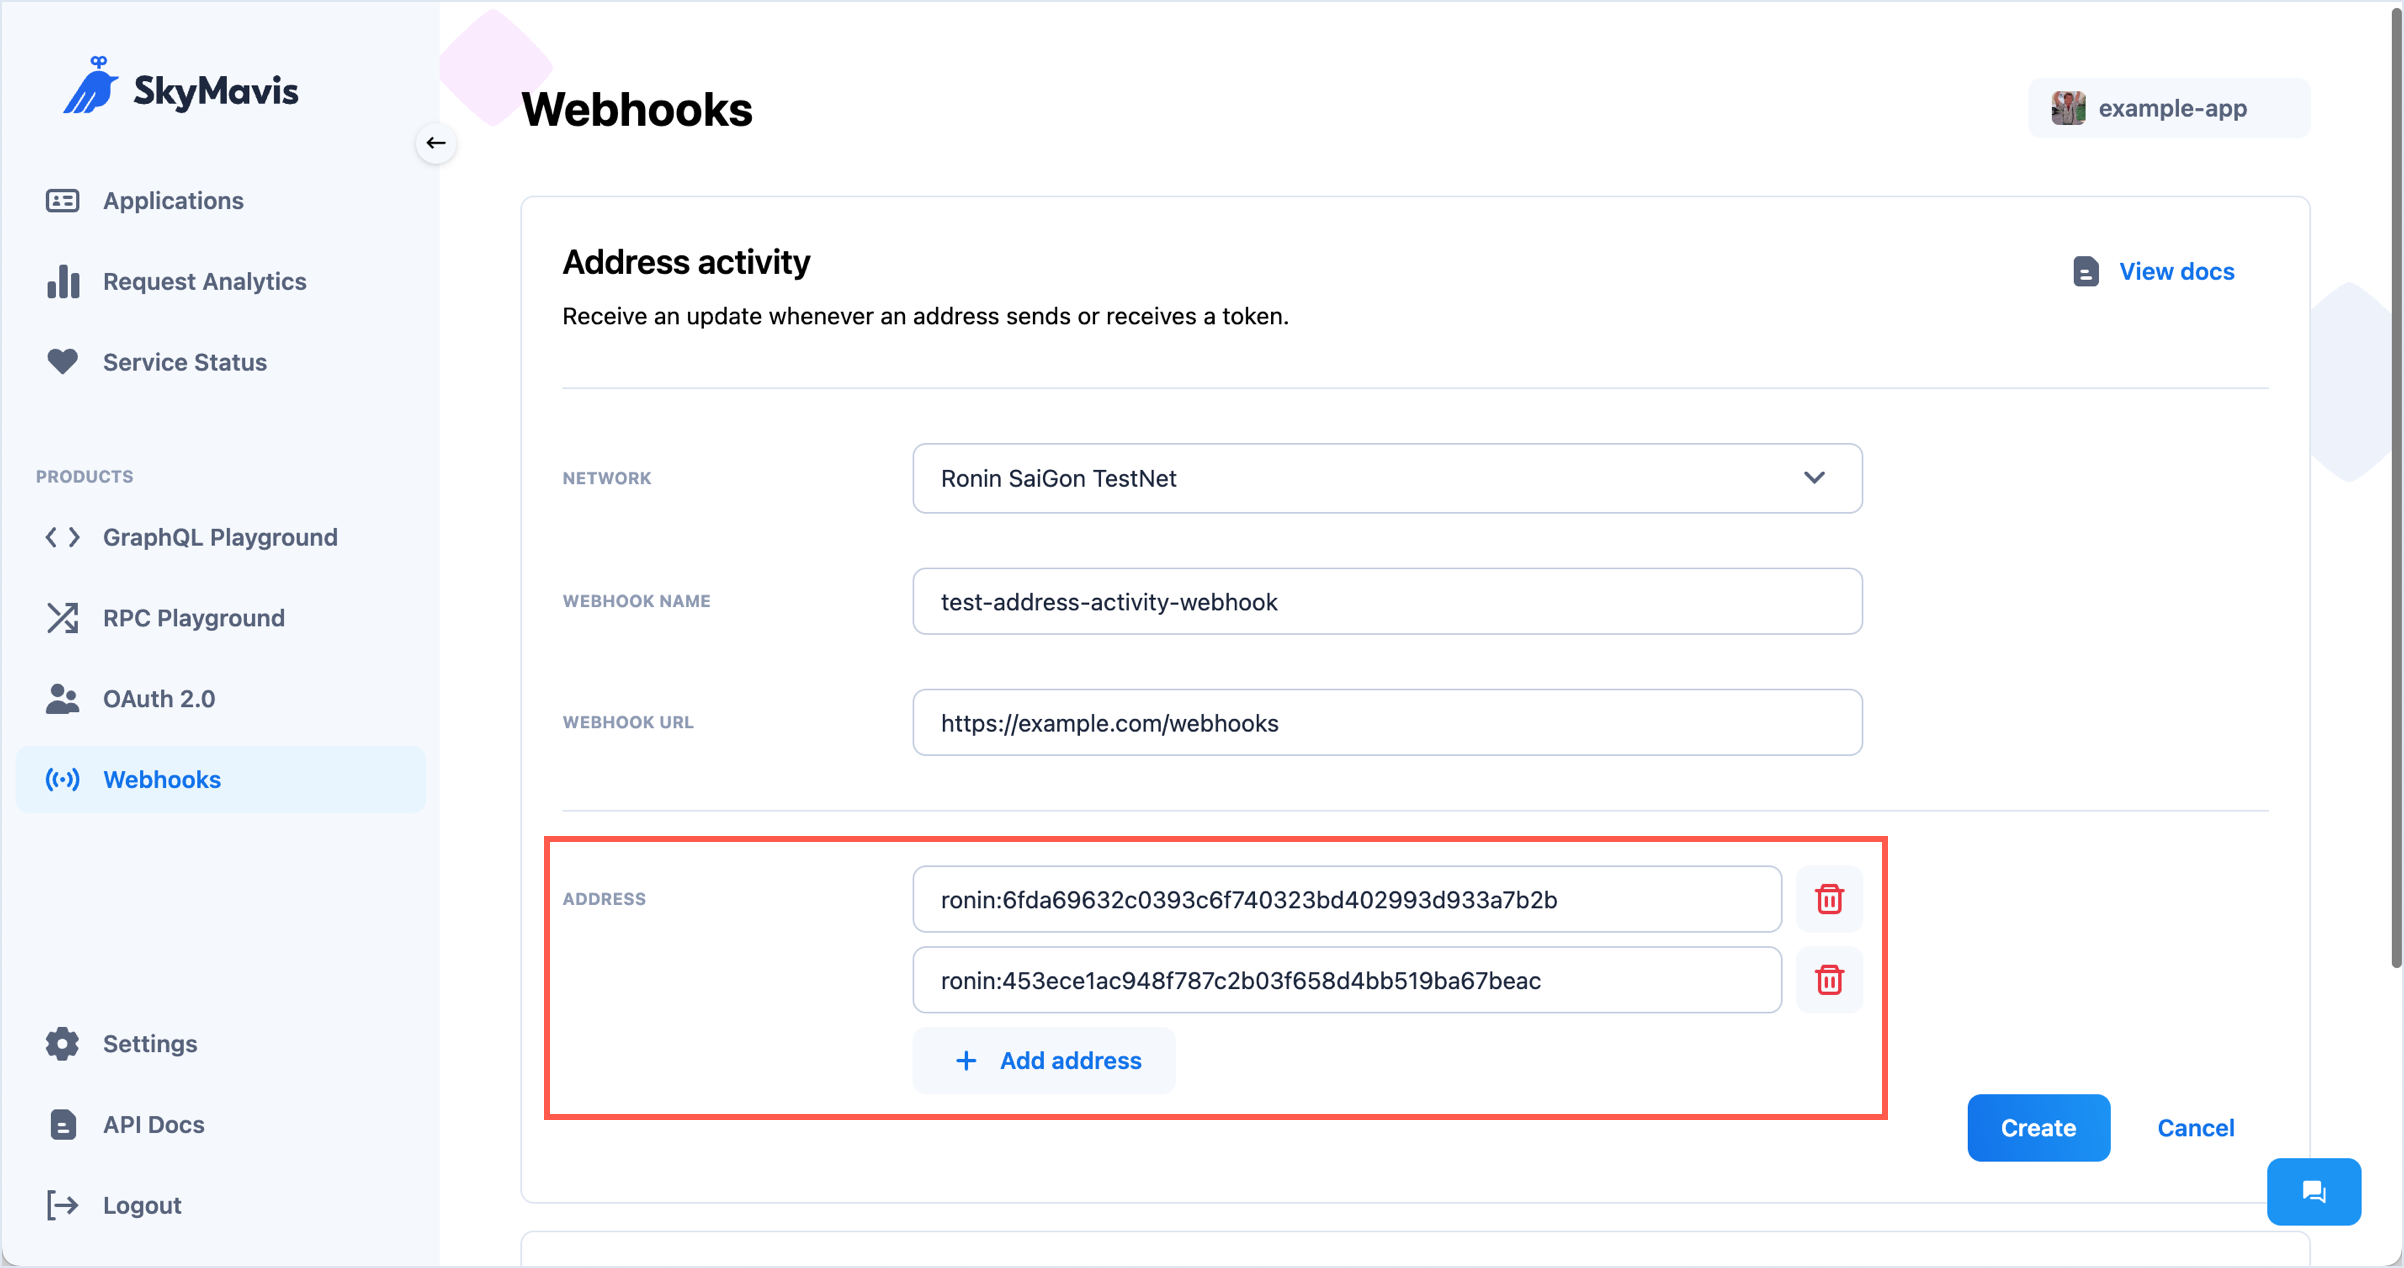
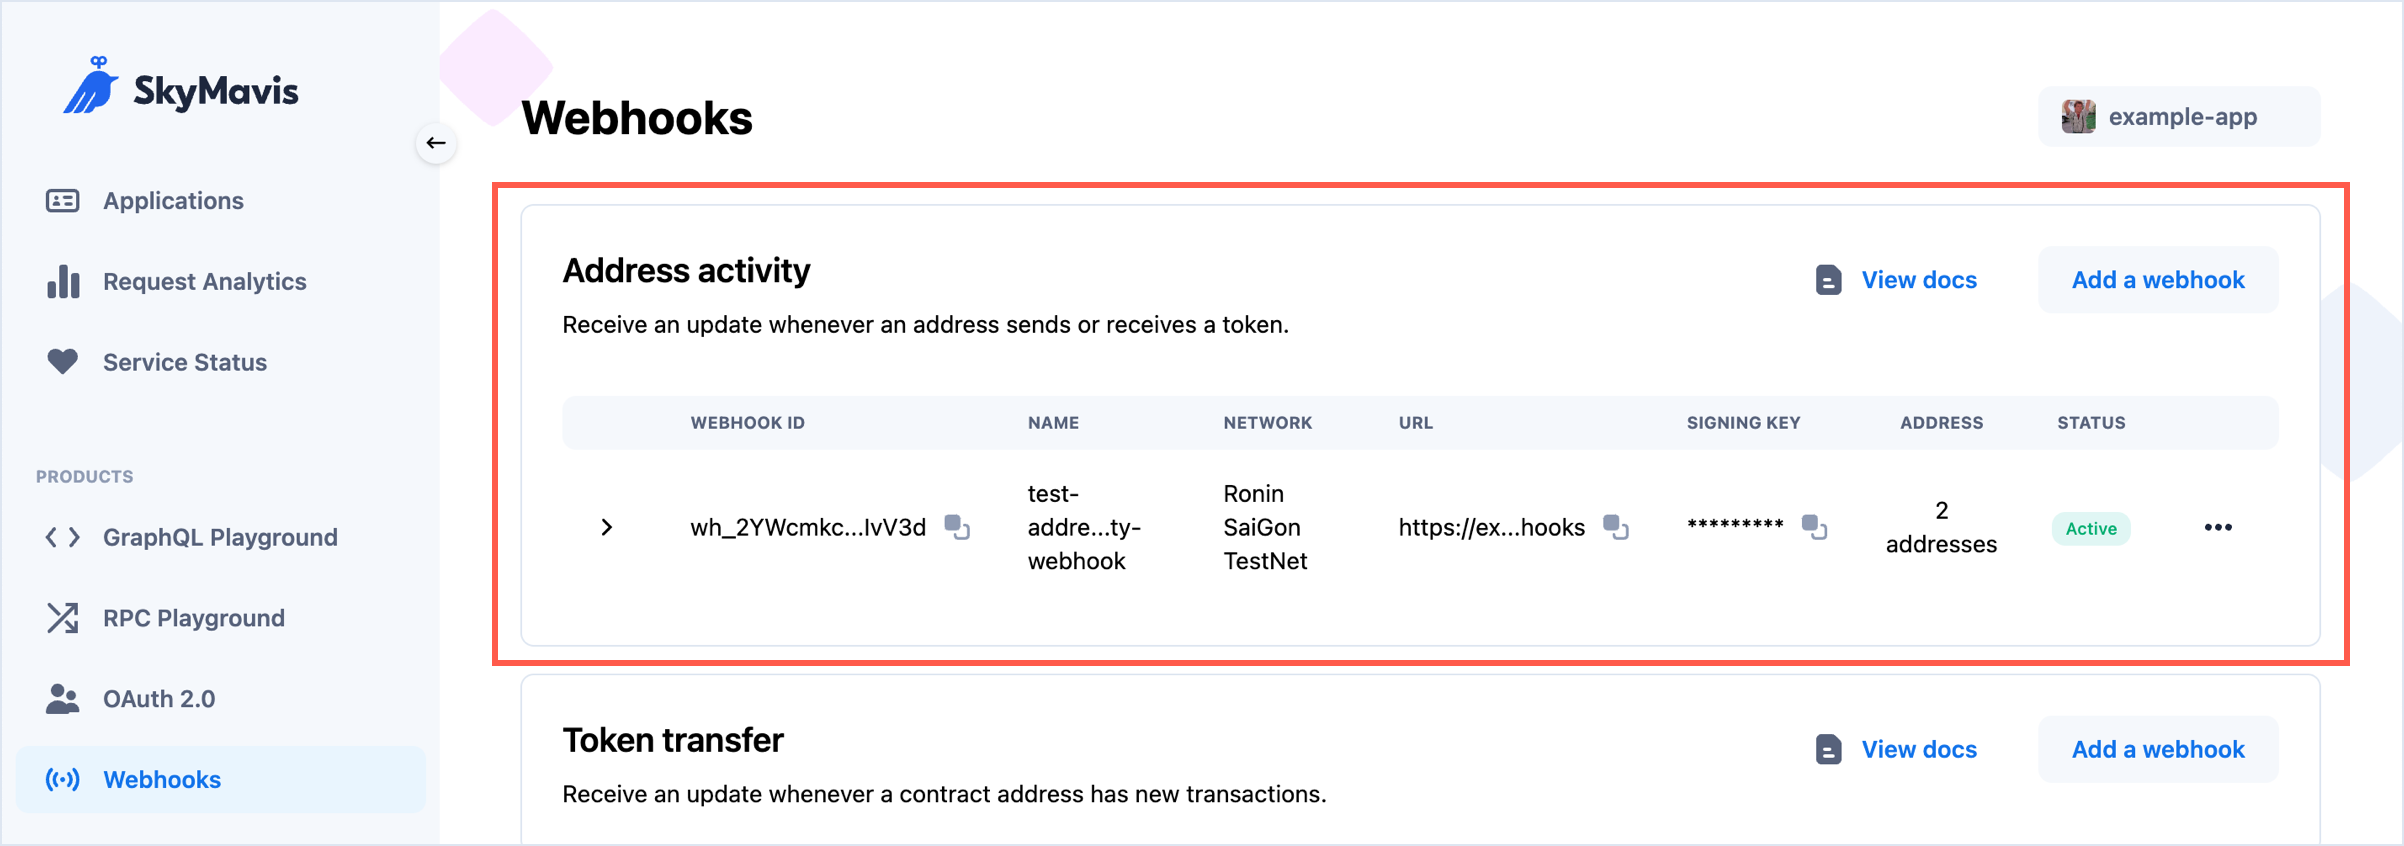
- Click Create to complete the configuration. The new webhook appears in the list.
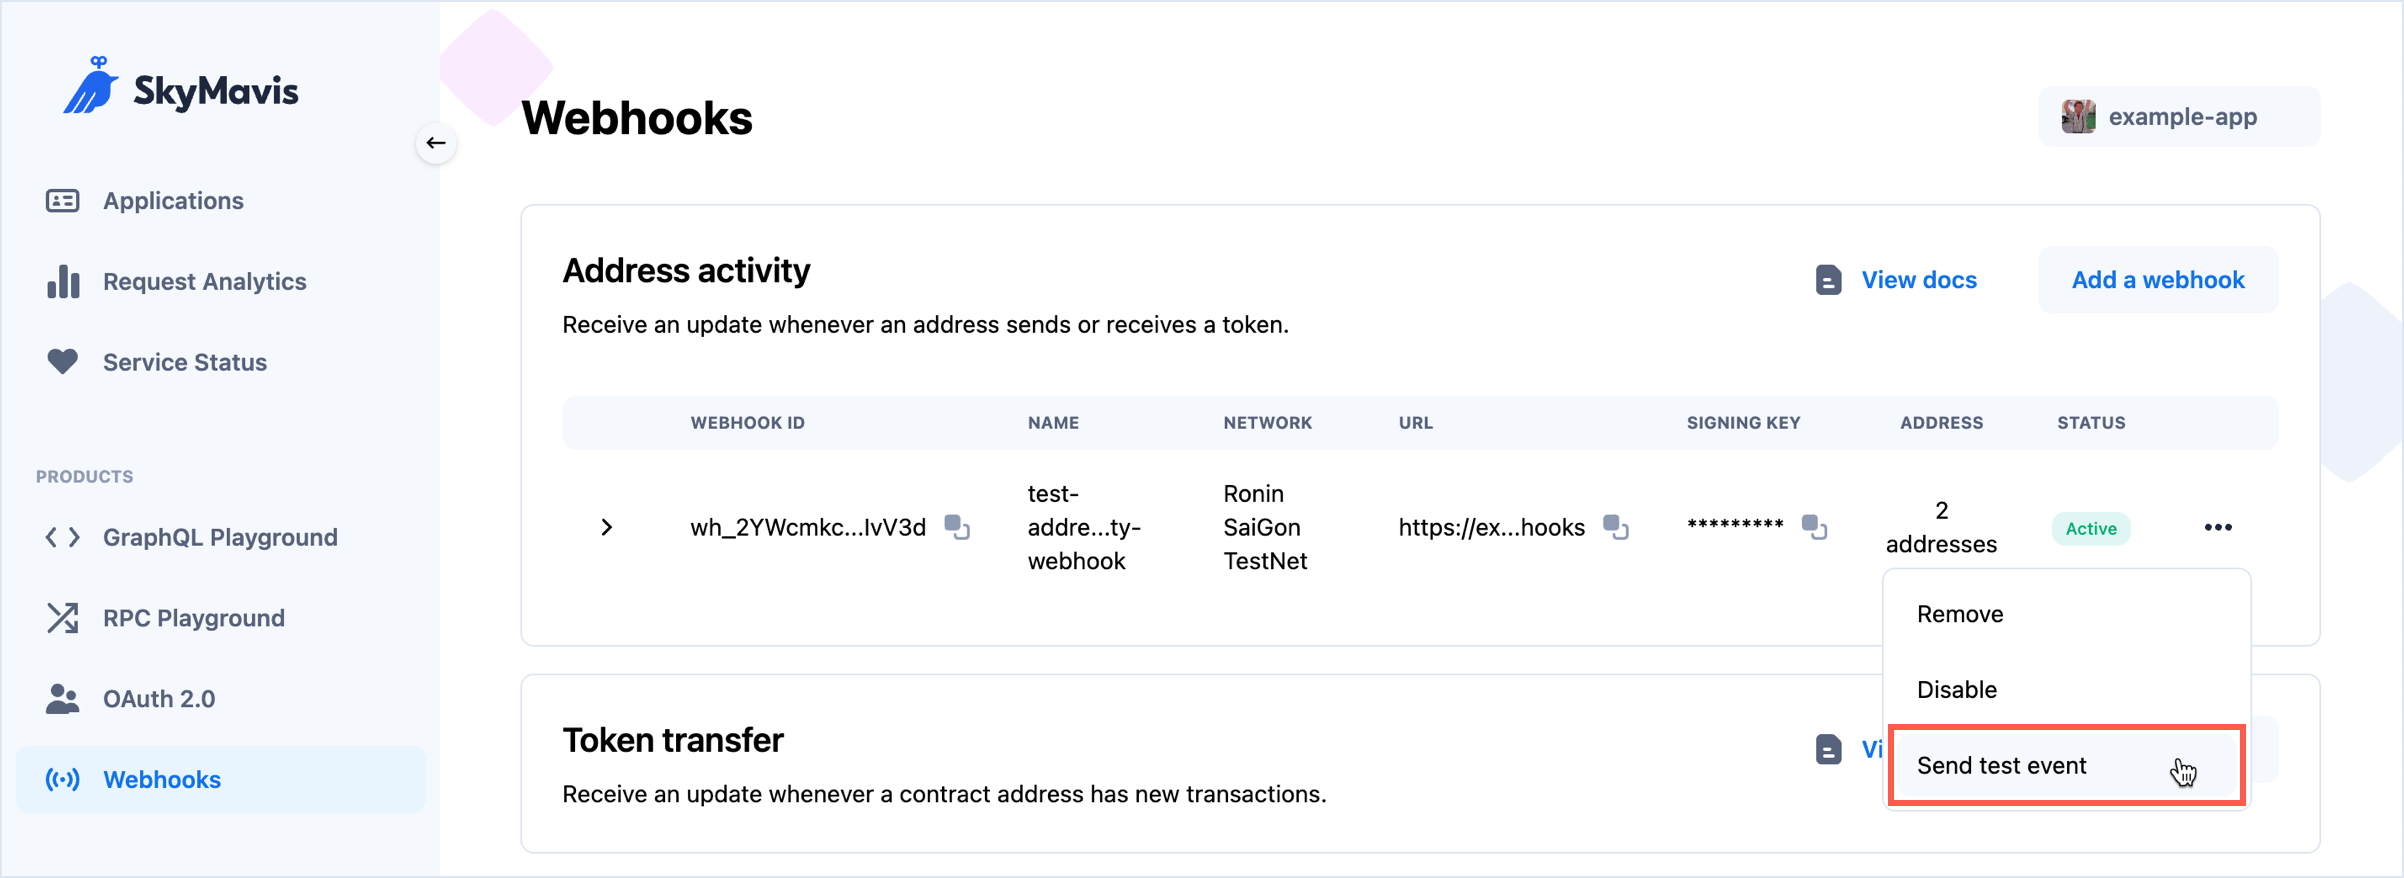
Send a test event
It's a good idea to test your webhook by sending a test event to its URL. To do that, select More > Send test event.
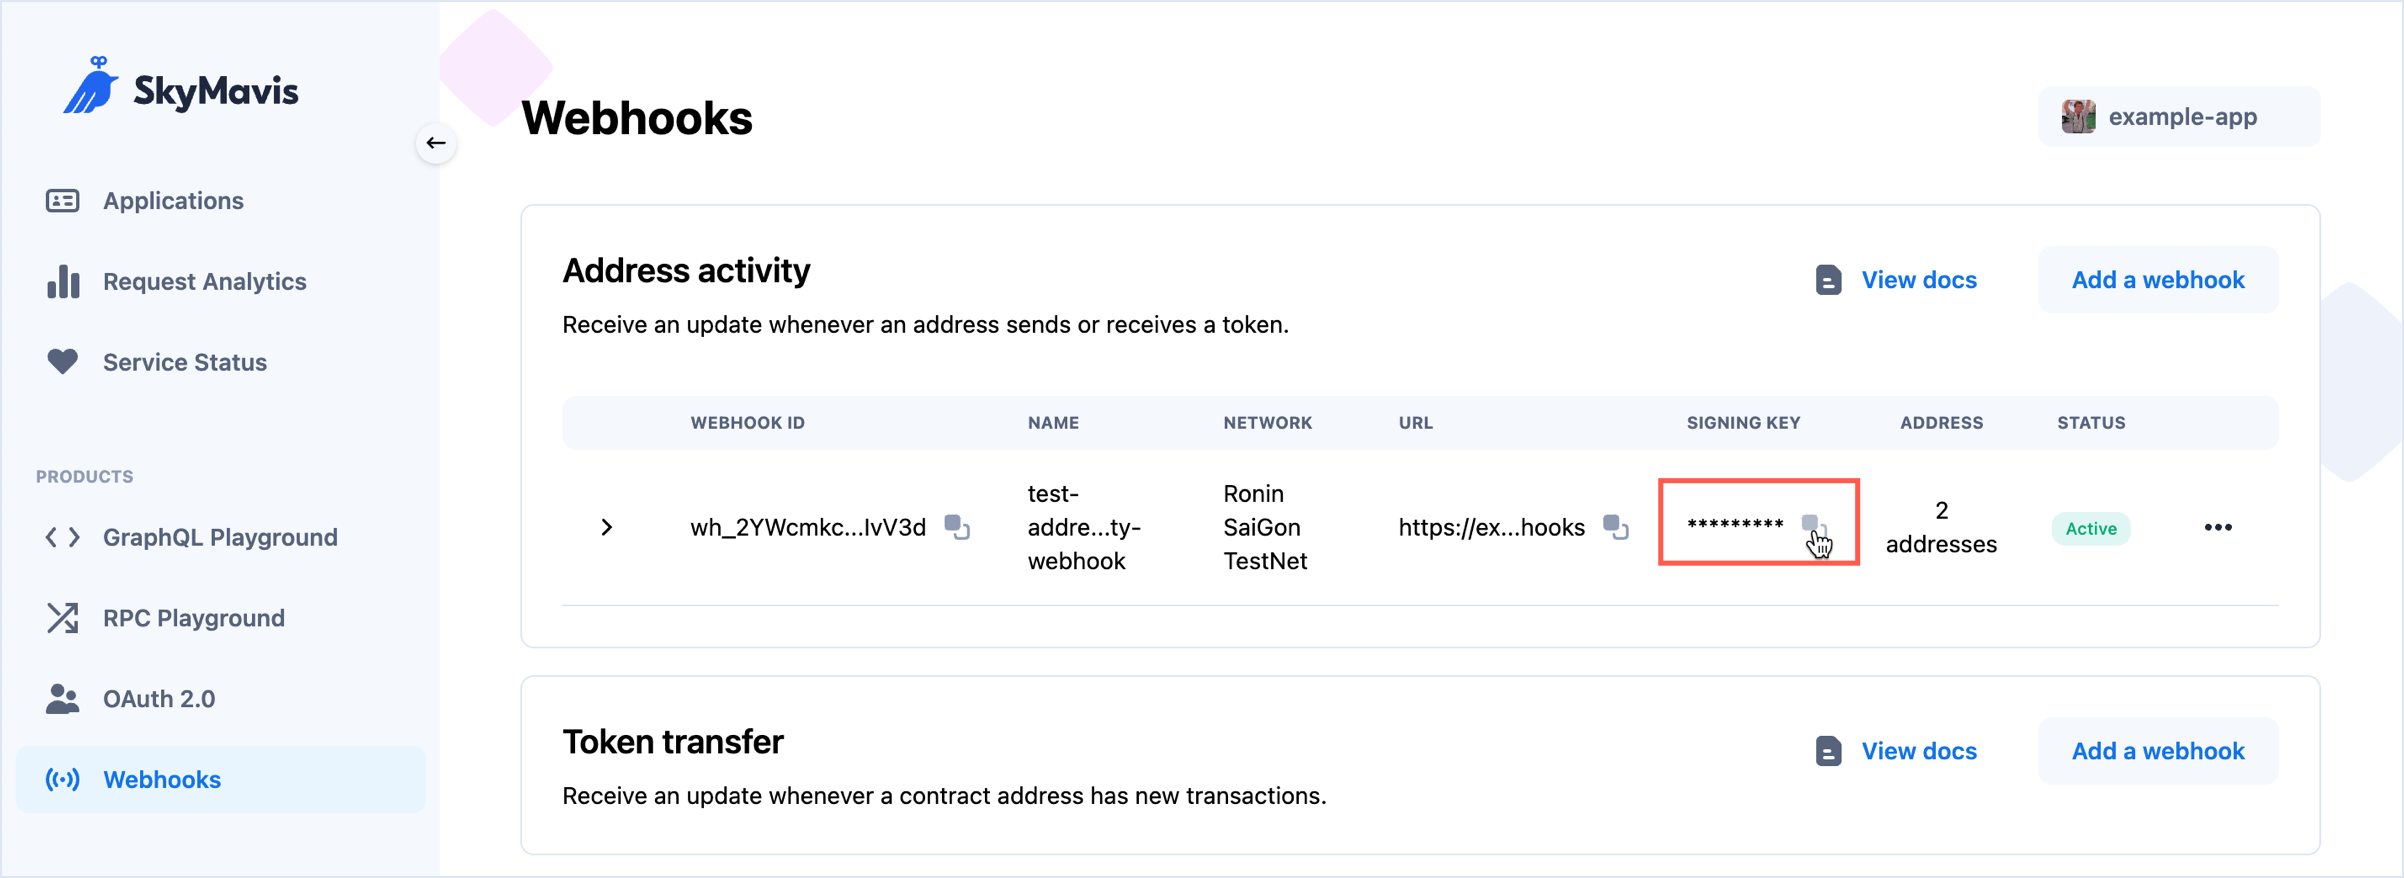
Verify a webhook
Upon webhook creation, the service automatically generates a unique signing key for each webhook, which you can view in the Developer Console. The signing key is generated with the HMAC algorithm, using your app's secret key and SHA-256 digest mode.
This signing key is passed along with each request in the X-SkyMavis-Signature header. When you receive a webhook, compute the HMAC digest according to the algorithm and compare it to the value in the X-SkyMavis-Signature header. If they match, you can be sure that the webhook is sent from Sky Mavis and the data is authentic.
The following example demonstrates how to verify the authenticity of a webhook by computing the HMAC digest using the SHA-256 algorithm and comparing it to the value in the X-SkyMavis-Signature header.
import (
    "crypto/hmac"
    "crypto/sha256"
    "encoding/hex"
)

func verifyWebhookSignature(signingKey string, rawBody []byte, SkyMavisSignature string) {
    h := hmac.New(sha256.New, []byte(signingKey))
    _, _ = h.Write(rawBody)
    signature := hex.EncodeToString(h.Sum(nil))

    // Compare the signature
    if signature != SkyMavisSignature {
        panic("signature not matched")
    }
}

func main() {
    signingKey := "super_secret_keys"
    rawBody := []byte{}
    SkyMavisSignature := ""

    verifyWebhookSignature(signingKey, rawBody, SkyMavisSignature)
}
Webhook statuses
A webhook can have three statuses that reflect its state.
| Status | Description |
|---|---|
| Active | The webhook is enabled and running normally. |
| Inactive | The webhook is disabled. |
| Unstable | The webhook URL remains unresponsive after three retries. If the webhook is in this status, you can initiate a retry action to reactivate the webhook. |
Retries
The service isn't always guaranteed to be stable. In case of server errors, the service retries sending the webhook to the same URL up to three times.