Manage private sales
Overview
This guide explains how to set up and run private sales in your store using the Mavis Store CMS (content management system). With private sales, you can create personalized shopping experiences by offering exclusive items to targeted groups of customers. Plus, Mavis Store can automatically handle the start and end of a private sale for you, or if you prefer a more hands-on approach, you can start and end a sale at the press of a button.
Prerequisites
Create at least one item in your store. For more information, see Manage items.
Add a private sale
Step 1. Fill in the details
Visit the CMS at store-cms.skymavis.com and log in with your Mavis account.
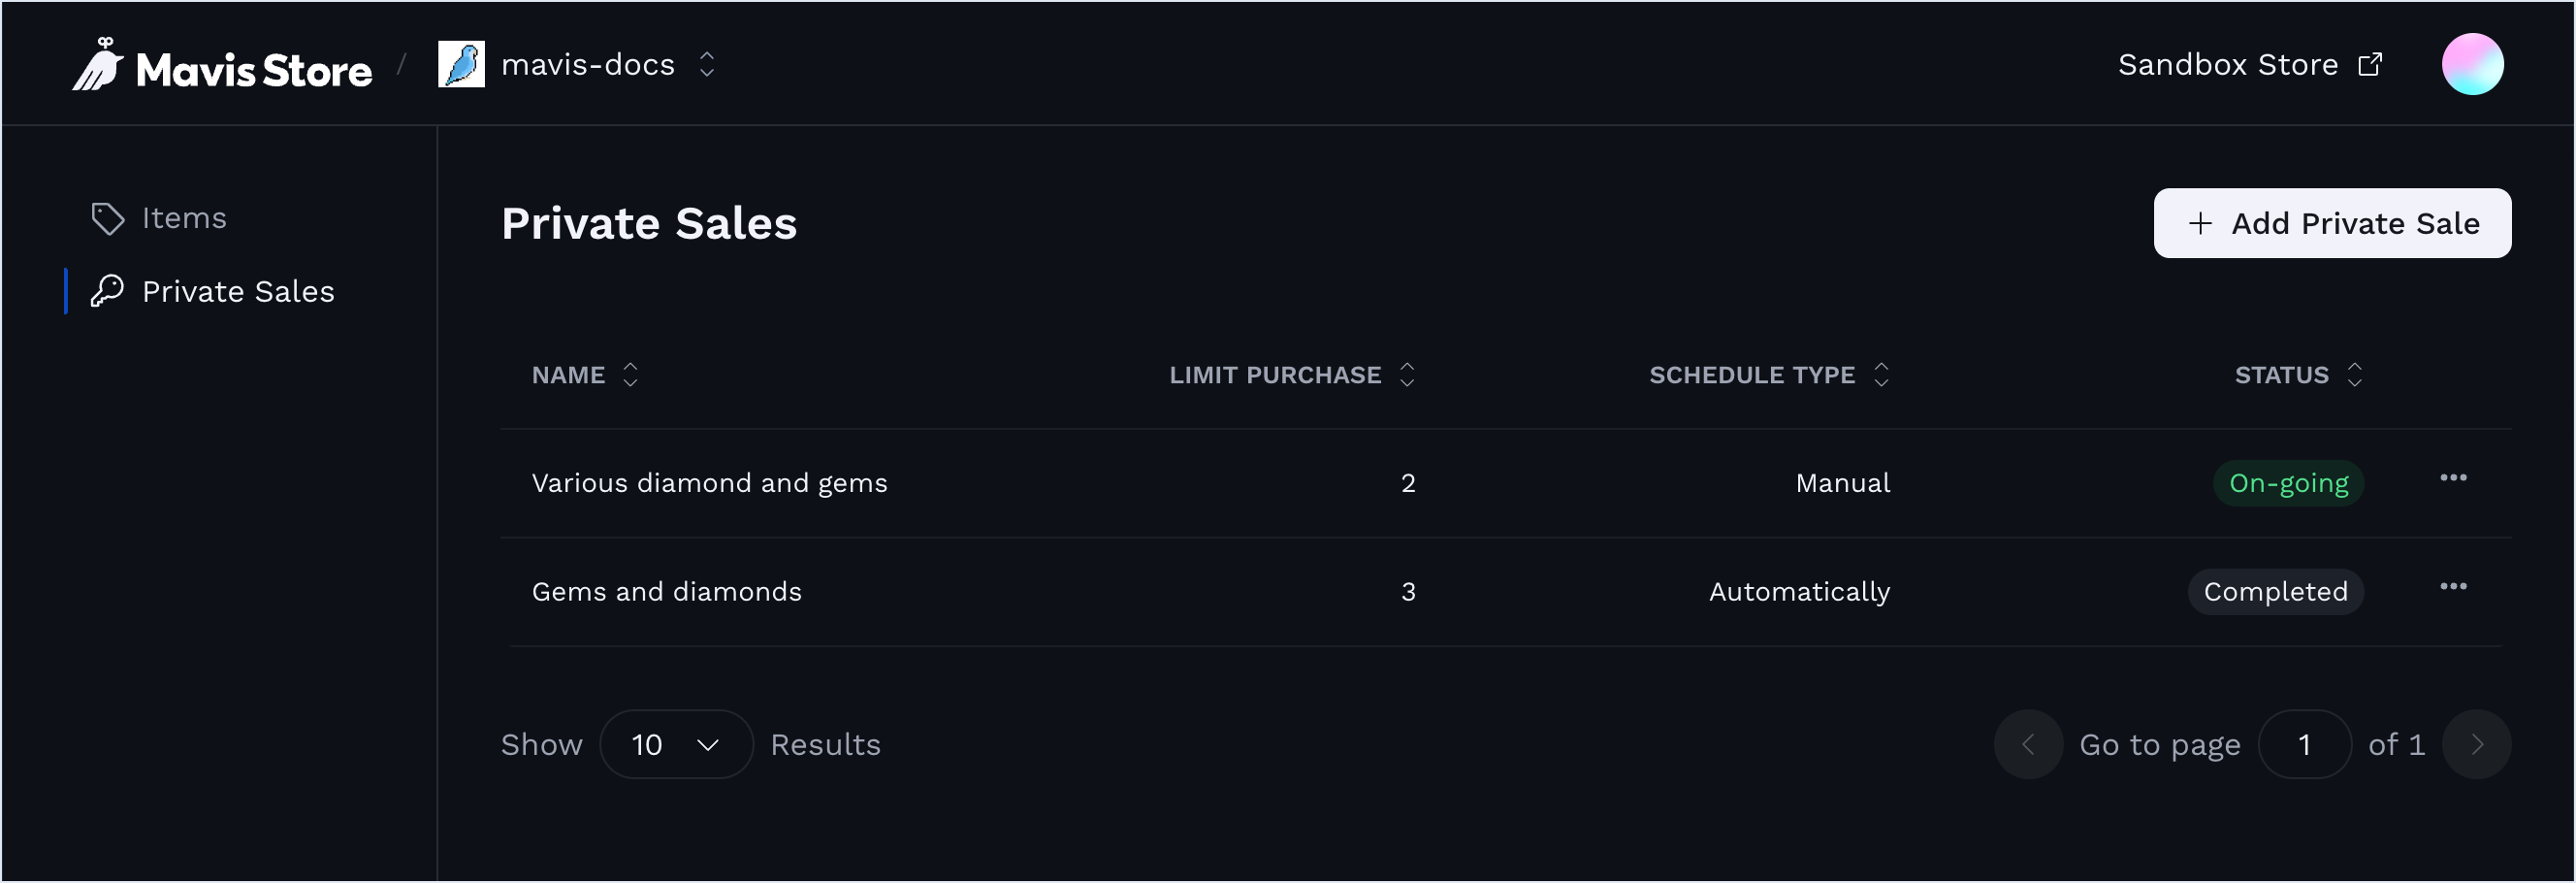
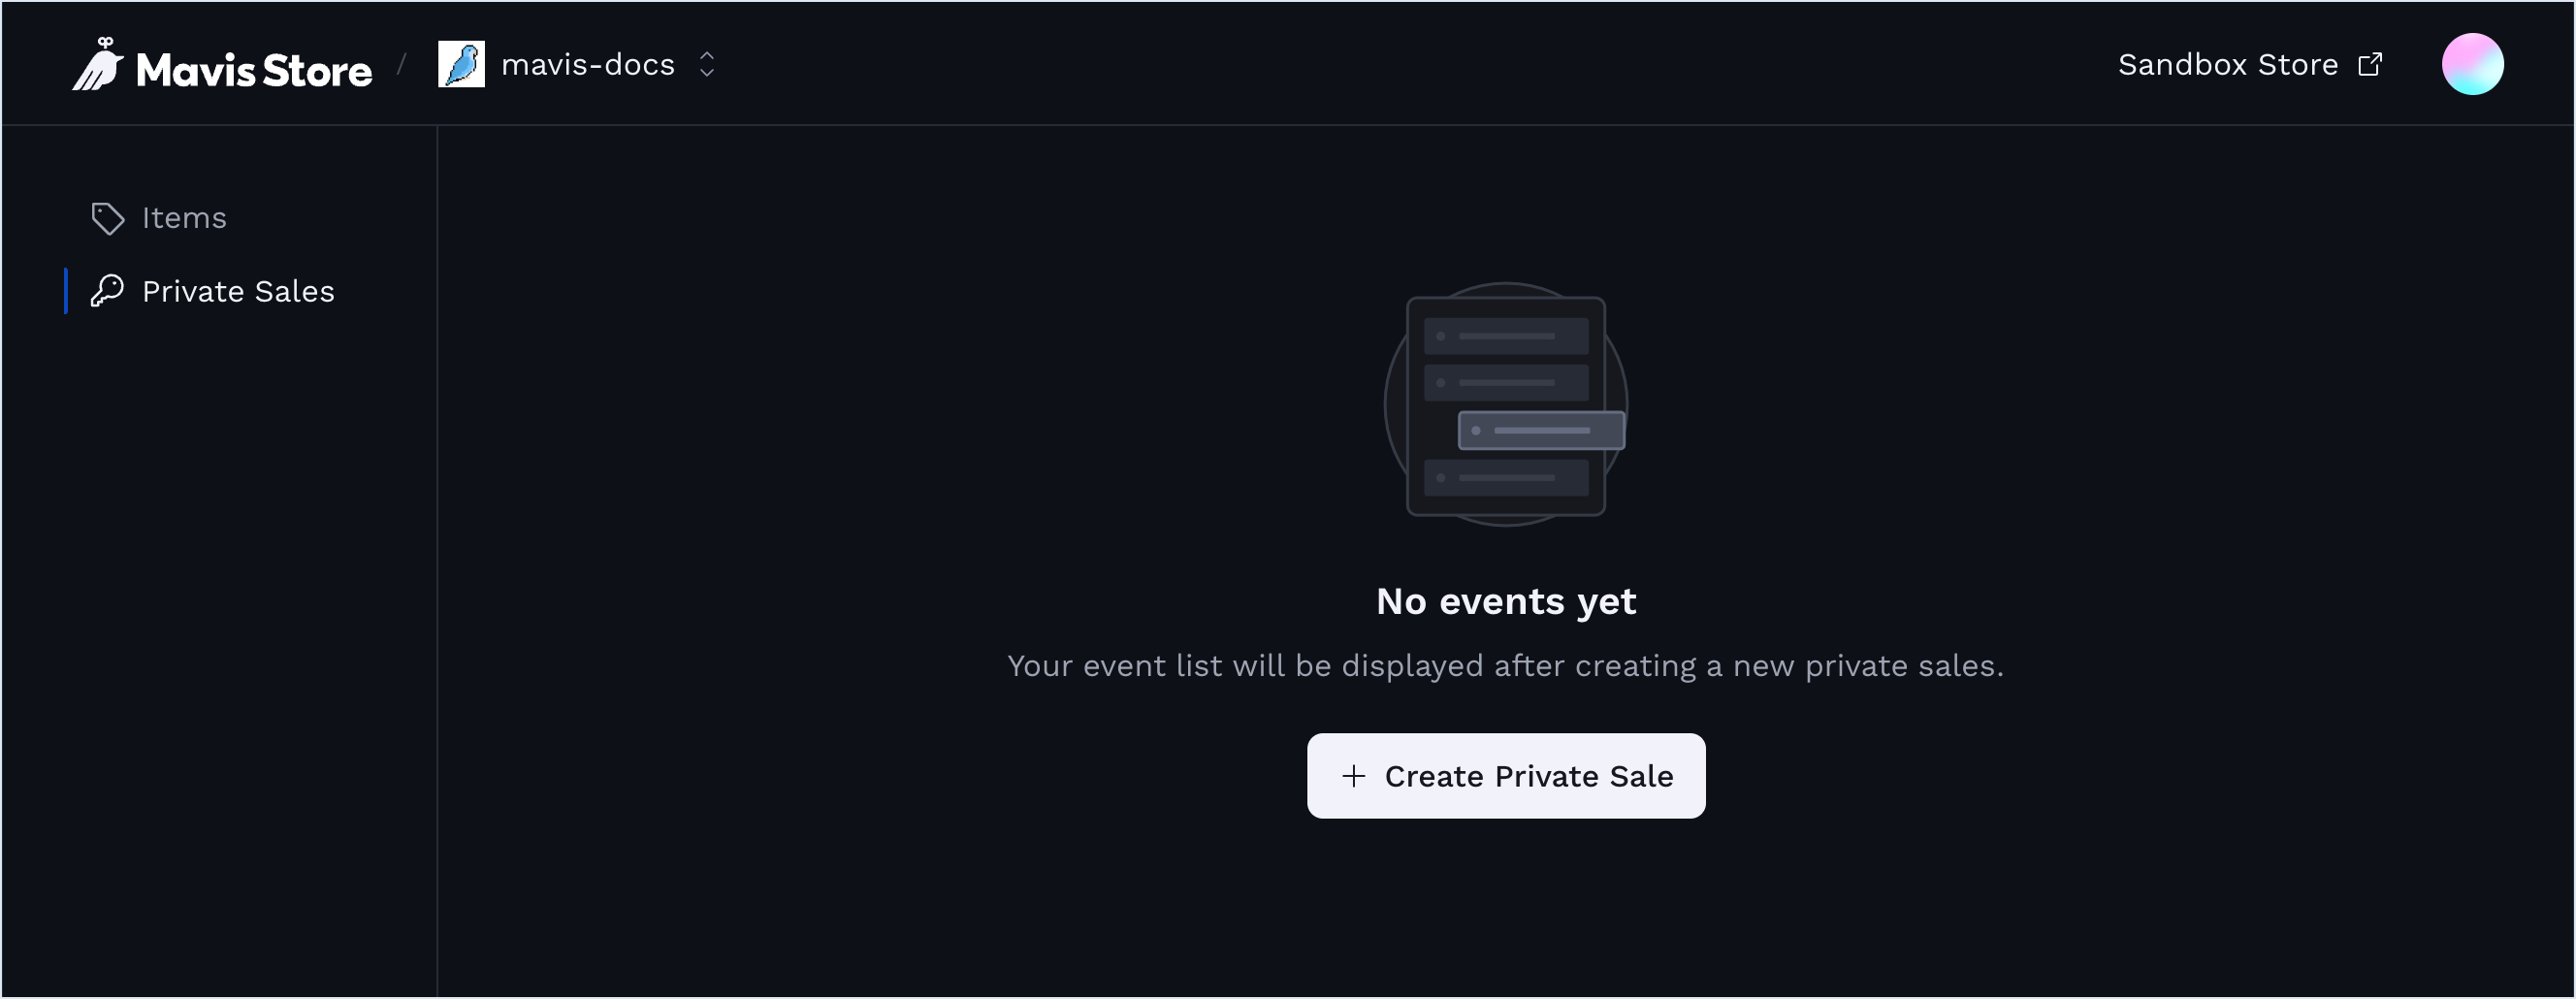
Select the Private Sales page and click Create Private Sale.
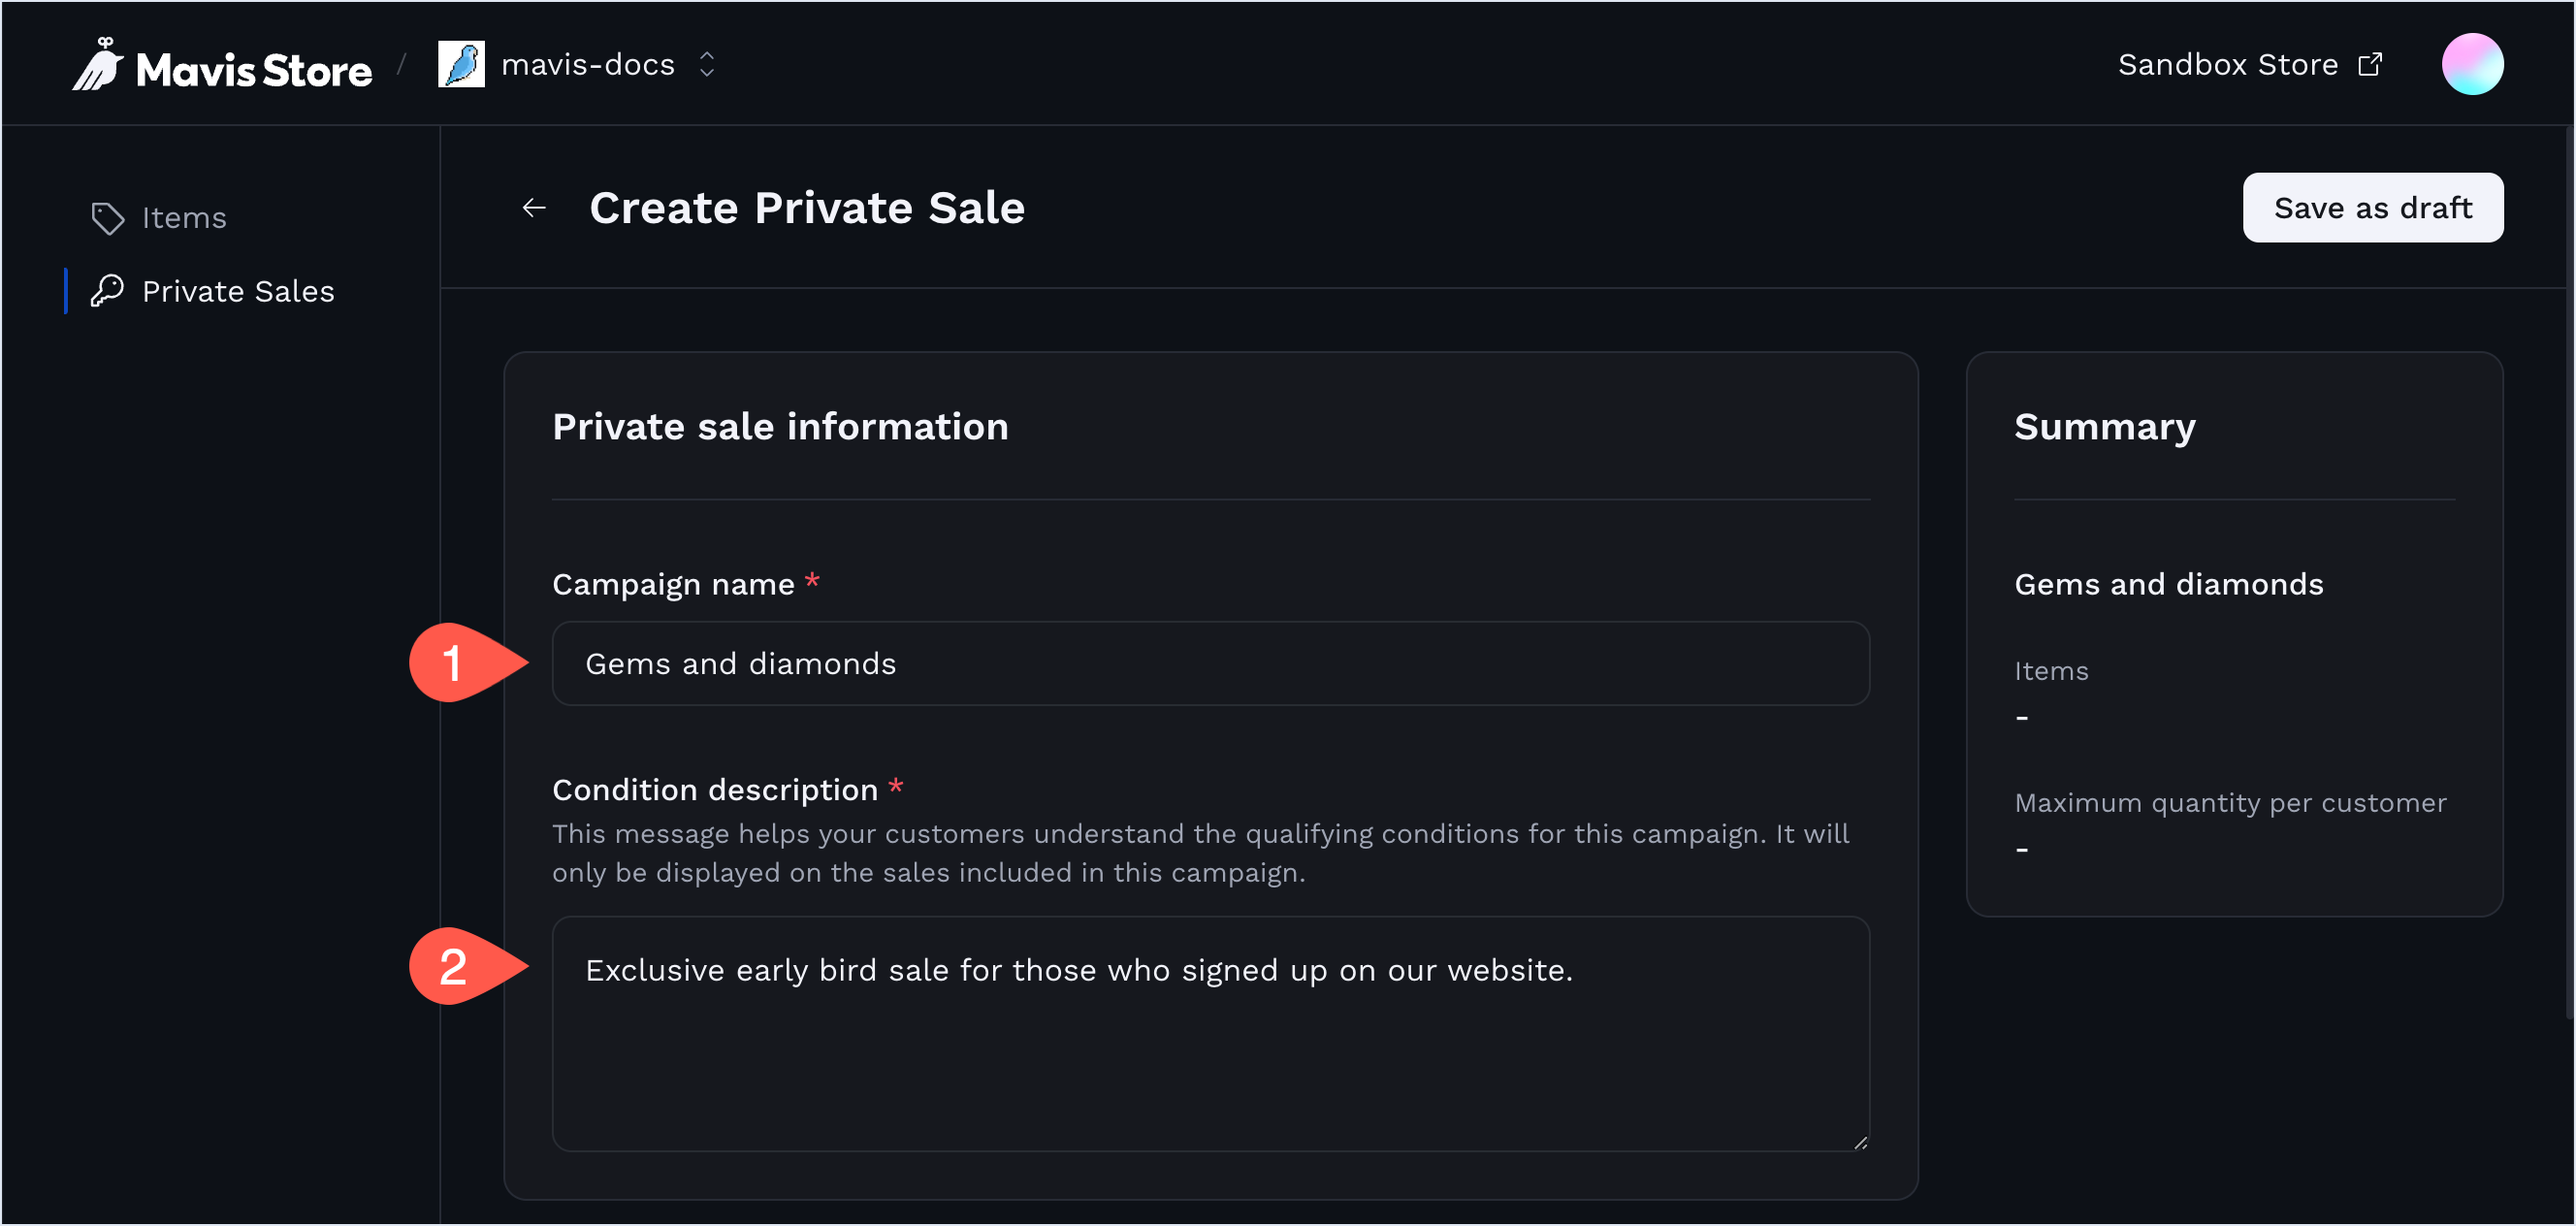
Under Private sale information, enter the general information about your campaign:
- Campaign name: provide a unique name for your private sale campaign.
- Condition description: describe the conditions buyers must meet to join the sale.
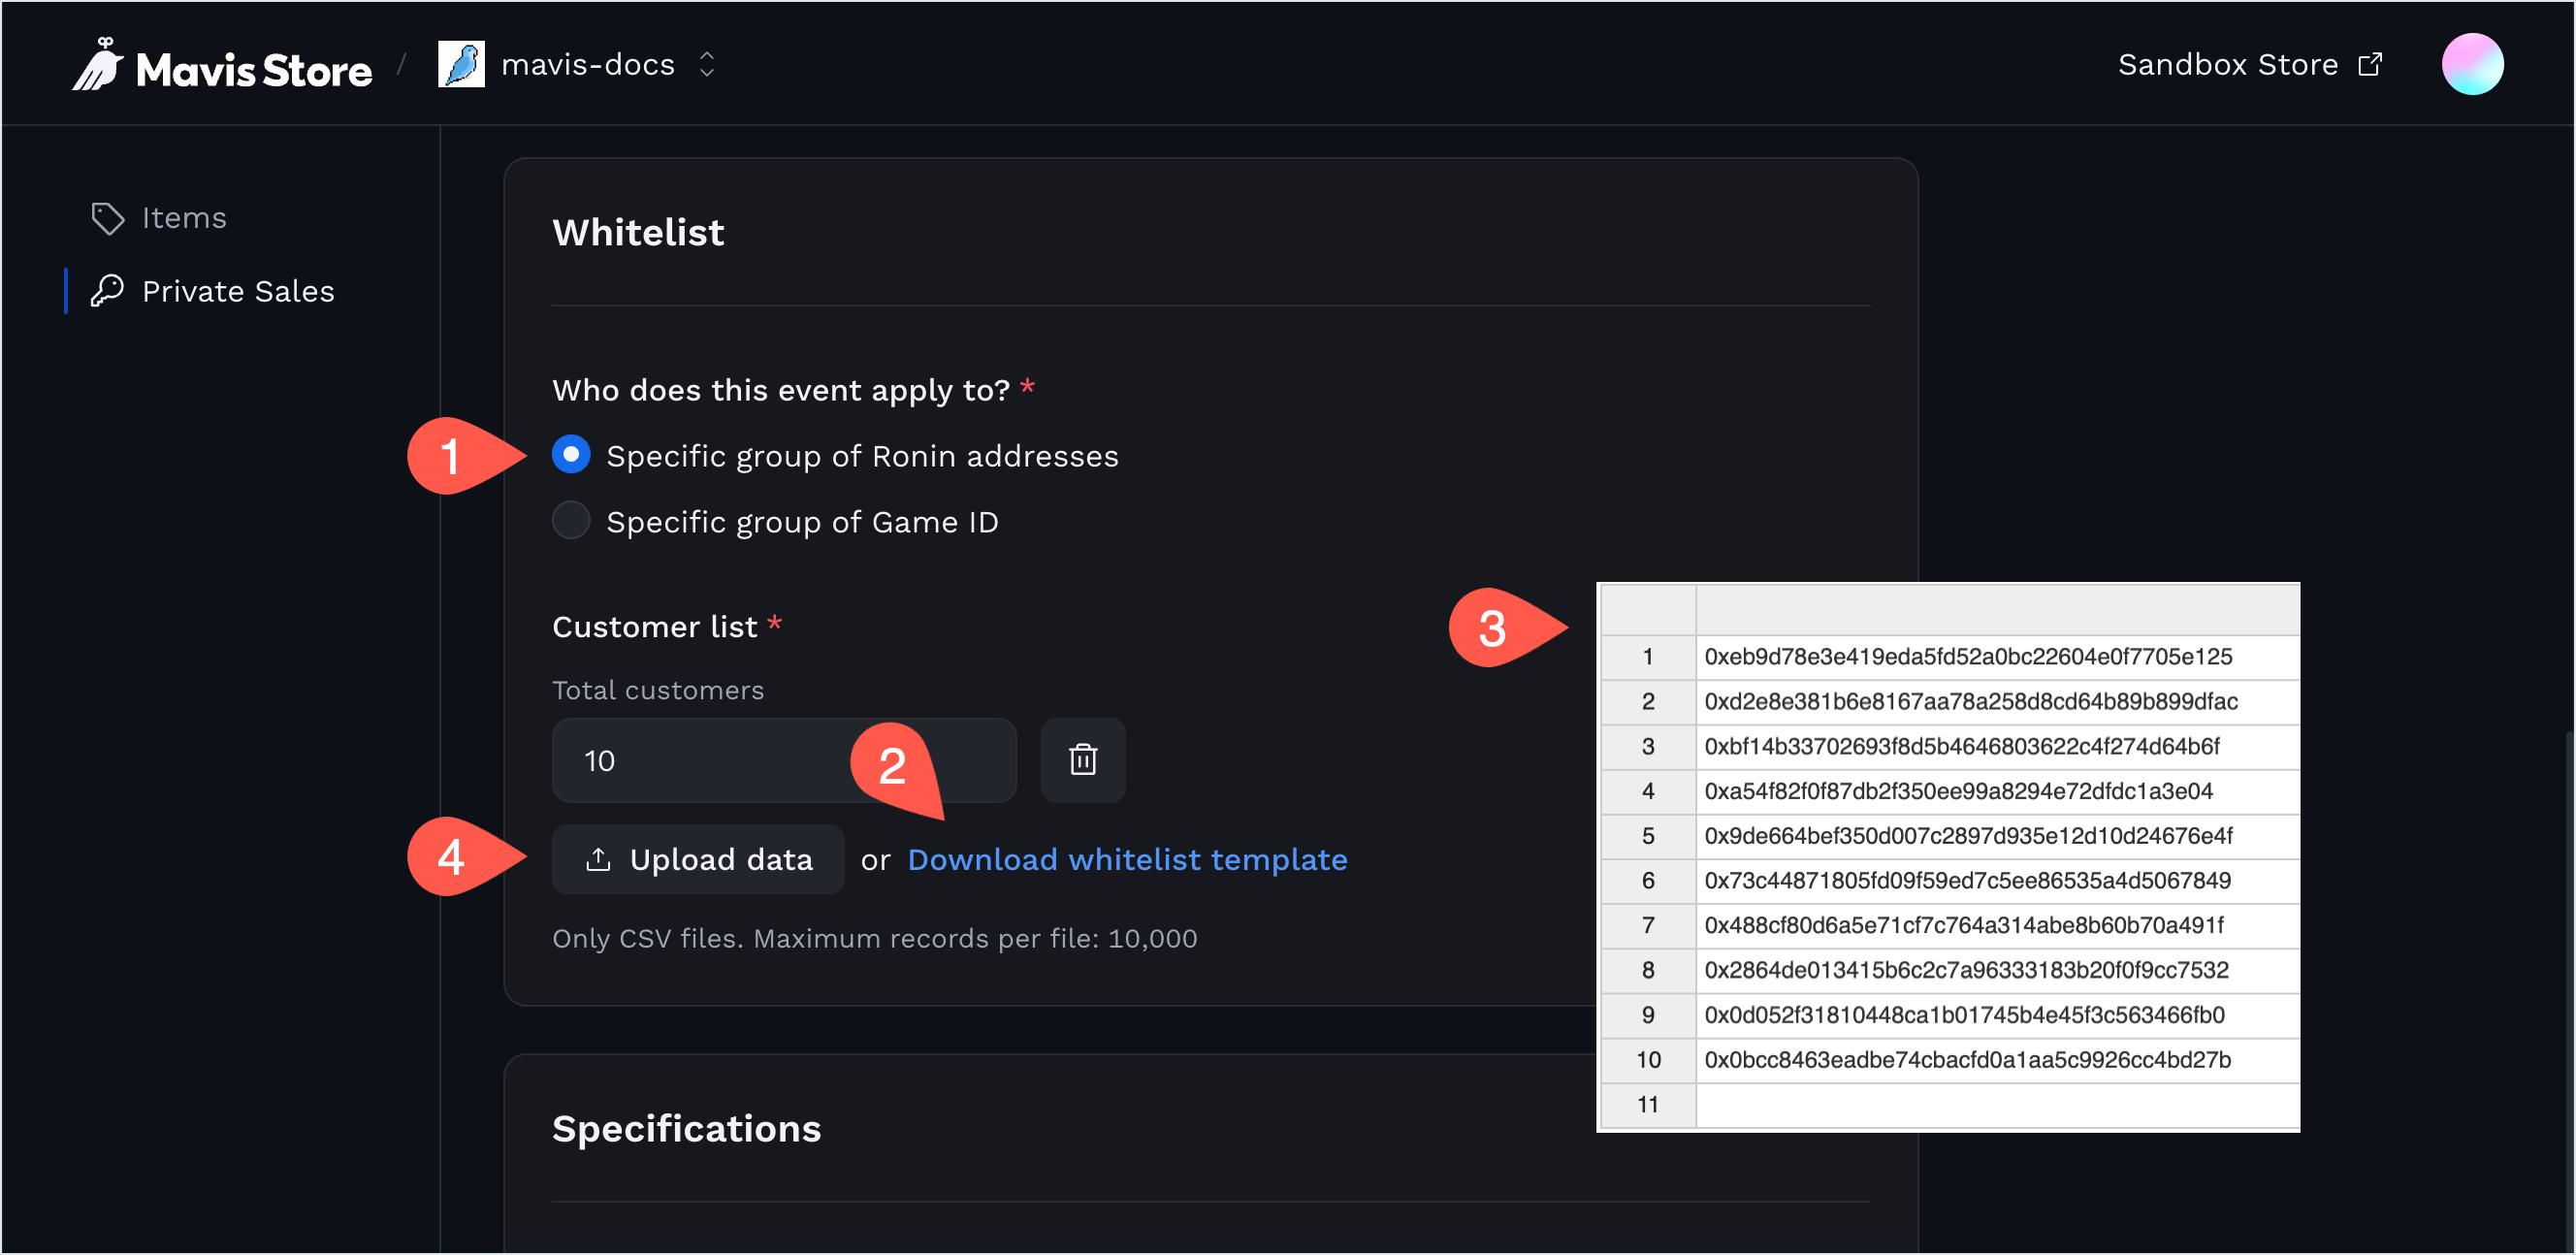
Under Whitelist, define who can access this private sale. You can choose either a list of Ronin addresses or user IDs, such as in-game user IDs or Mavis Account IDs, depending on your target audience.
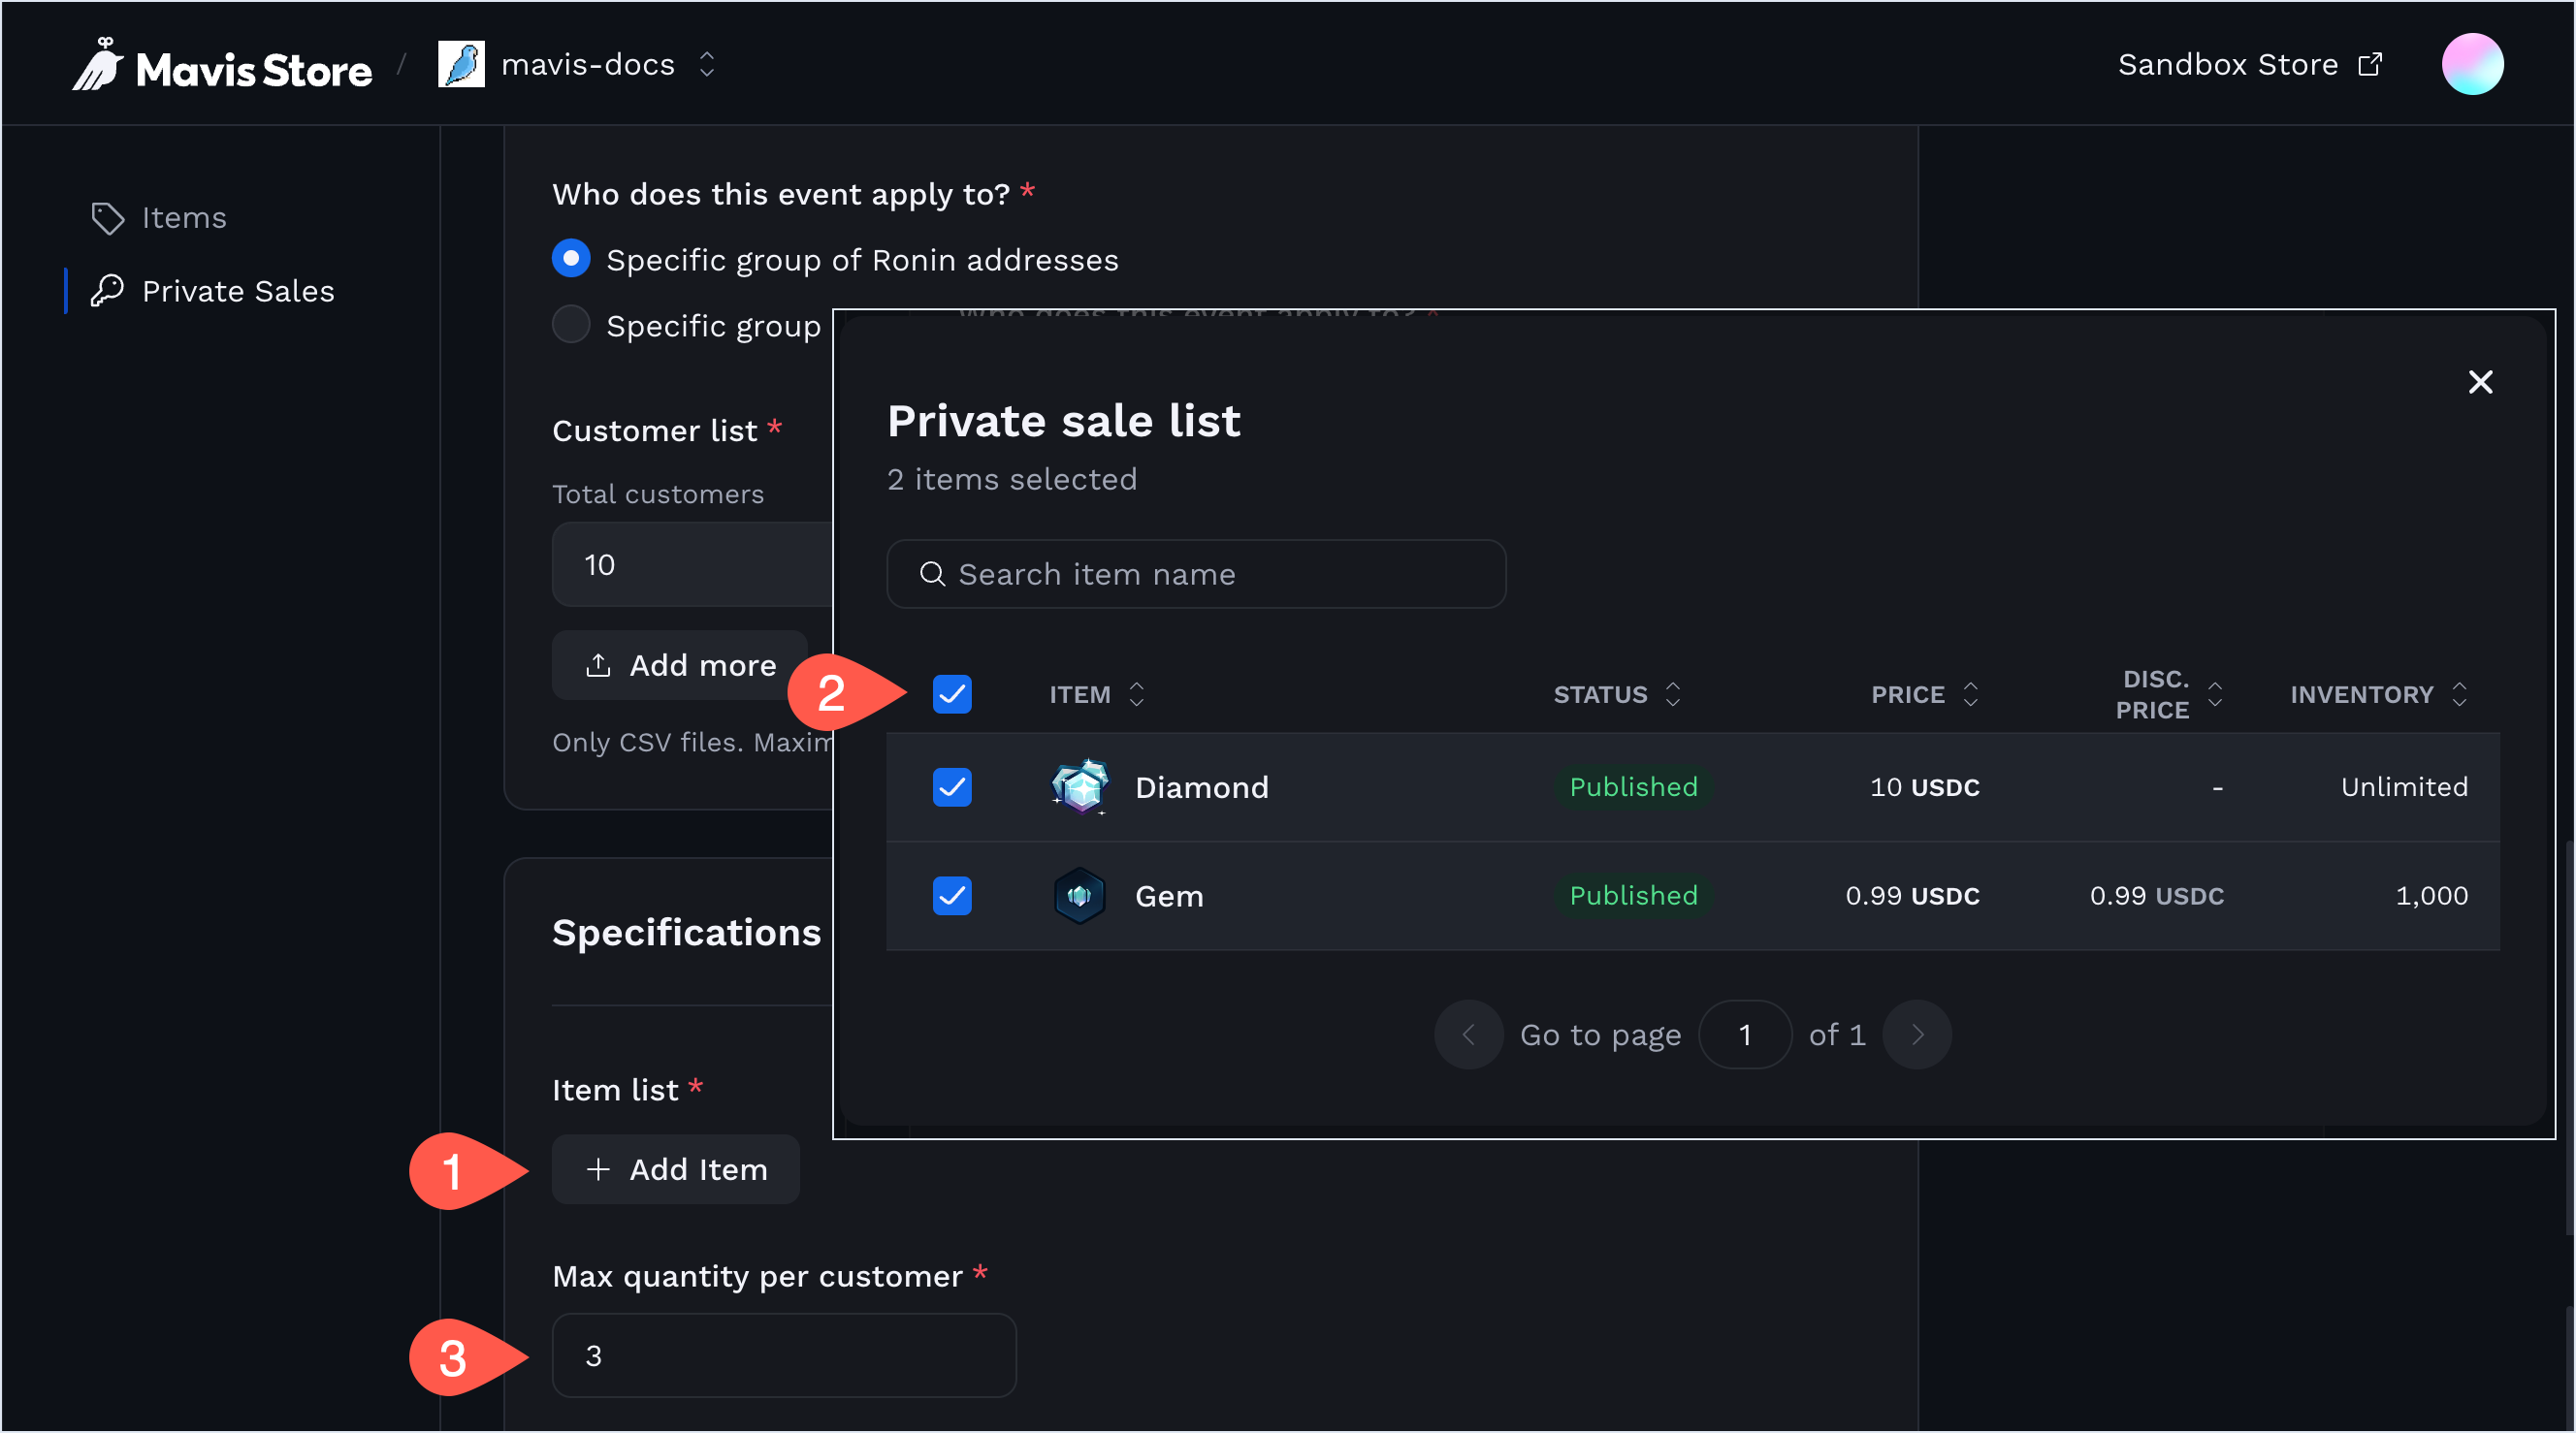
Under Specifications, include the items in your campaign and set a limit per customer:
- Item list: add the items that to the sale. You can add items that are "Ready to publish" or "Published," and that aren't participating in any other ongoing private sale at the same time.
- Max quantity per customer: define the number of units an eligible customer can buy. For the duration of the sale, this setting overrides the general limit set for the item.
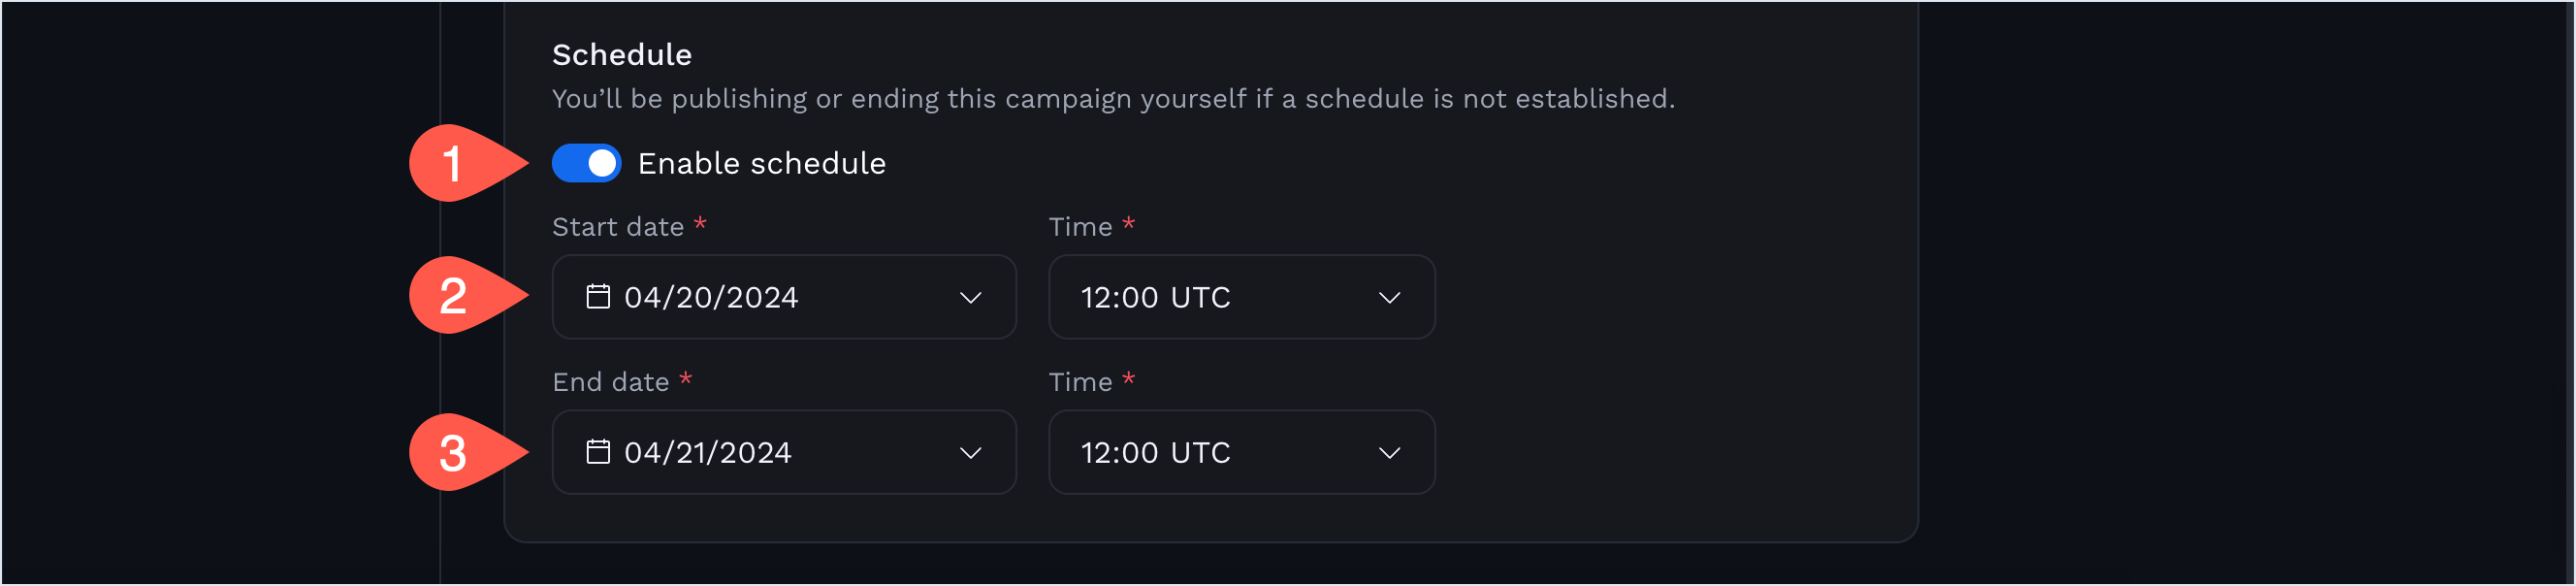
Under Schedule, choose one of the two options for scheduling your campaign:
- Automatic scheduling: if you prefer the sale to run autonomously, turn Enable schedule on and set the start and end dates and times. With automatic scheduling, Mavis Store manages the commencement and conclusion of your sale precisely as scheduled. Use this option if you want the campaign to align with specific events or timings without manual intervention.
- Manual scheduling: for a more hands-on approach, leave Enable schedule off. This means the sale doesn't start until you manually click Publish, and continues until you decide to end it by clicking End the private sale. This method gives you more flexibility.

- Automatic scheduling: if you prefer the sale to run autonomously, turn Enable schedule on and set the start and end dates and times. With automatic scheduling, Mavis Store manages the commencement and conclusion of your sale precisely as scheduled. Use this option if you want the campaign to align with specific events or timings without manual intervention.
After configuring your campaign, click Save as draft.
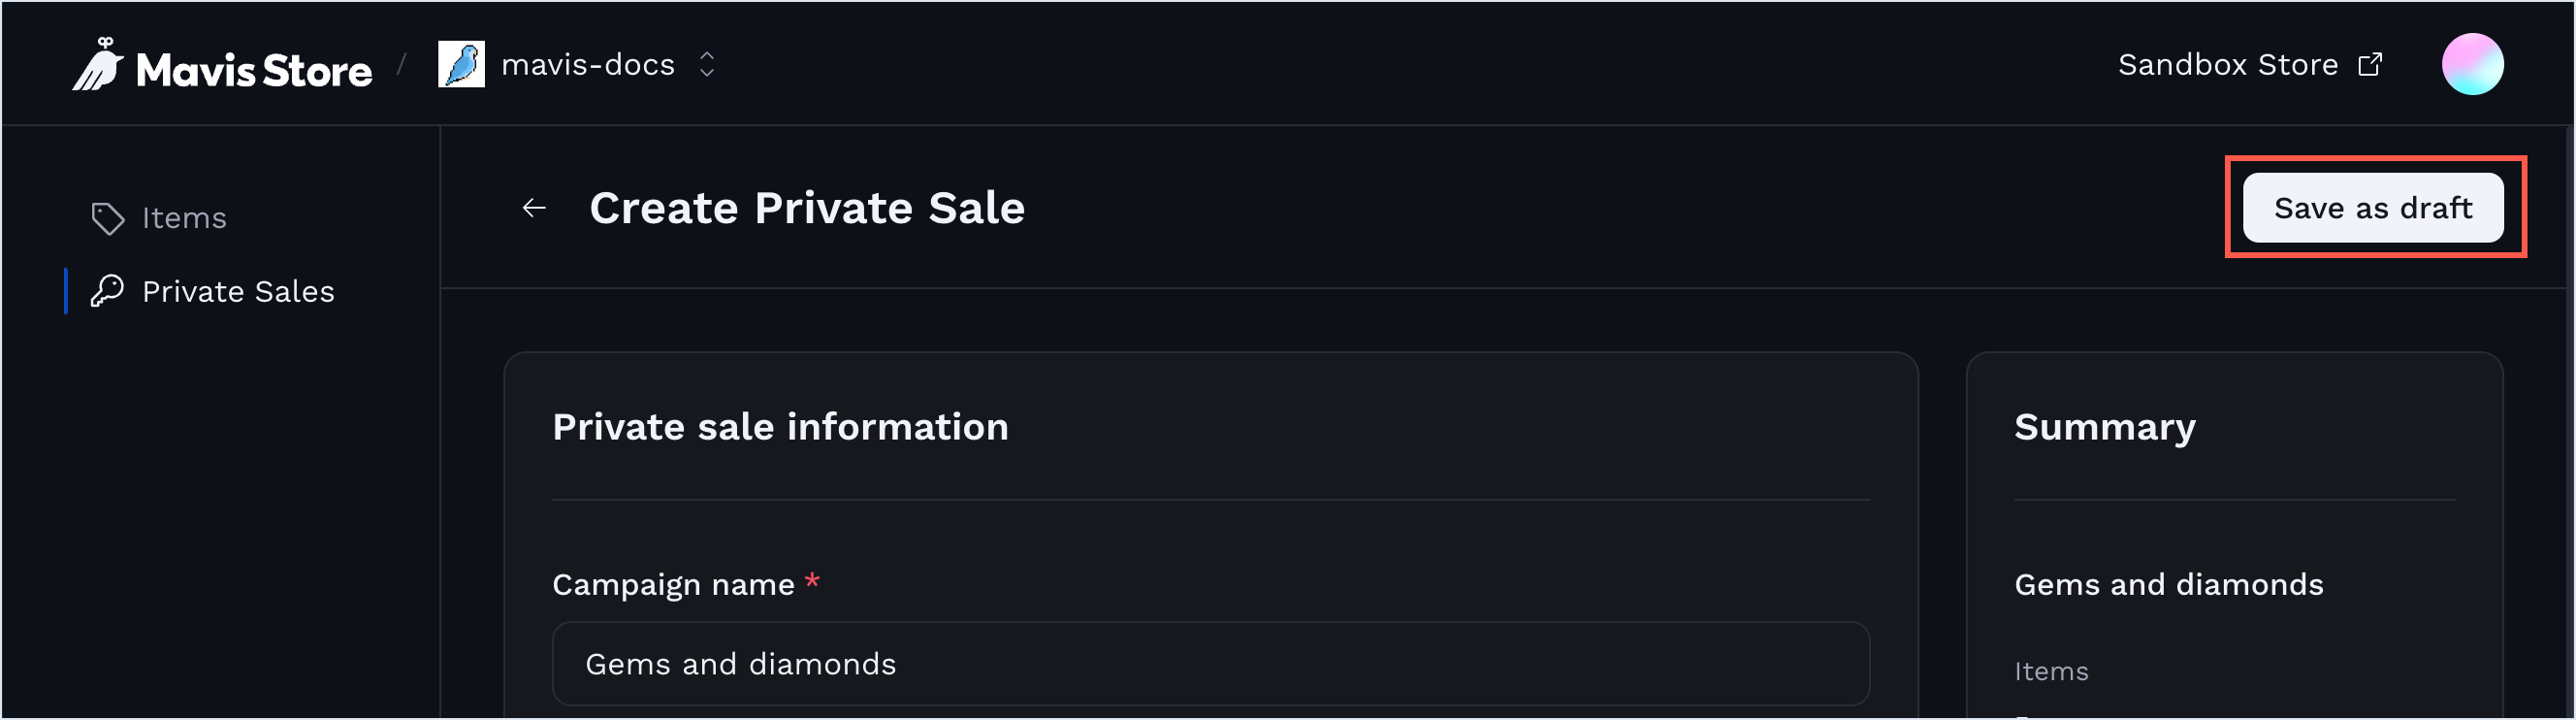
The sale's status "Draft." You can make final preparations before launching it.

Step 2. Start the sale
You can't change the scheduling method after starting a private sale, so plan the schedule accordingly.
Depending on your scheduling method, the process to start your private sale differs:
Confirm the automatic start
If you set up automatic scheduling by specifying start and end times, you'll need to officially schedule the campaign to start it.
To do so, navigate to the campaign's detail page and click the Schedule button.

This action confirms the campaign's schedule, changing its status to "Scheduled."

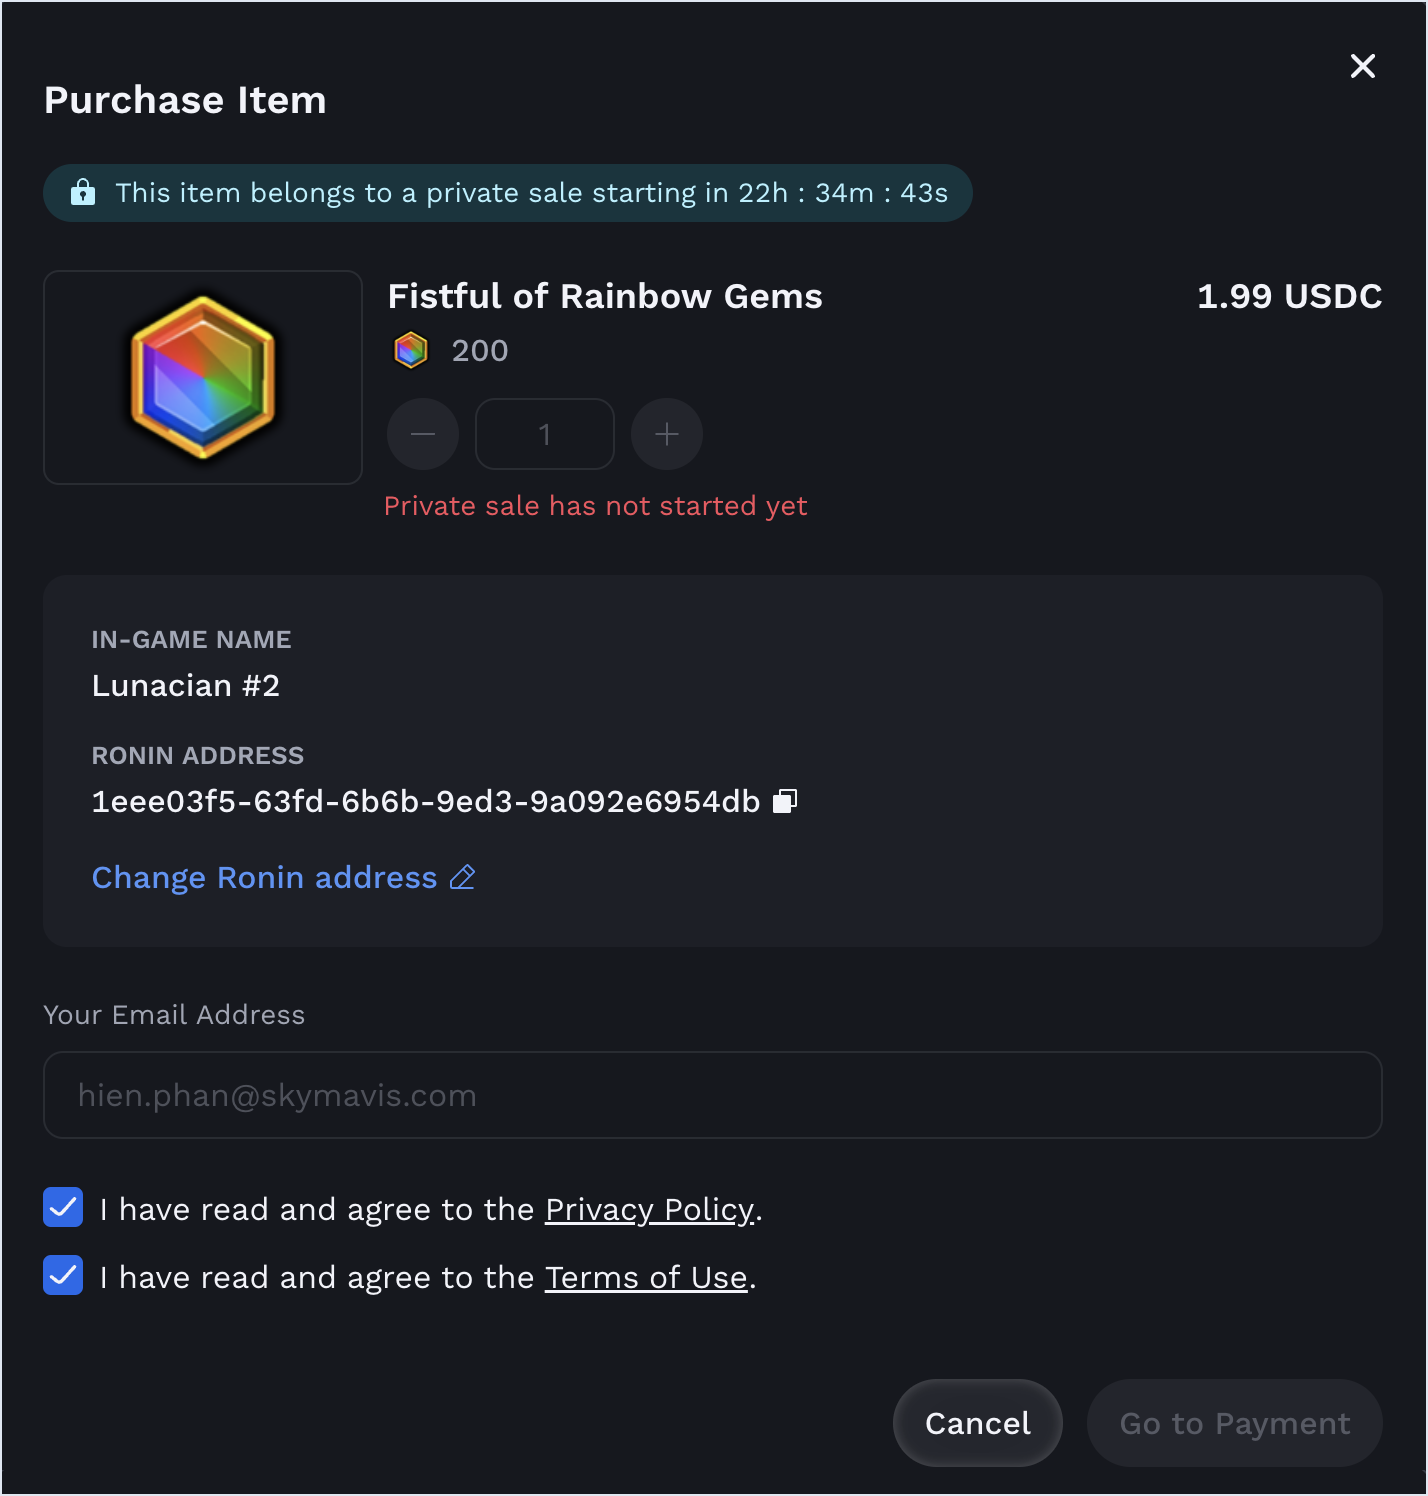
Items participating in the sale become visible on Mavis Store with a countdown timer, indicating when the sale begins.
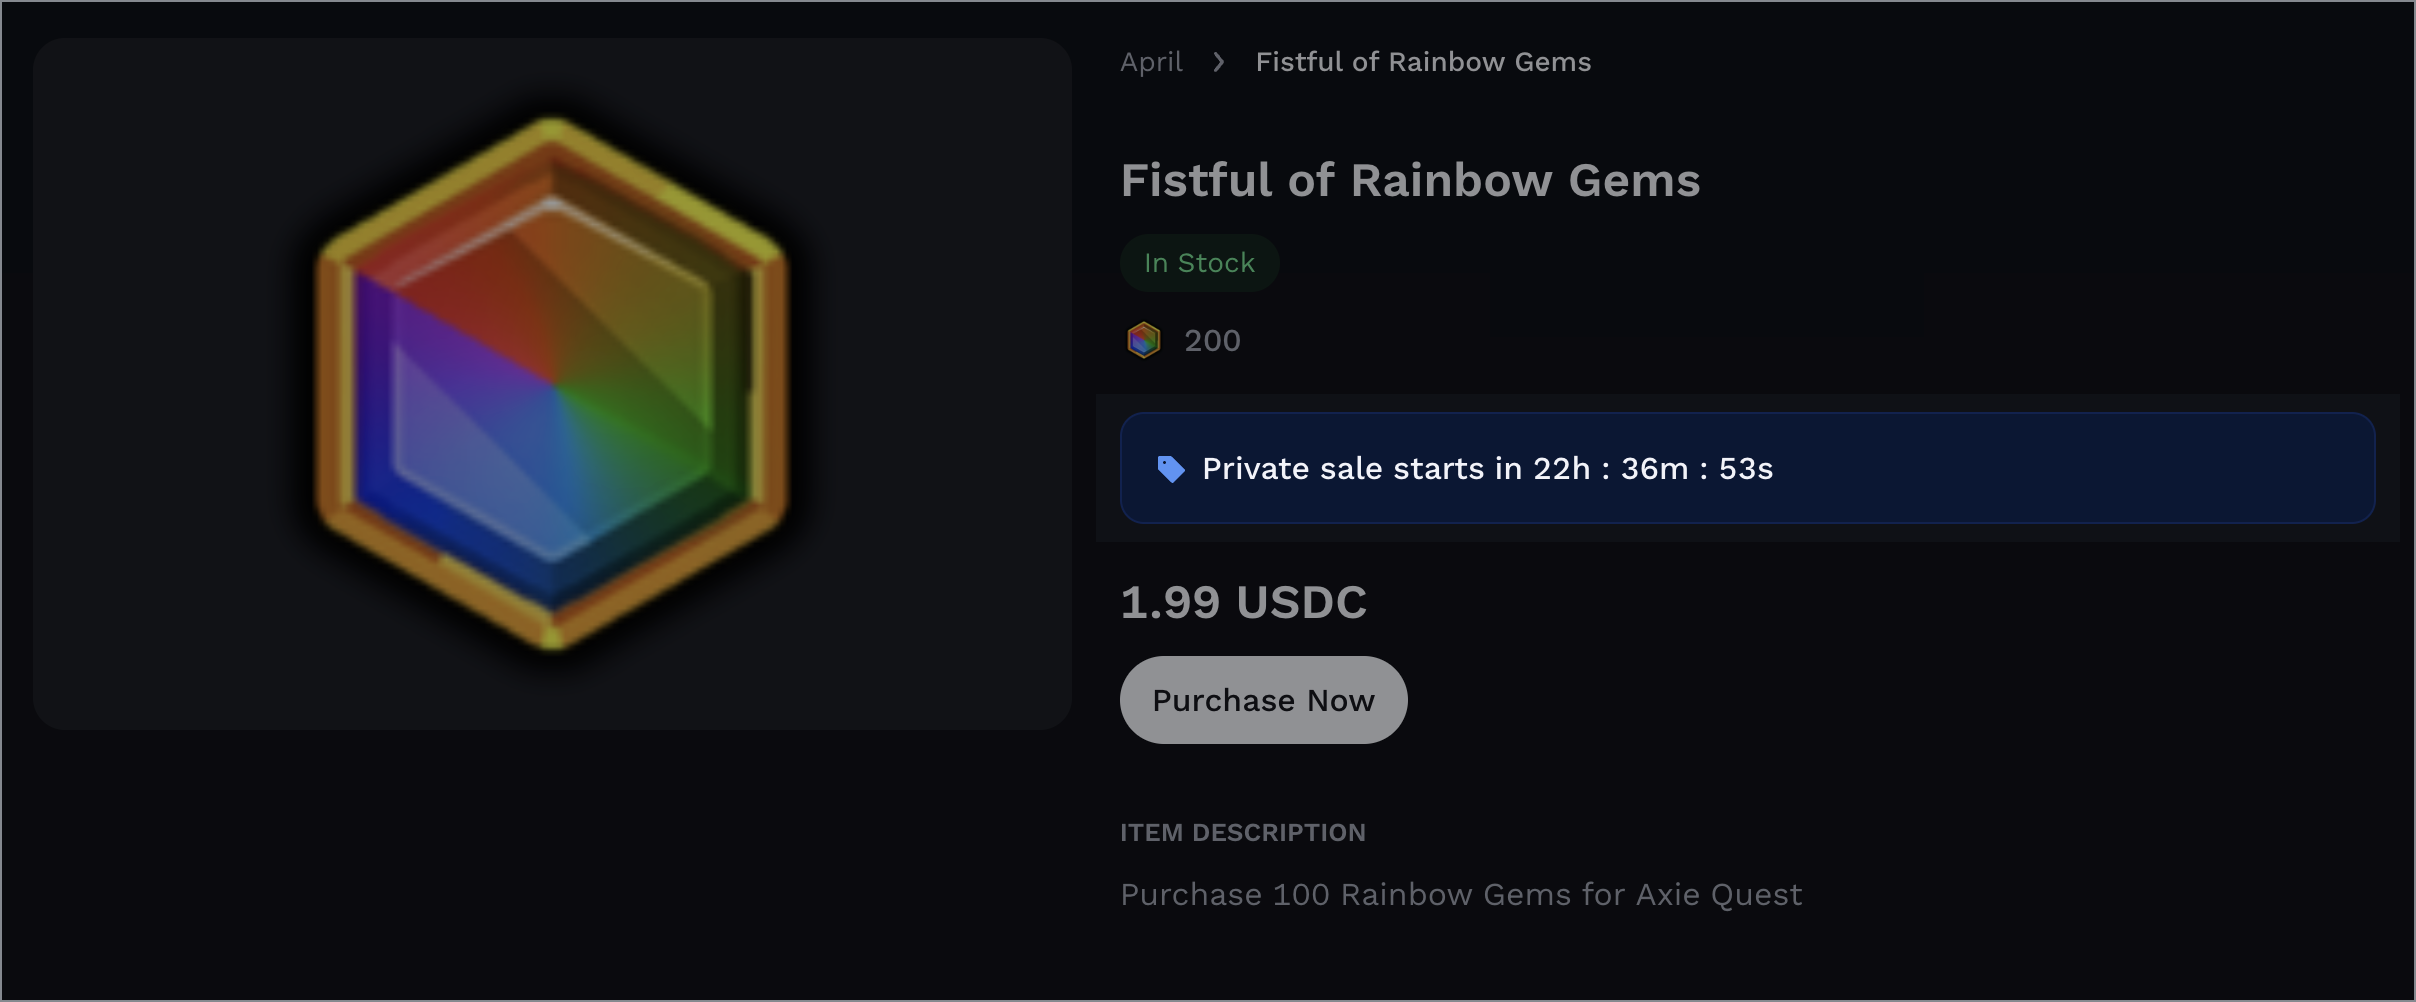
Customers can browse the items, but not buy them yet.
At the designated start time, the sale automatically transitions to "Ongoing," allowing customers to make purchases.

Start manually
To start the sale manually, open its detail page and click Start private sale.

This changes the campaign's status to "Ongoing," and the sale continues until you decide to complete it.
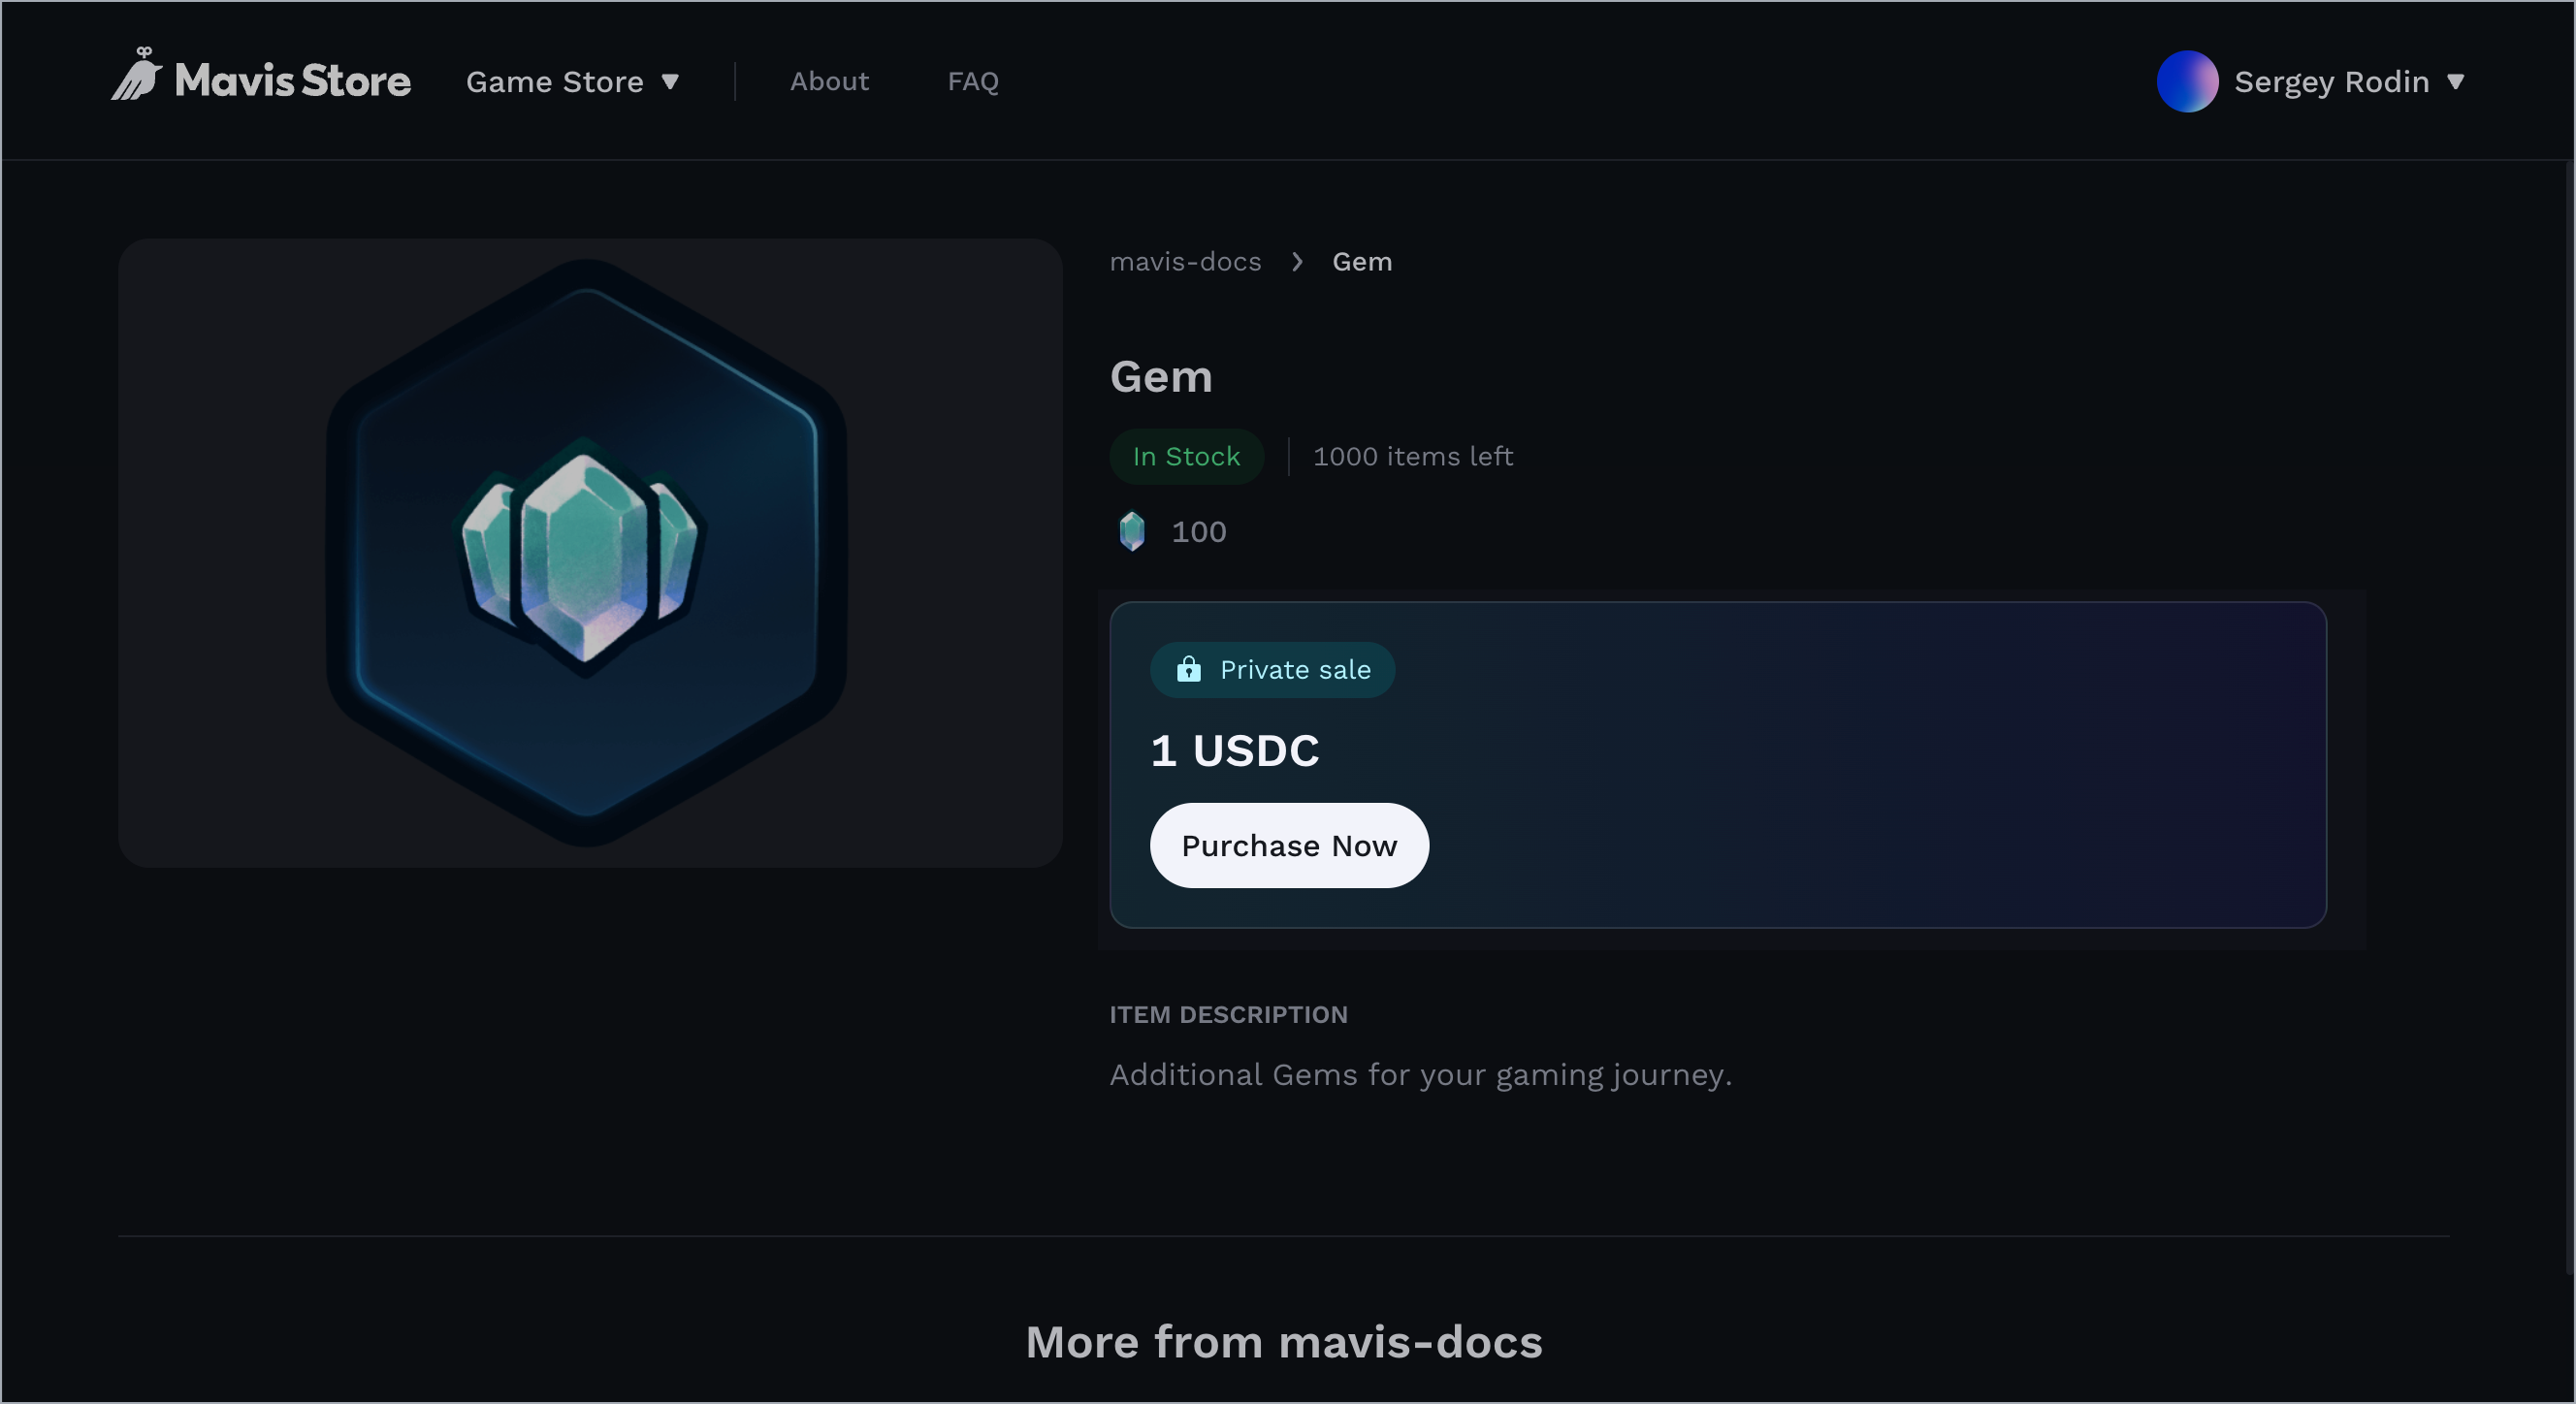
Customers can start buying the items right away. For example, an item participating in a private sale looks like this:
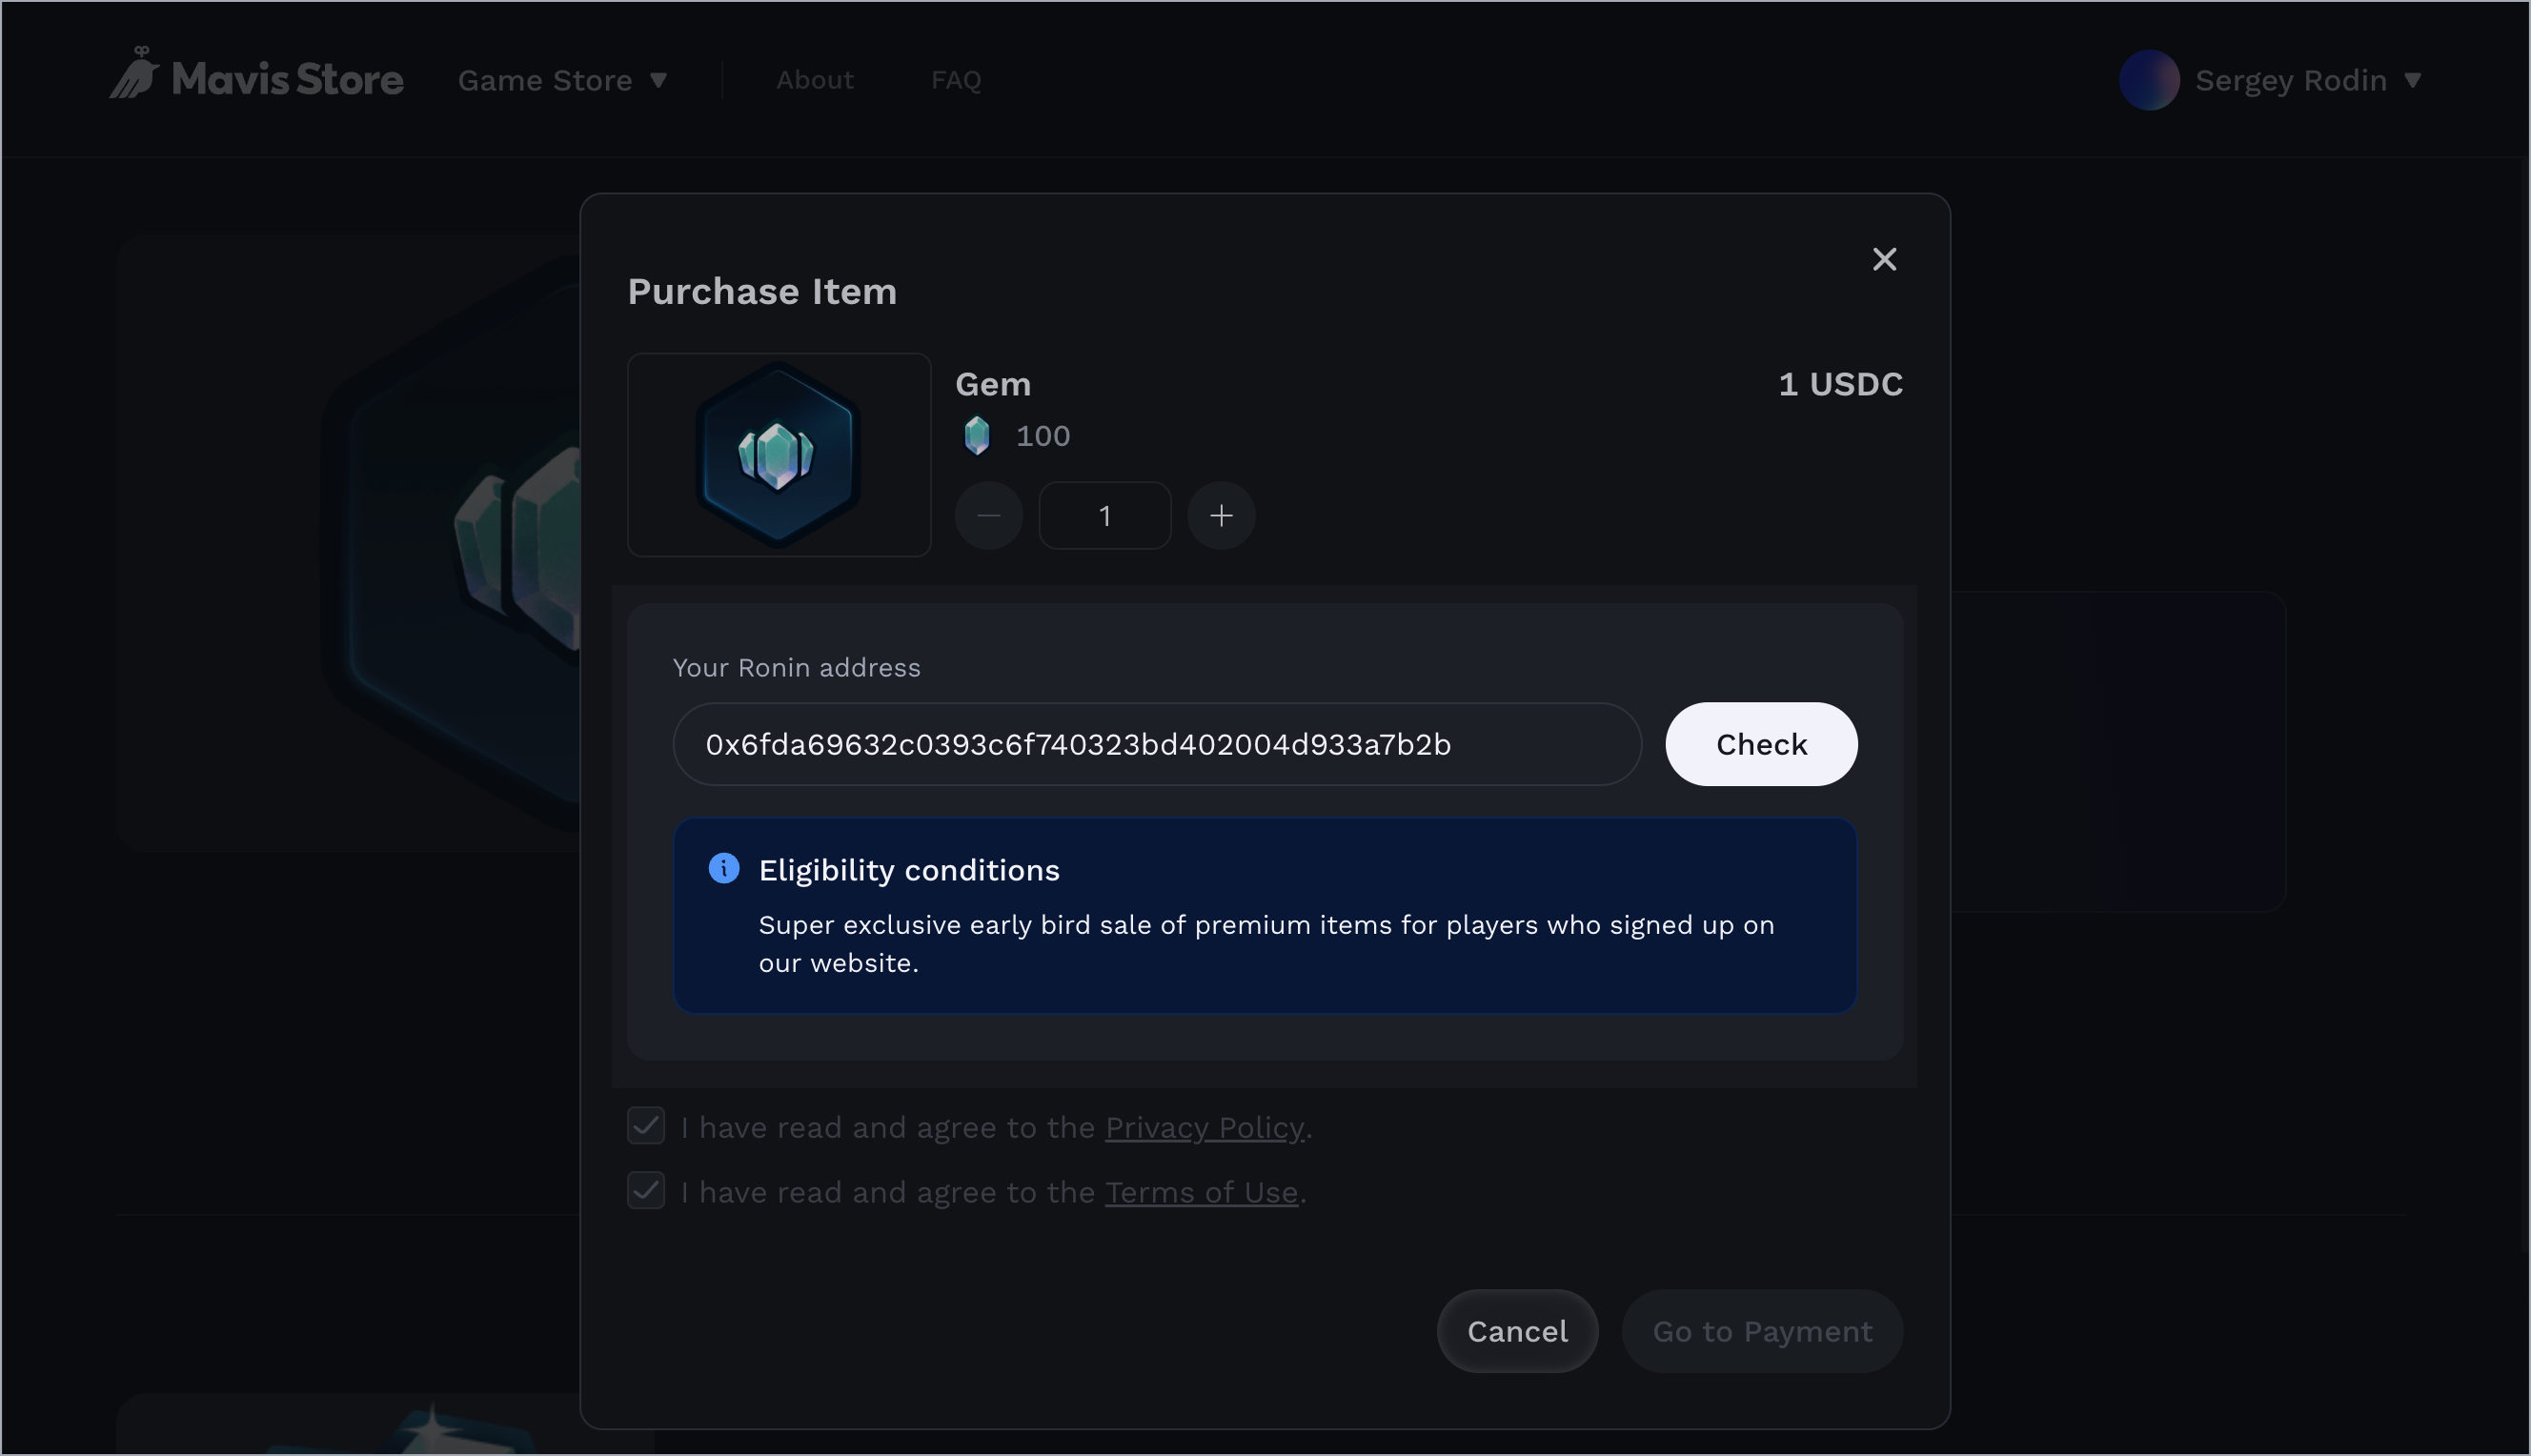
When buying an item, customers can see if they meet the eligibility conditions:
End a private sale
You can't restart or edit a private sale after it ends. You'll need to set up a new private sale for any future campaign.
End a scheduled sale
A private sale that's scheduled to start automatically, also ends automatically. But you can end it prematurely at any time, as long as it's in "Scheduled" or "On-going" states.
To do so, open the sale's detail page and click End private sale.

After this, the sale's status changes to "Completed," marking the end of the campaign.

End an ongoing sale
To stop an ongoing sale, go to the sale's detail page, then click End private sale.

After this, the sale's status changes to "Completed," marking the end of the campaign.
Edit a private sale
Edit an ongoing sale
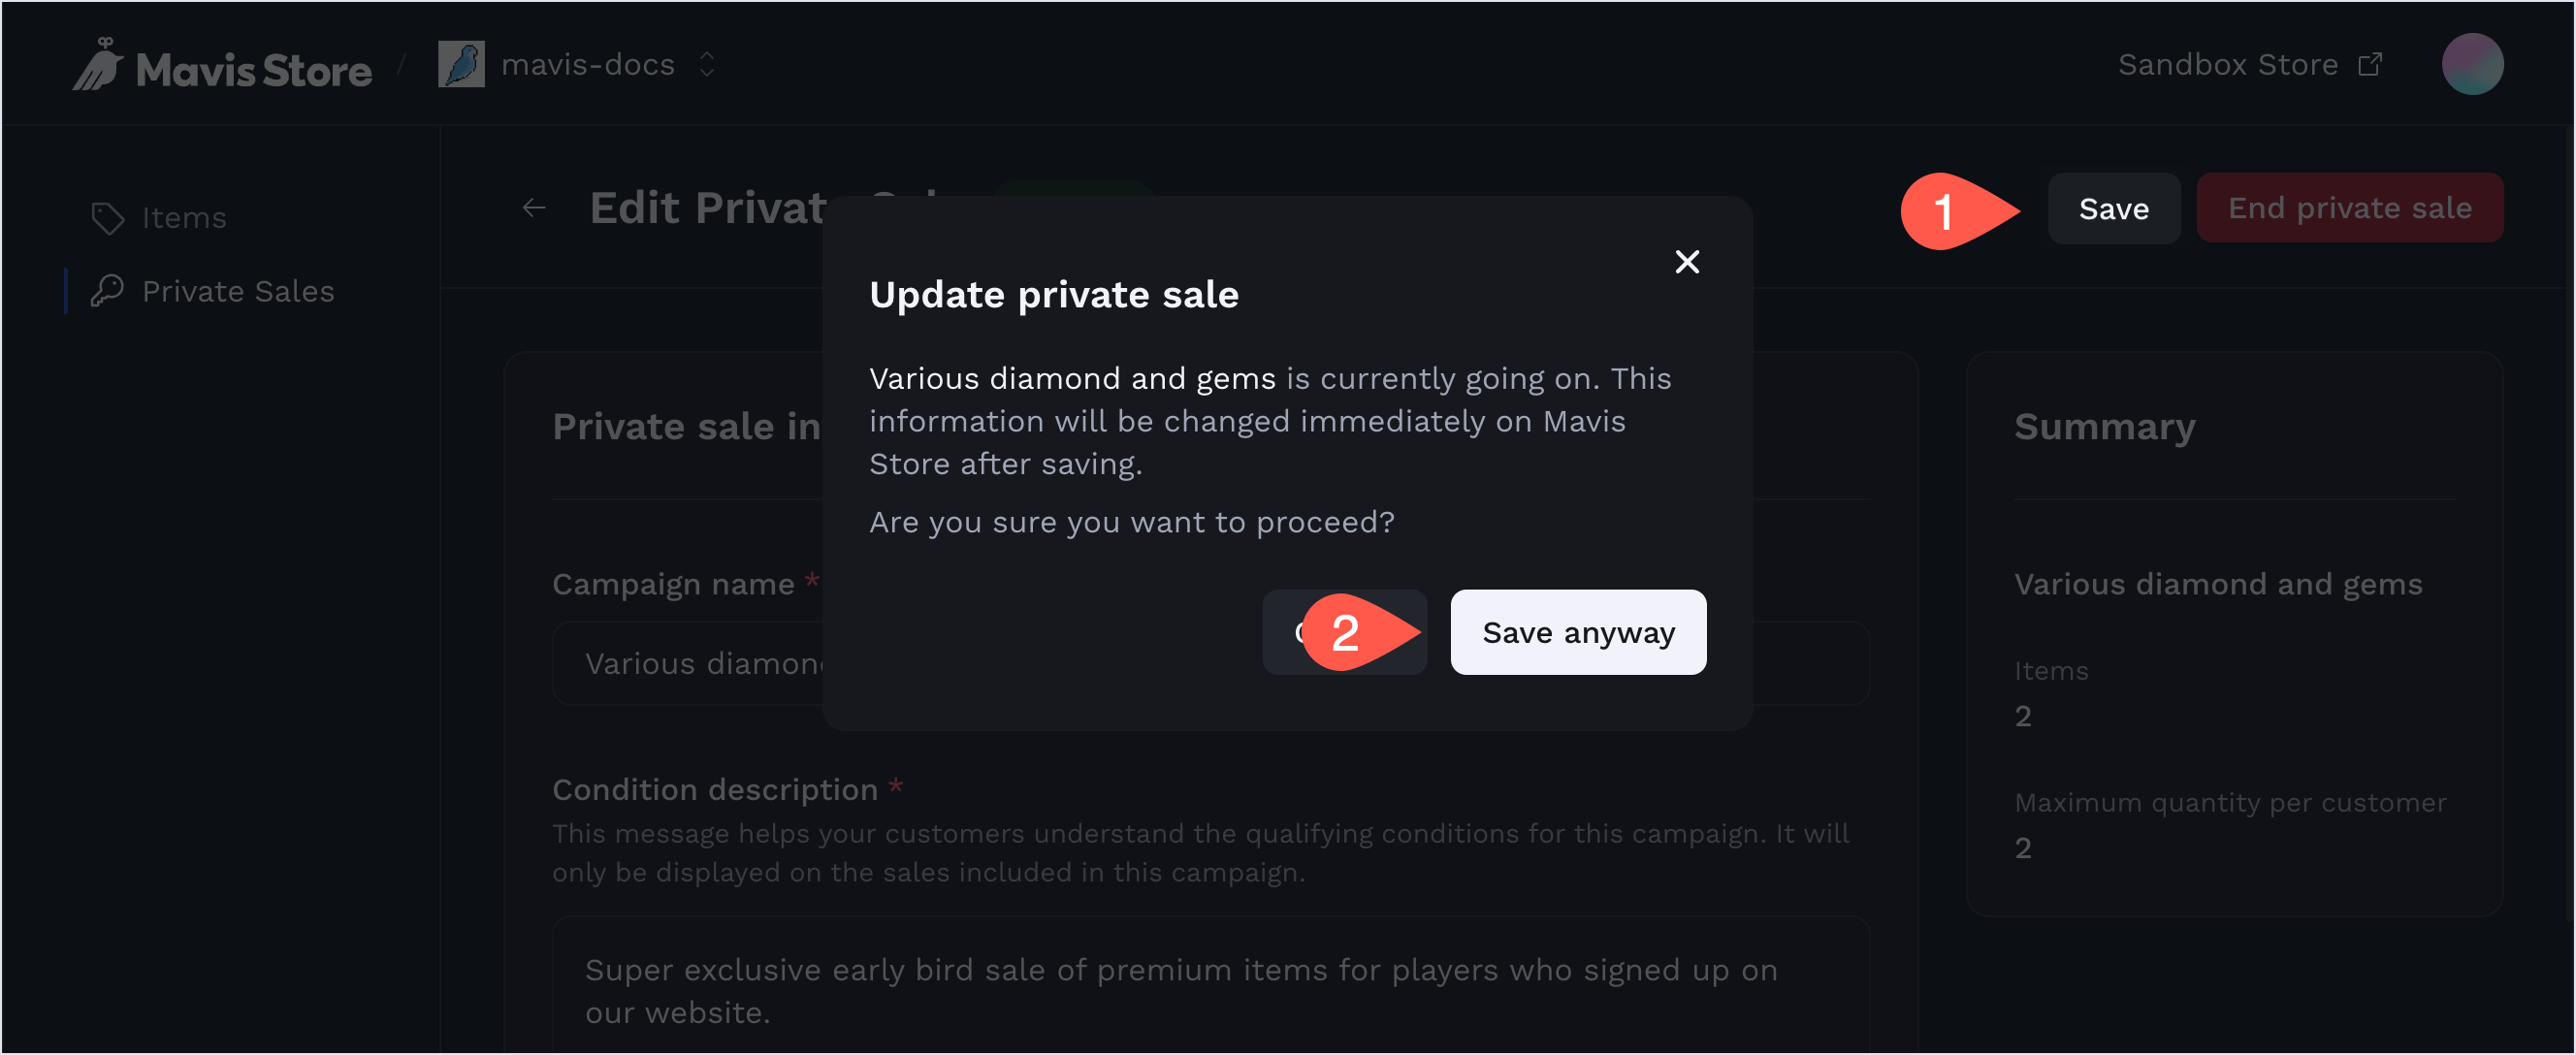
You can edit an "On-going" private sale and see your changes displayed in the storefront.
To edit an ongoing sale, open its detail page, make changes as needed, then click Save > Save anyway.
You can't change the scheduling method for an ongoing sale.
Edit a draft sale
For draft private sales, the system enables you to edit anything including the scheduling method.
To edit a draft sale, open its detail page, make changes as needed, and then click Save as draft.

After that, follow the steps to start your sale.